No products
To be determined Shipping
0,00 zł Total
 en
en  pl en
pl en
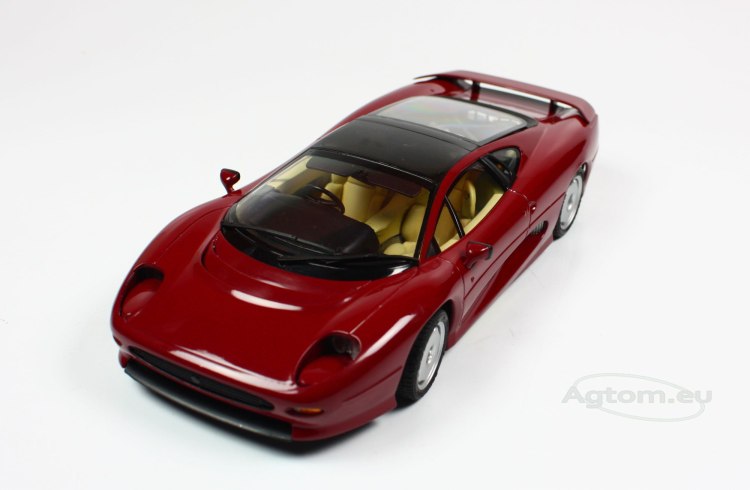
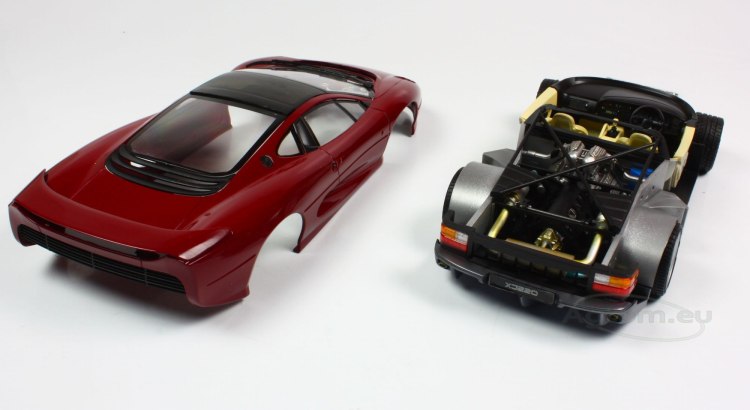
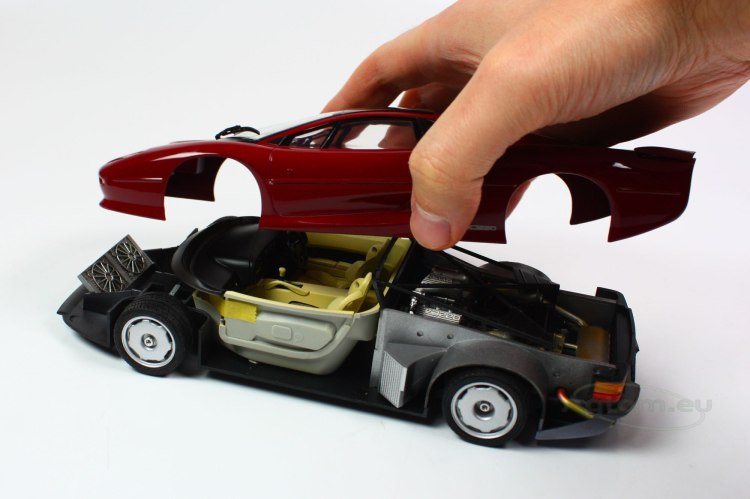
Body, chassis, and interior of our Jag is ready. Now we have to glue everything together and finish few details.
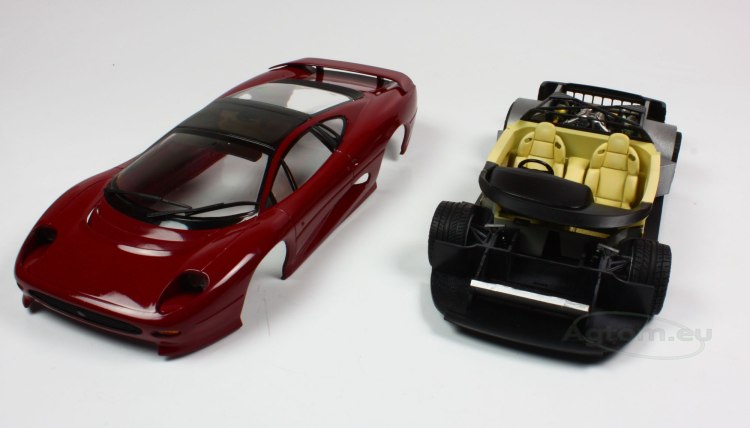
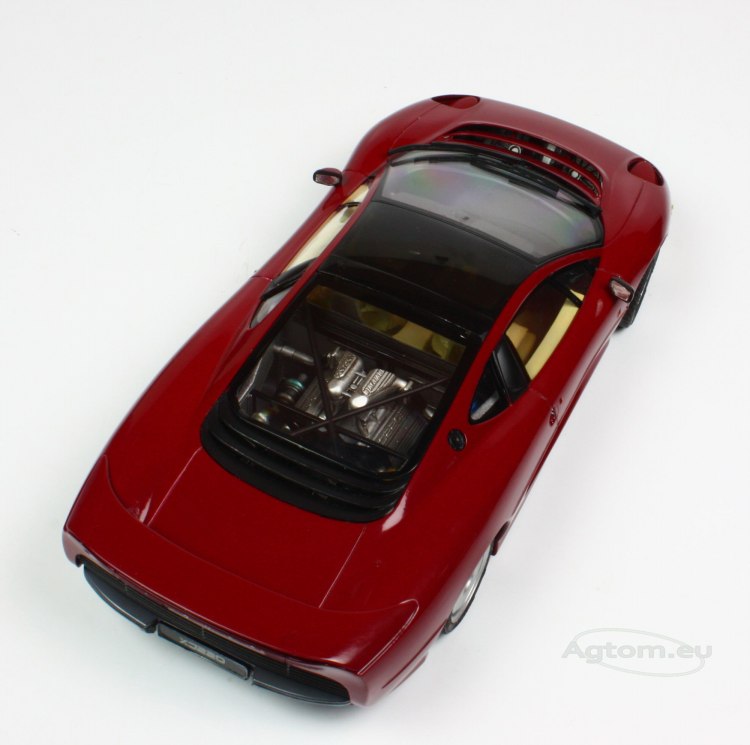
When assembling chassis to the body, be very careful. If those parts are glued properly, they should fit perfectly. Remember not to use too much strength while doing this, as you can damage or even brake some elements of your model. Be gentle and patient. In our model, we had little problems with air intakes, but the gentle bending of the body solved any issues, and “top” and “bottom” fit perfect.
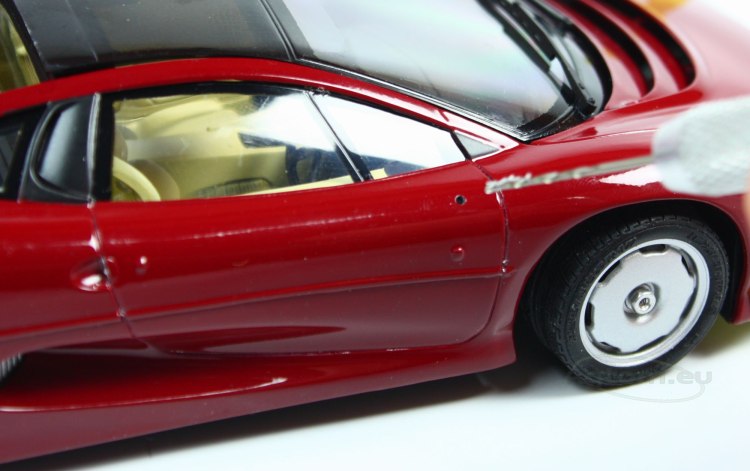
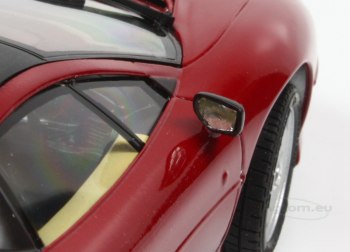
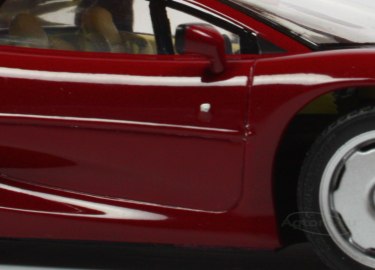
Next, we have to glue side mirrors. Gluing them to the paint directly is a bad idea, as it may cause damage to the body. We decided to make plastic pins, so we drilled slots in the body and mounted mirrors on only a little of glue.

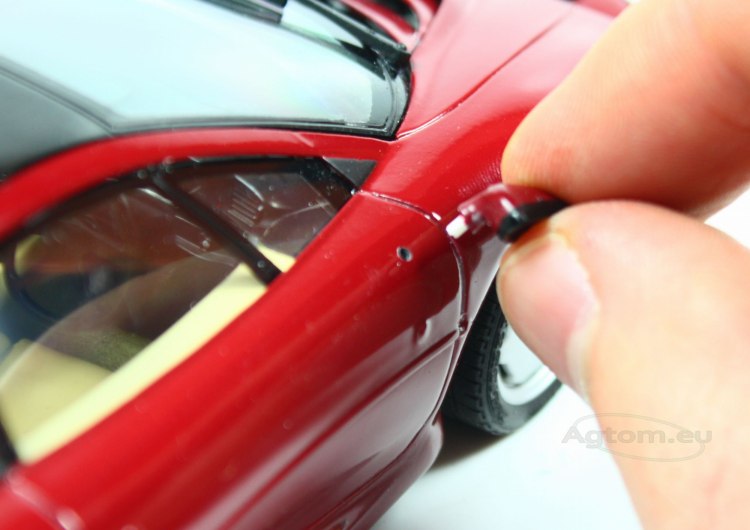
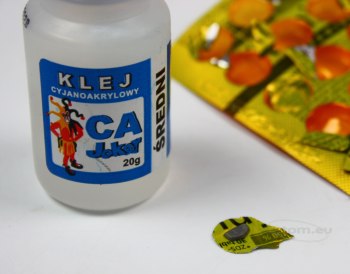
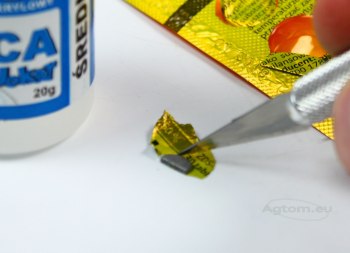
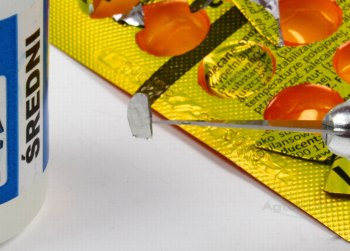
Mirror's glass can be made just like lights lampshades, using tin foil. Glue foil to the mirror with CA glue and remove any excessive foil. Now you have all shiny and more realistic mirrors.
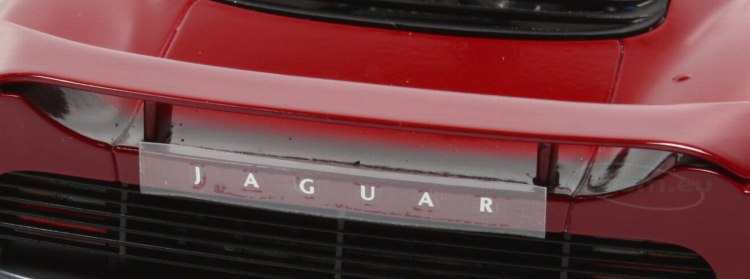
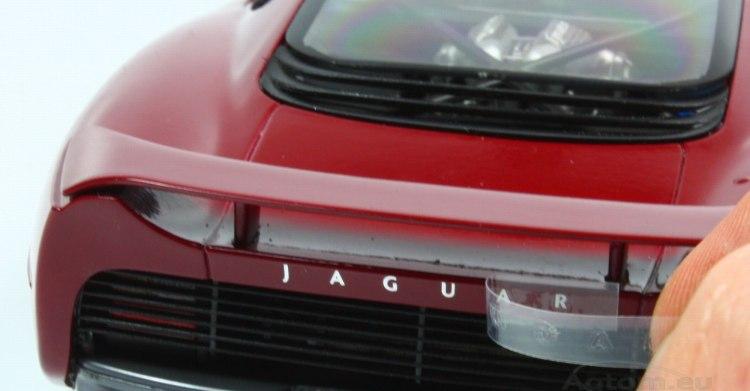
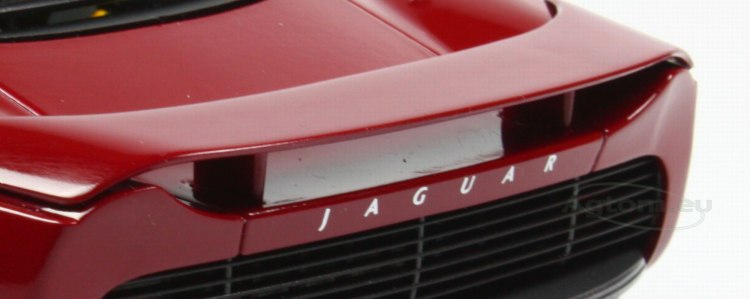
This particular model came with the the nametag for the back of the vehicle. Be careful to glue it horizontally as repairing any imperfections here will be very difficult.
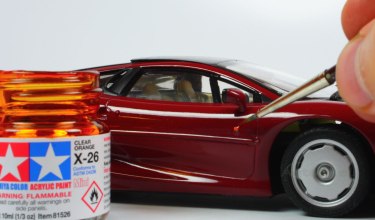
The last thing we have to do is painting blinkers. First, paint the blinker using X-11 Chrome Silver to give in shiny look. After the paint dries, use X-26 Clear Orange over it, to create a transparent effect.
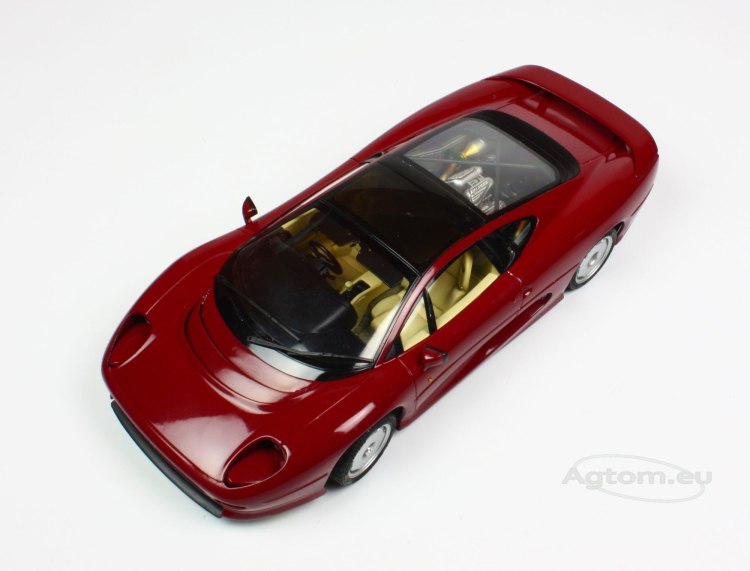
Our Jag is ready. It was one of our first car models in scale, we have used some new techniques and tried to show you how to create one of your first models with simple tips and tricks. Thank you so much for reading, we hope you find this tutorial useful and that you've learned something new. As always – happy modeling and have a great day.