No products
To be determined Shipping
0,00 zł Total
 en
en  pl en
pl en
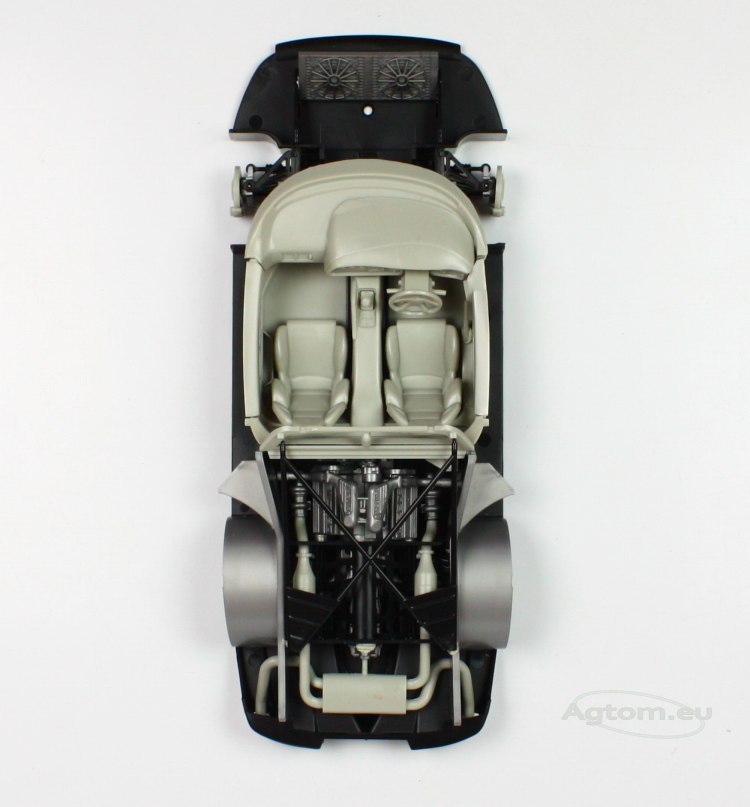
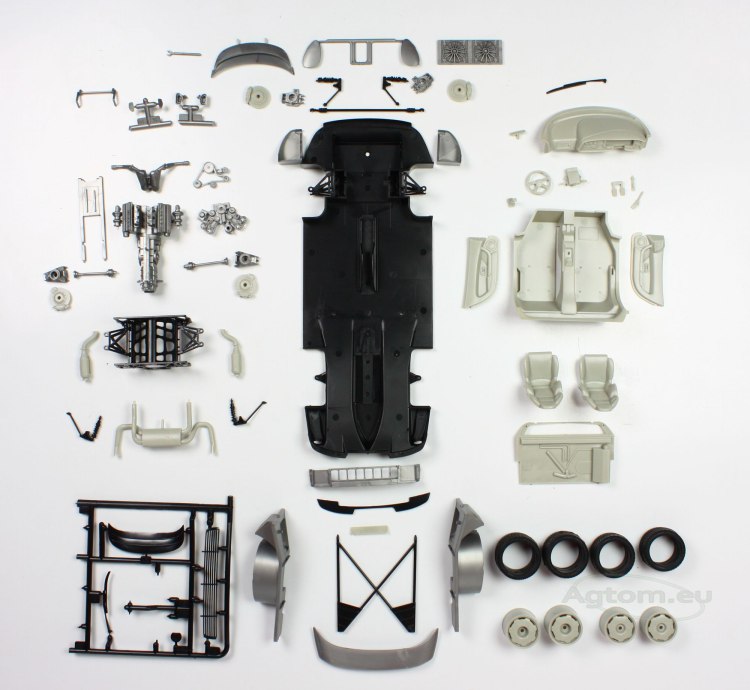
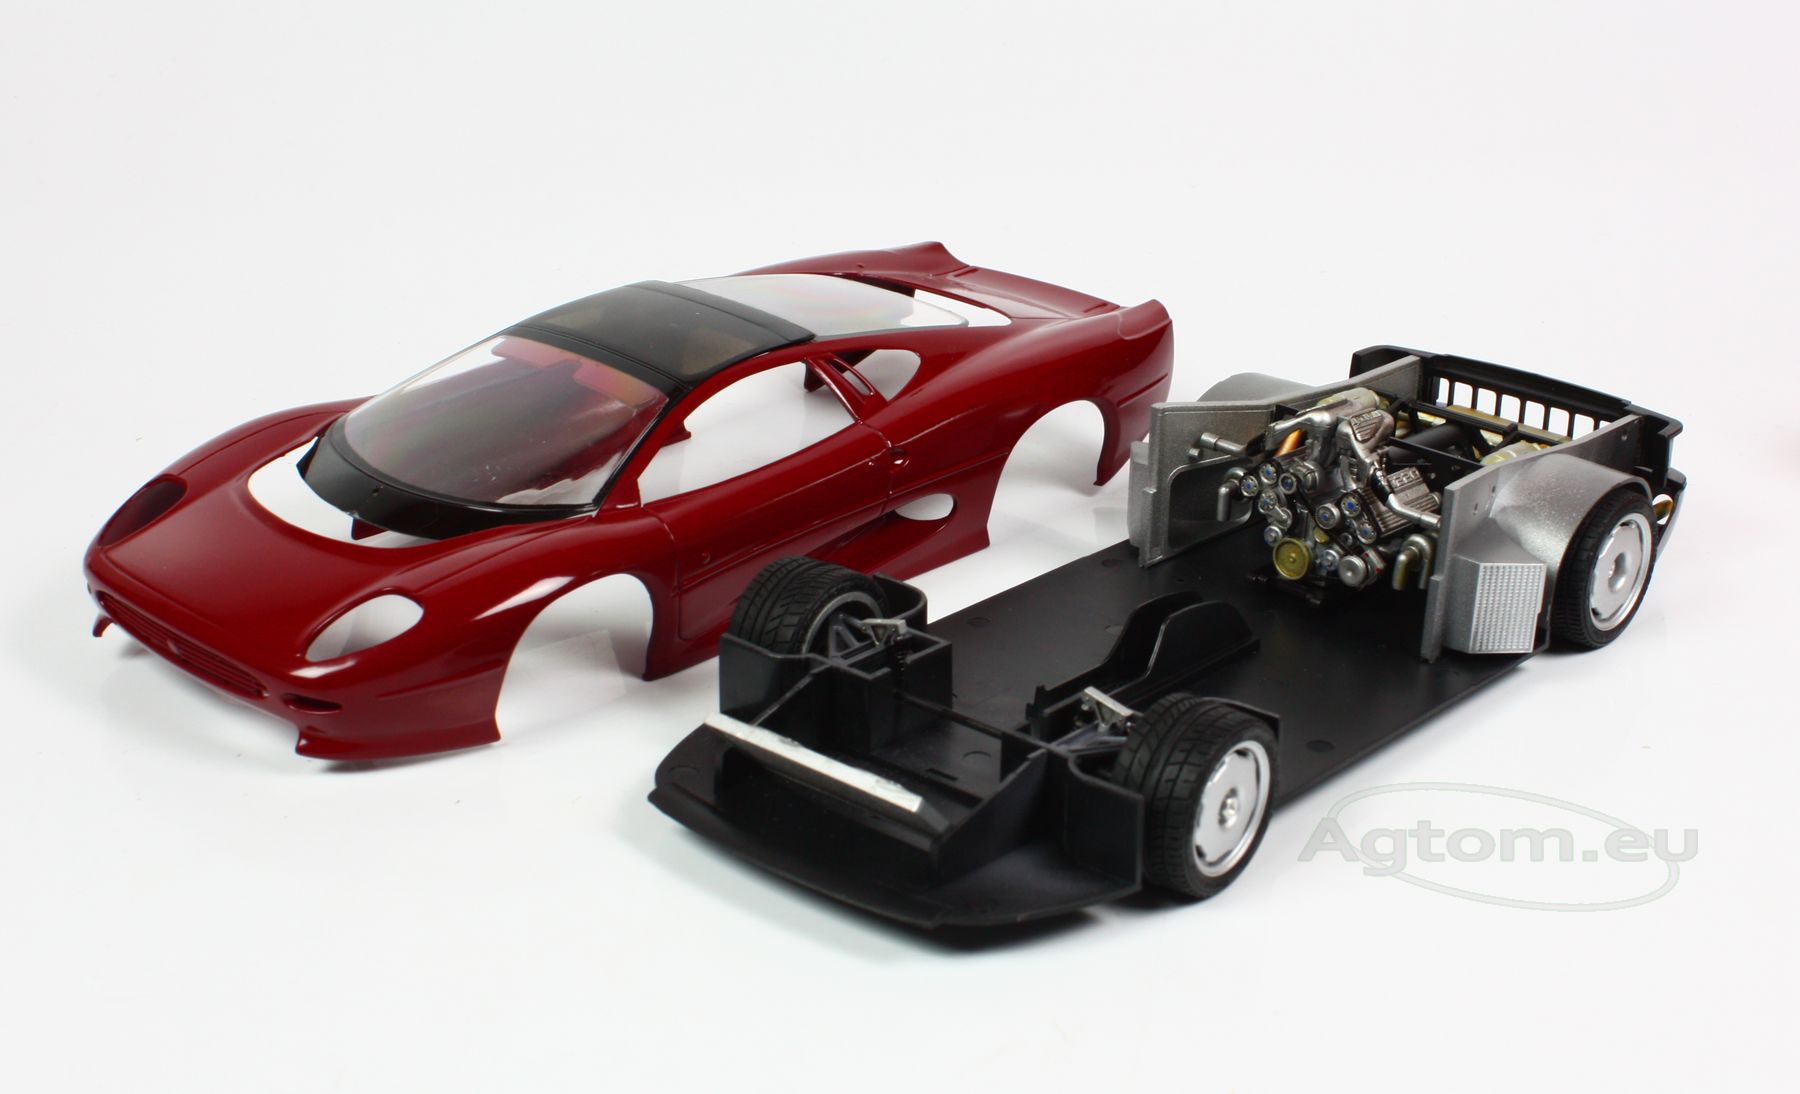
Before you glue all elements of your model, it is most important to check if everything fits well together. Even as a simple model as our Jaguar has loads of parts and elements, such as detailed interior and engine compartment. It's good to see if everything joins well because now you can correct almost anything.
It's good to assemble your model without gluing using Blue-Tack, Patafix or masking tape. With pre-assembly, you will see which elements are most important, which should be painted, which not, you will learn your car's design, and that will help you with further work.
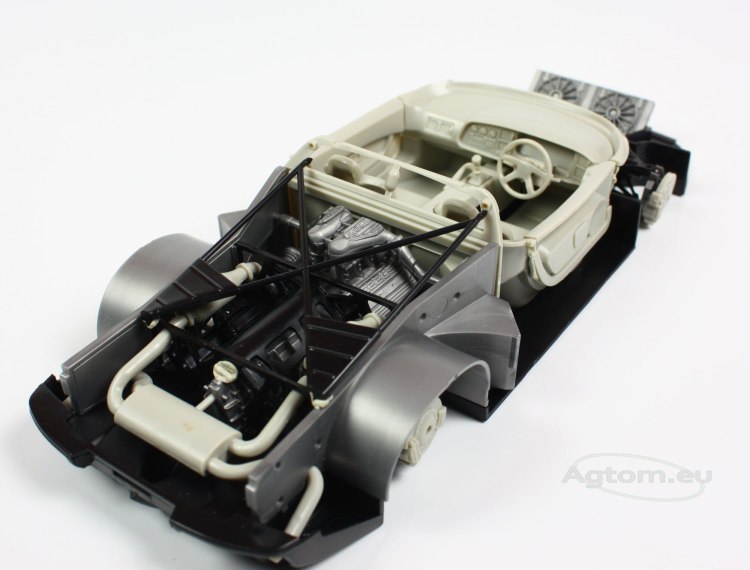
First and foremost, pre-assembly is for planning your paint job. You can decide which elements may be painted after gluing, and which must be painted before. In our Jaguar, for example, two main engine parts may be glued together at the start. However, if we glue timing gear to the main engine block, it will be almost impossible to paint all the smaller details, as cogs and sprockets.
If you want your job to be perfectly accurate, neat and clean, studying instruction charts is worth a while. It will prevent you from making any mistakes, and help you to assemble your model properly.
After we figure out what should come first, what can we glue now, what later, our model can be unassembled for further work.
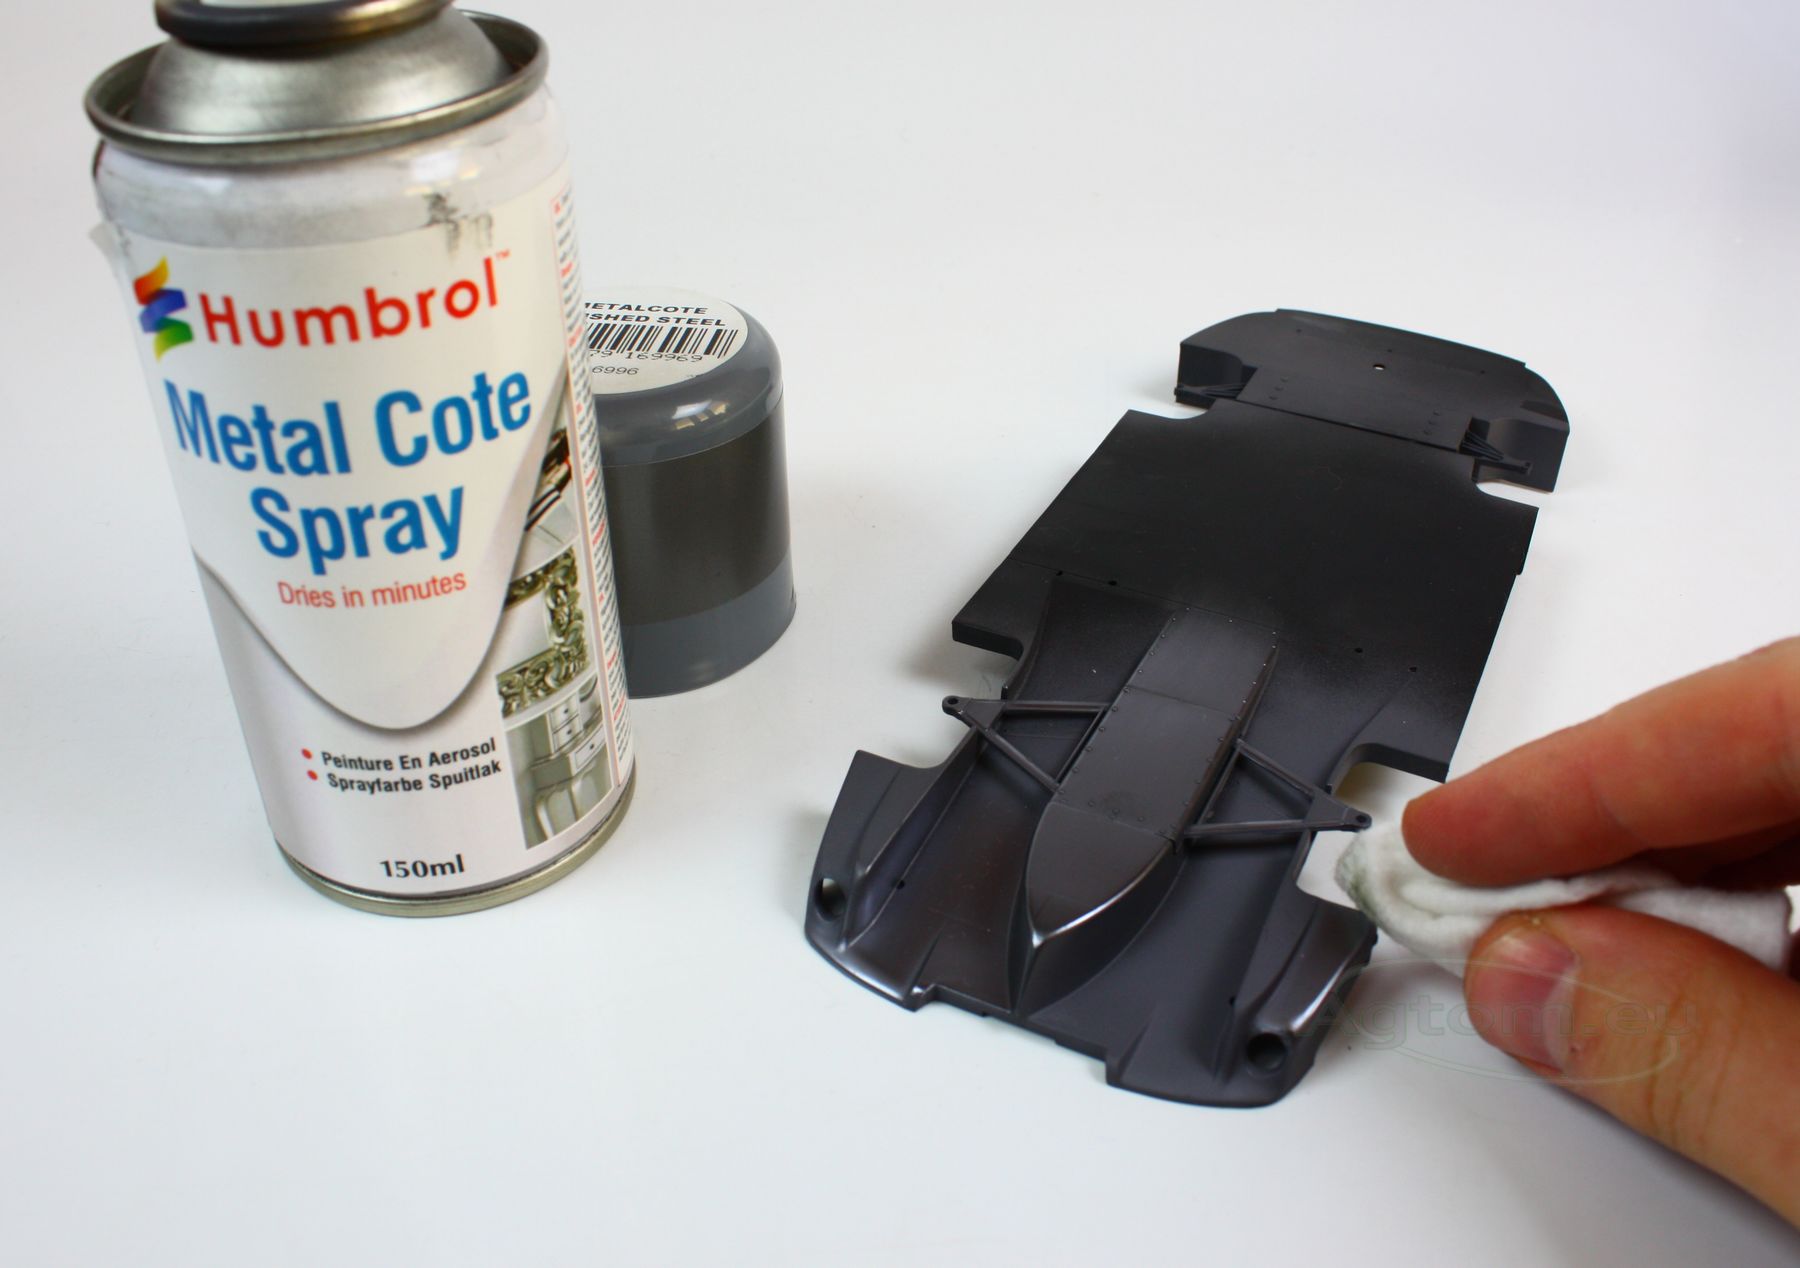
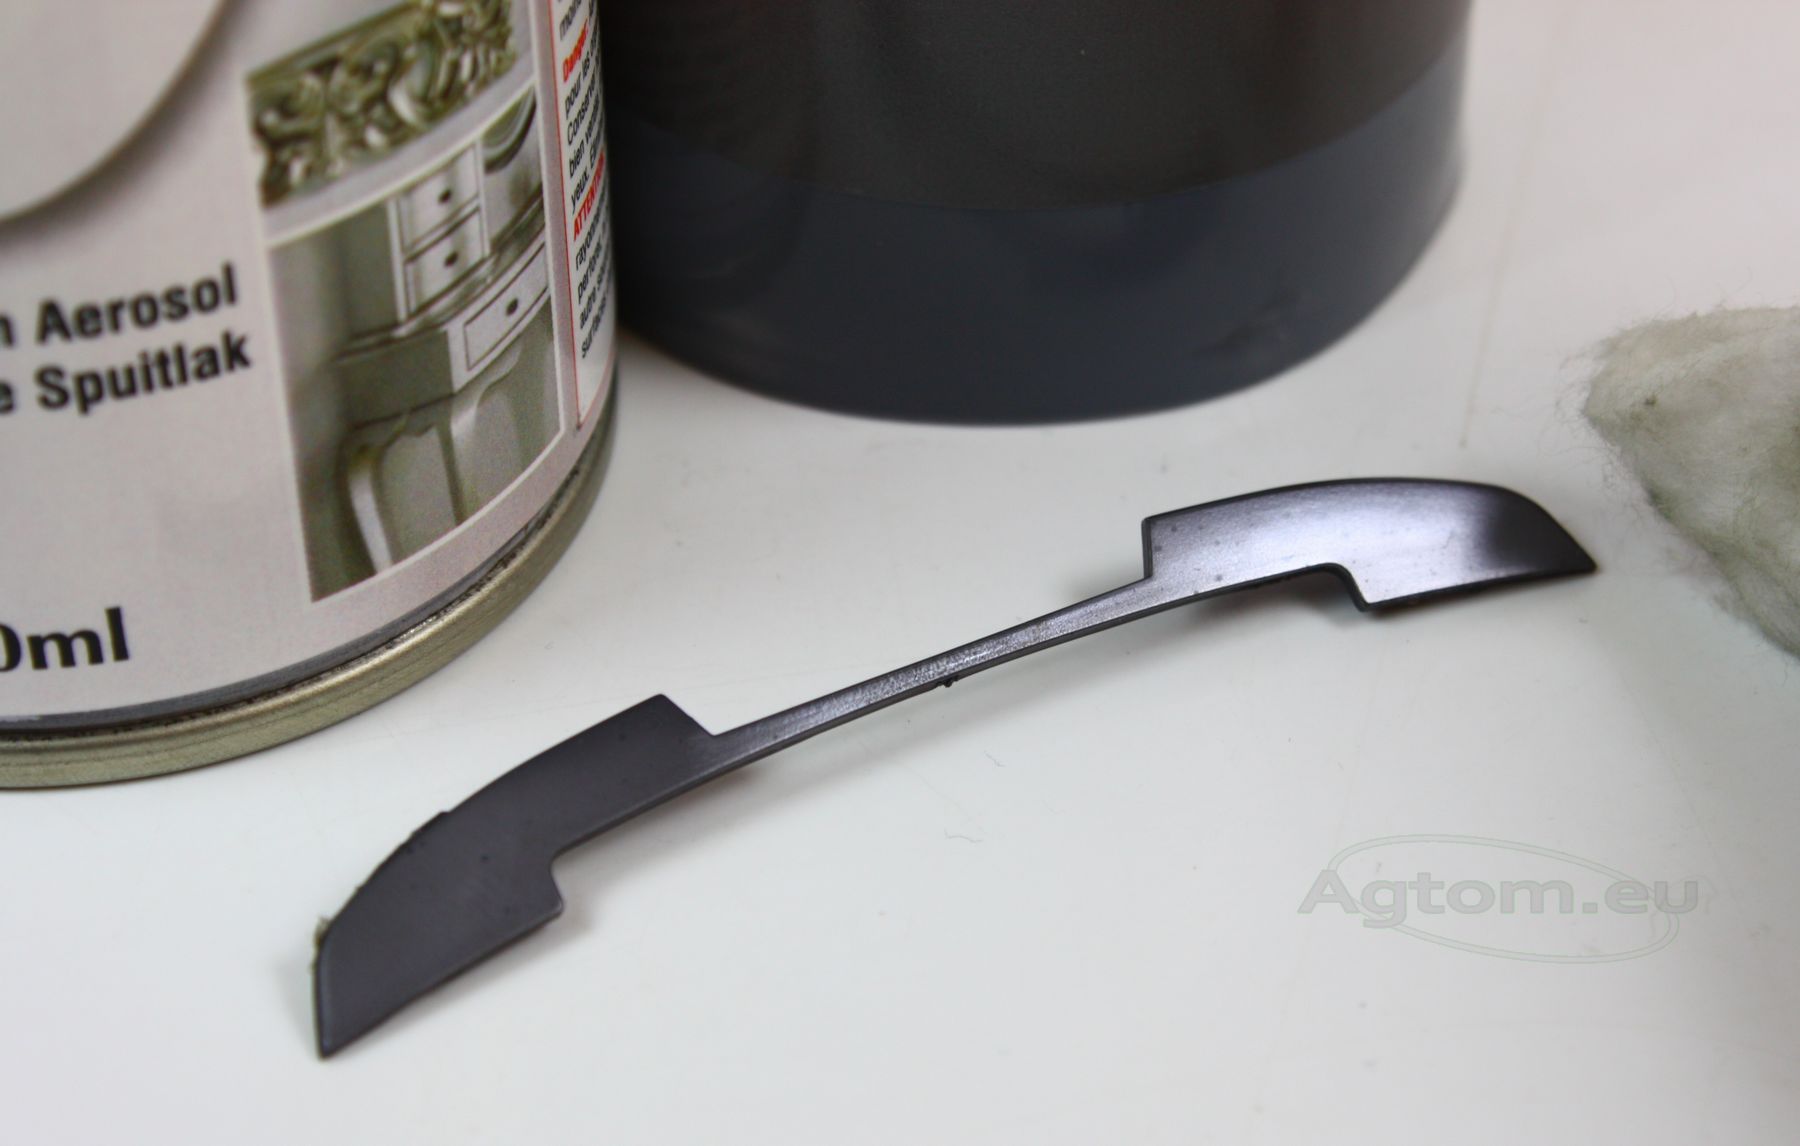
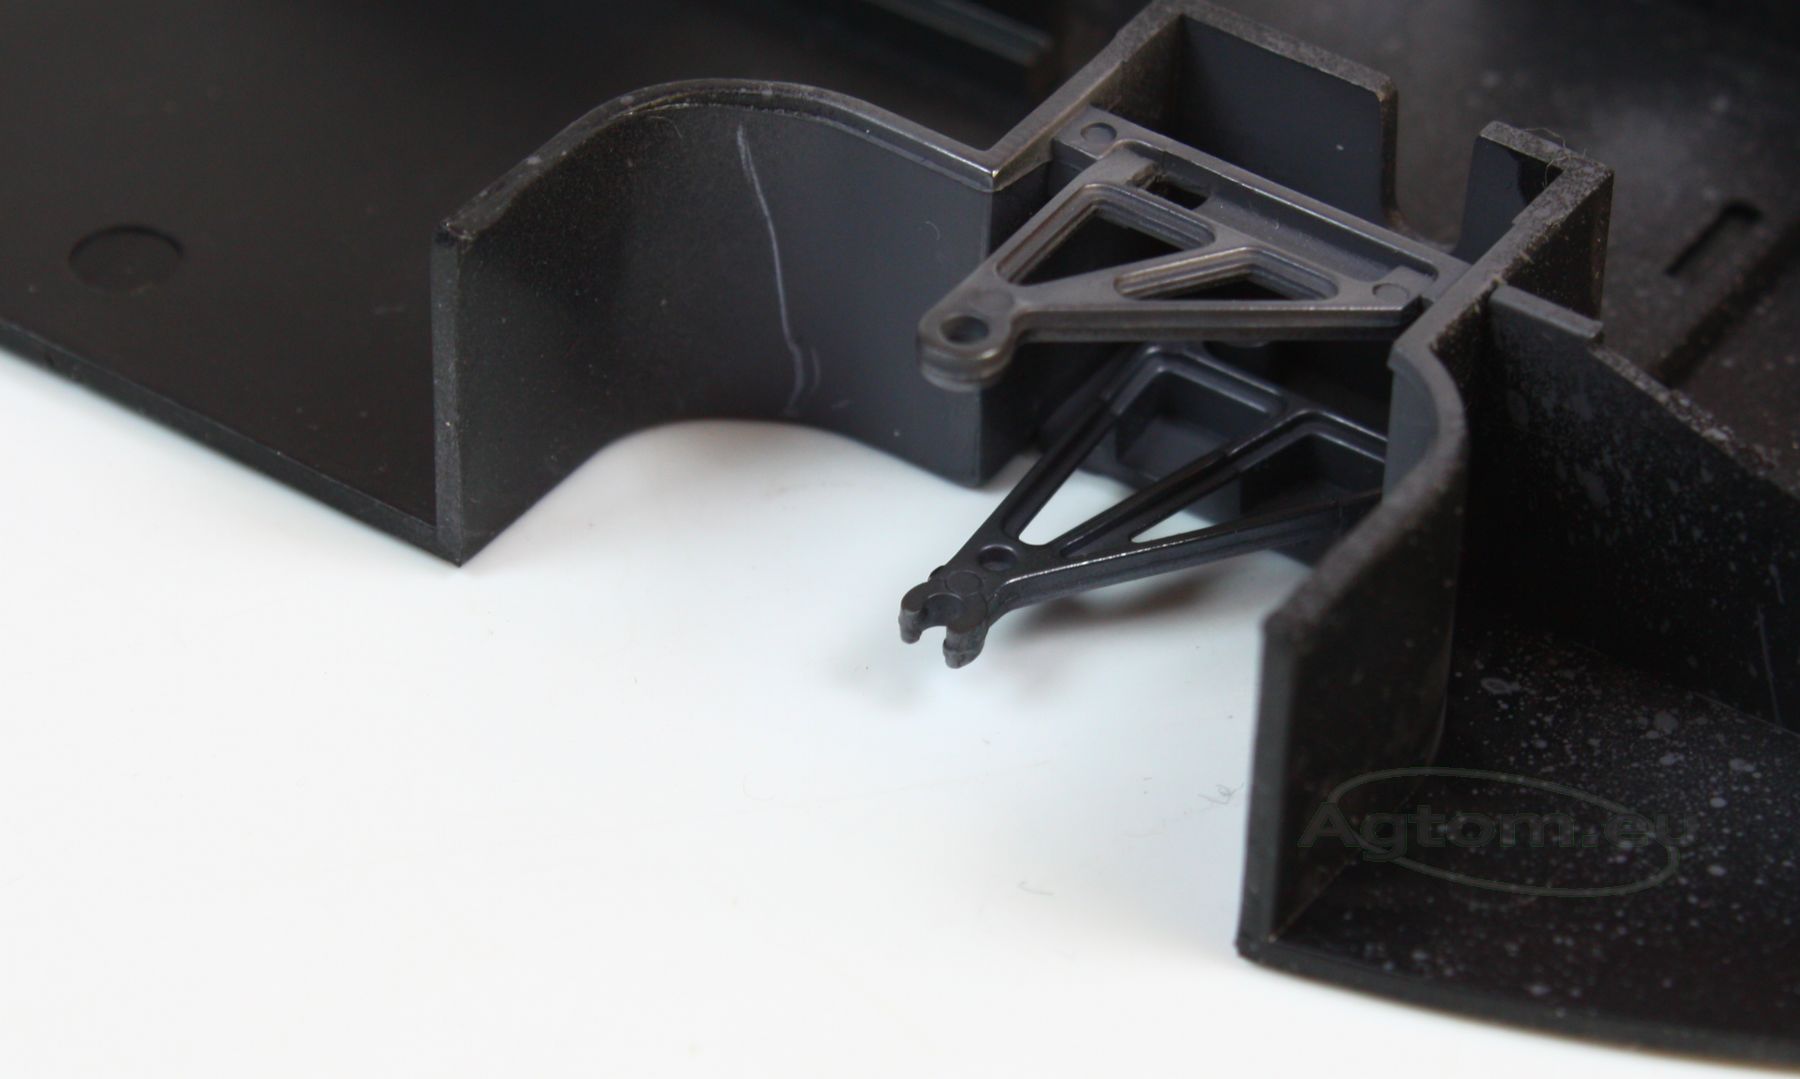
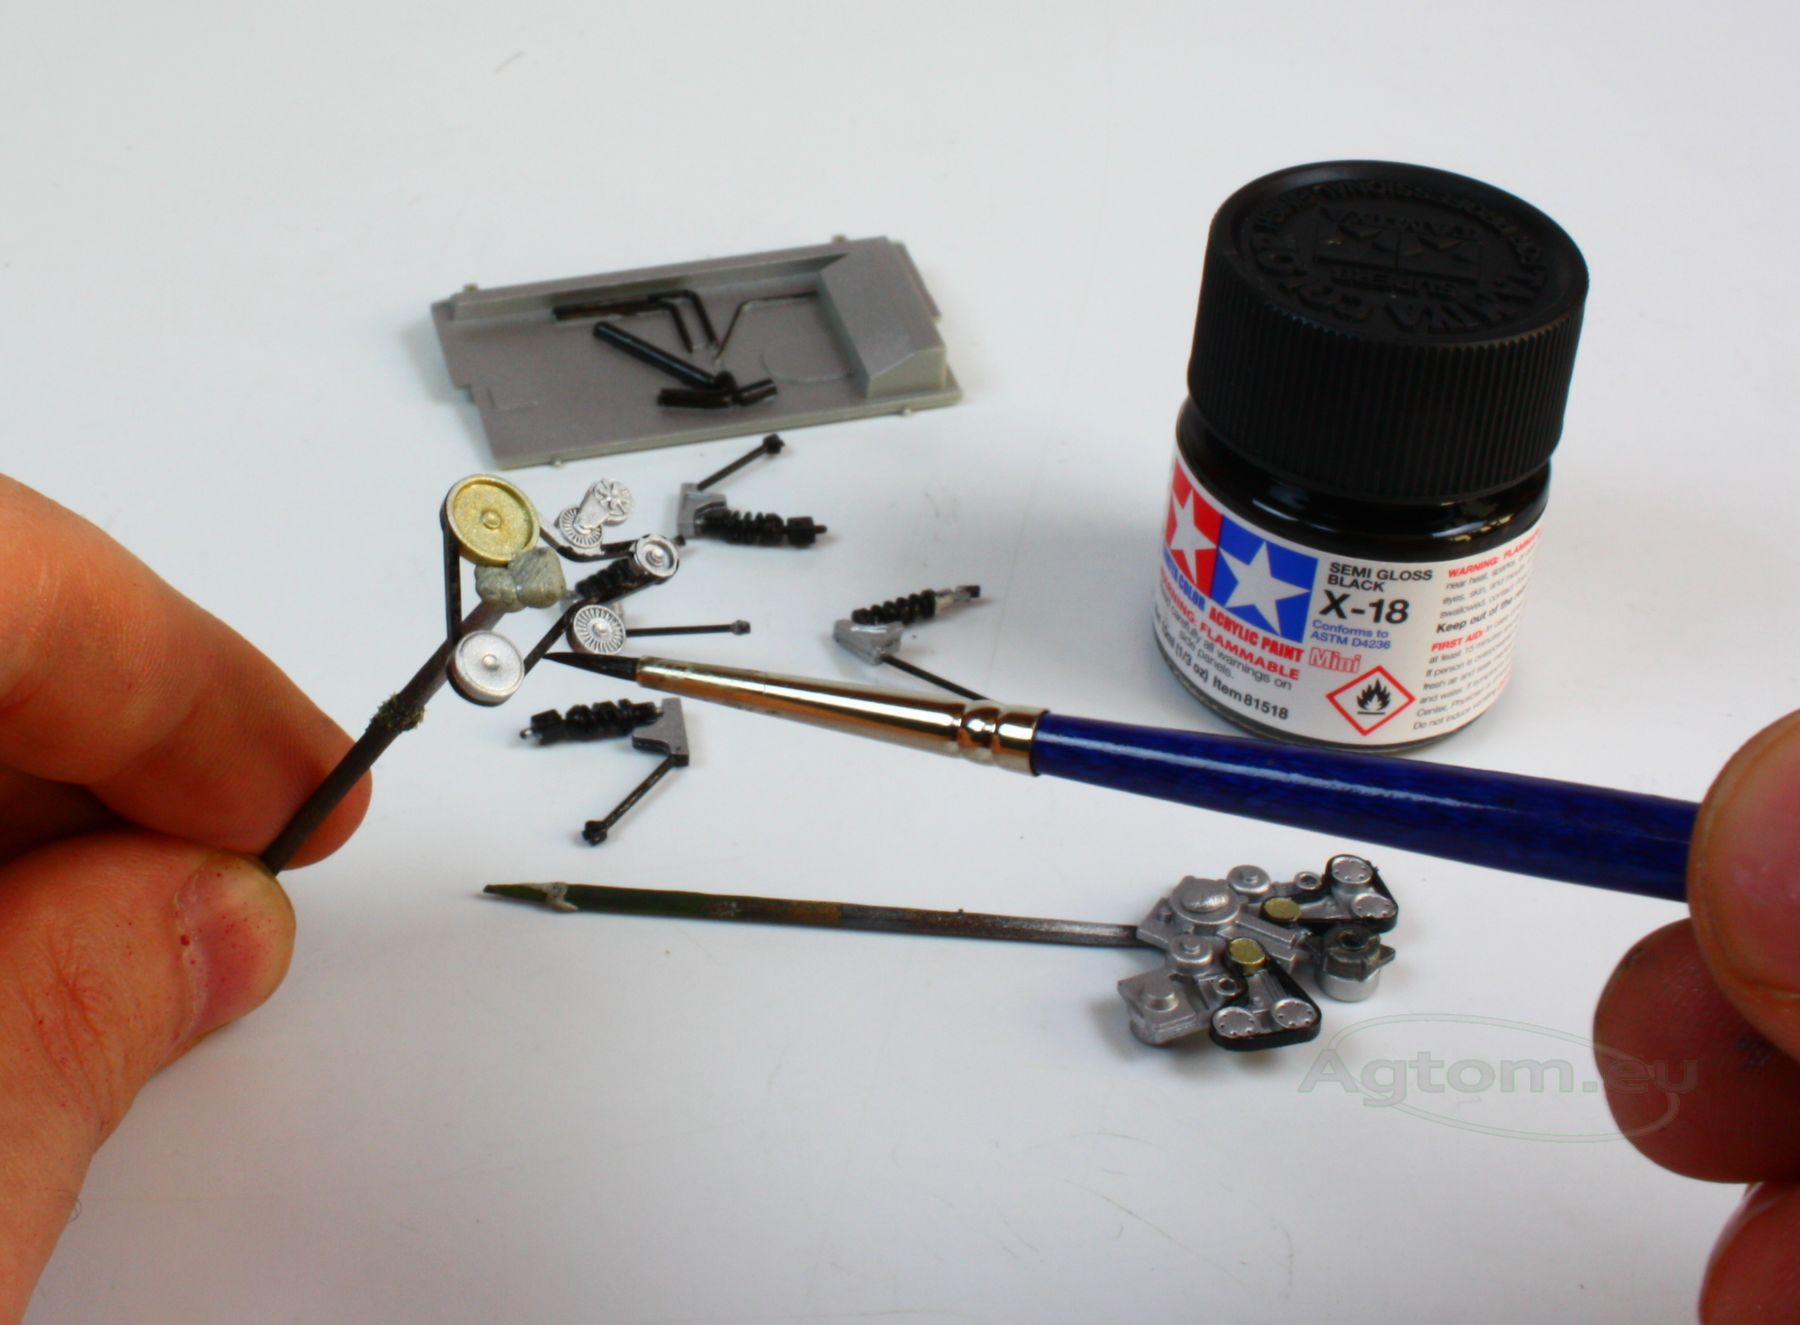
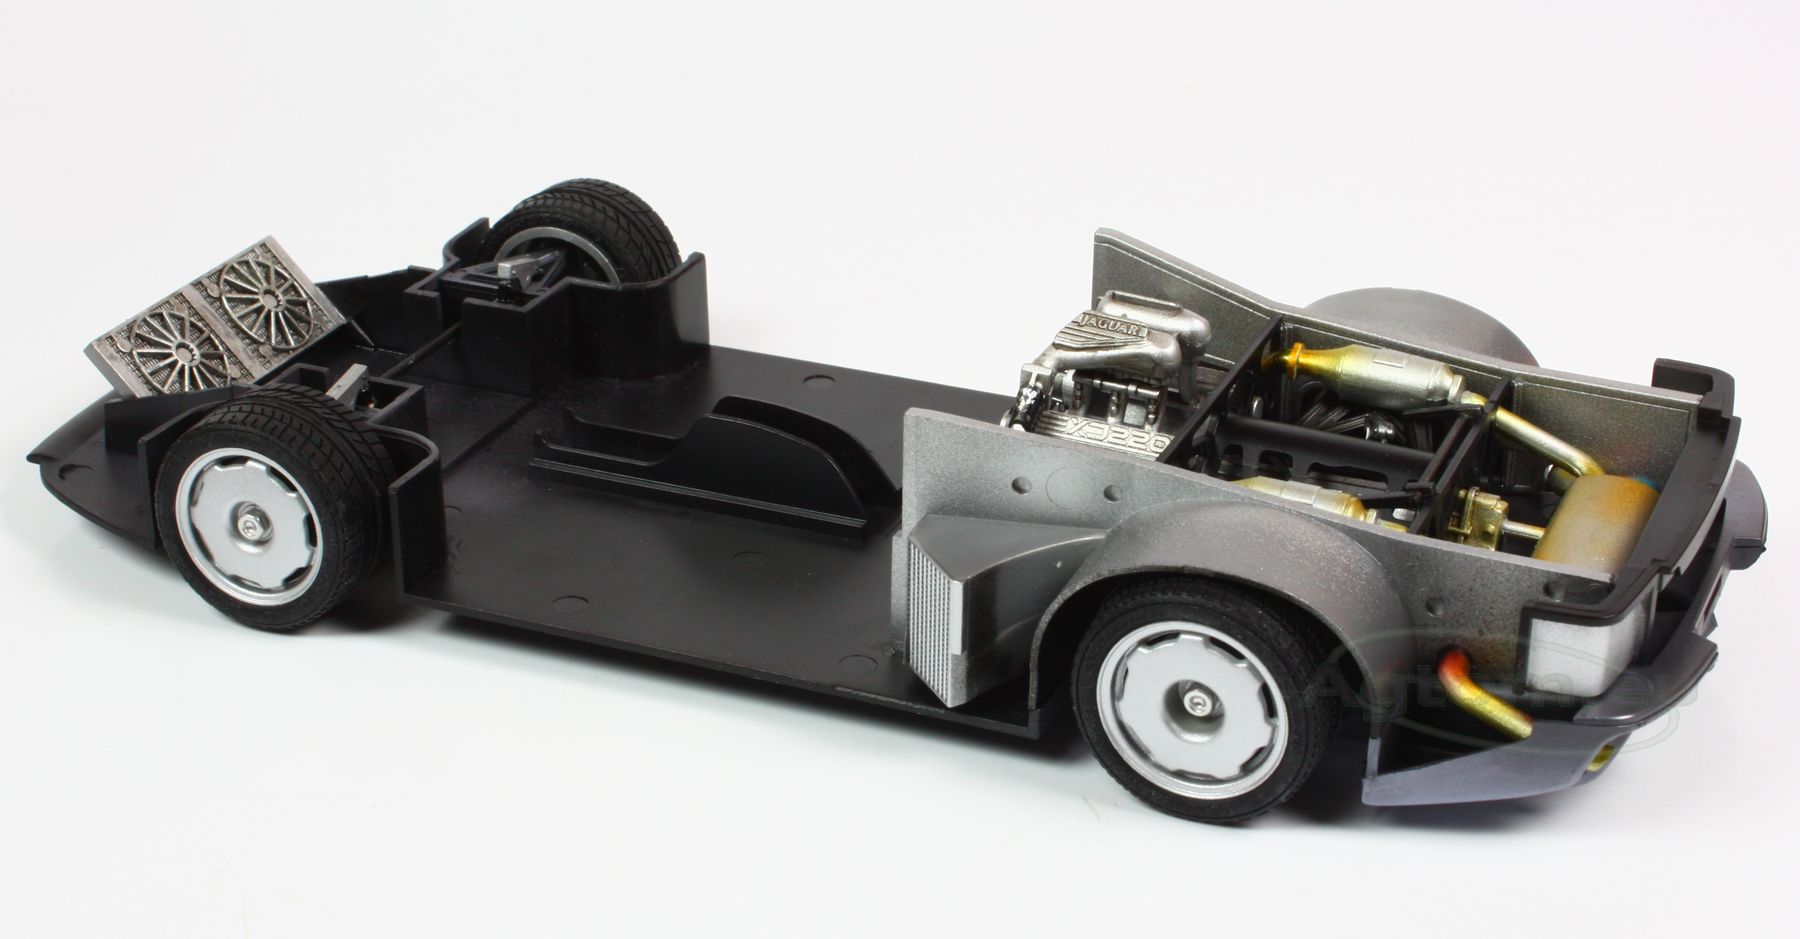
Panel on the back of the vehicle and swingarms should be painted with Gunmetal, dark-grey colour similar to bare steel. Tamiya has two colours suitable for this task – X-10 Gunmetal, which is a bit more shinier, and flat Tamiya XF-56 Metallic Grey. If you will search for Gunmetal, you will find this colour in each palette.
During this project, we wanted to test Metalcote paint for the first time. We used Humbrol Polished Steel 996 spray (also available as regular enamel paint No. 27003). Metalcote dries with matt finish, but after slight polishing it becomes shiny. It gives great results on bigger areas, which can be polished on the edges, so you can get natural reflections on the painted surface.
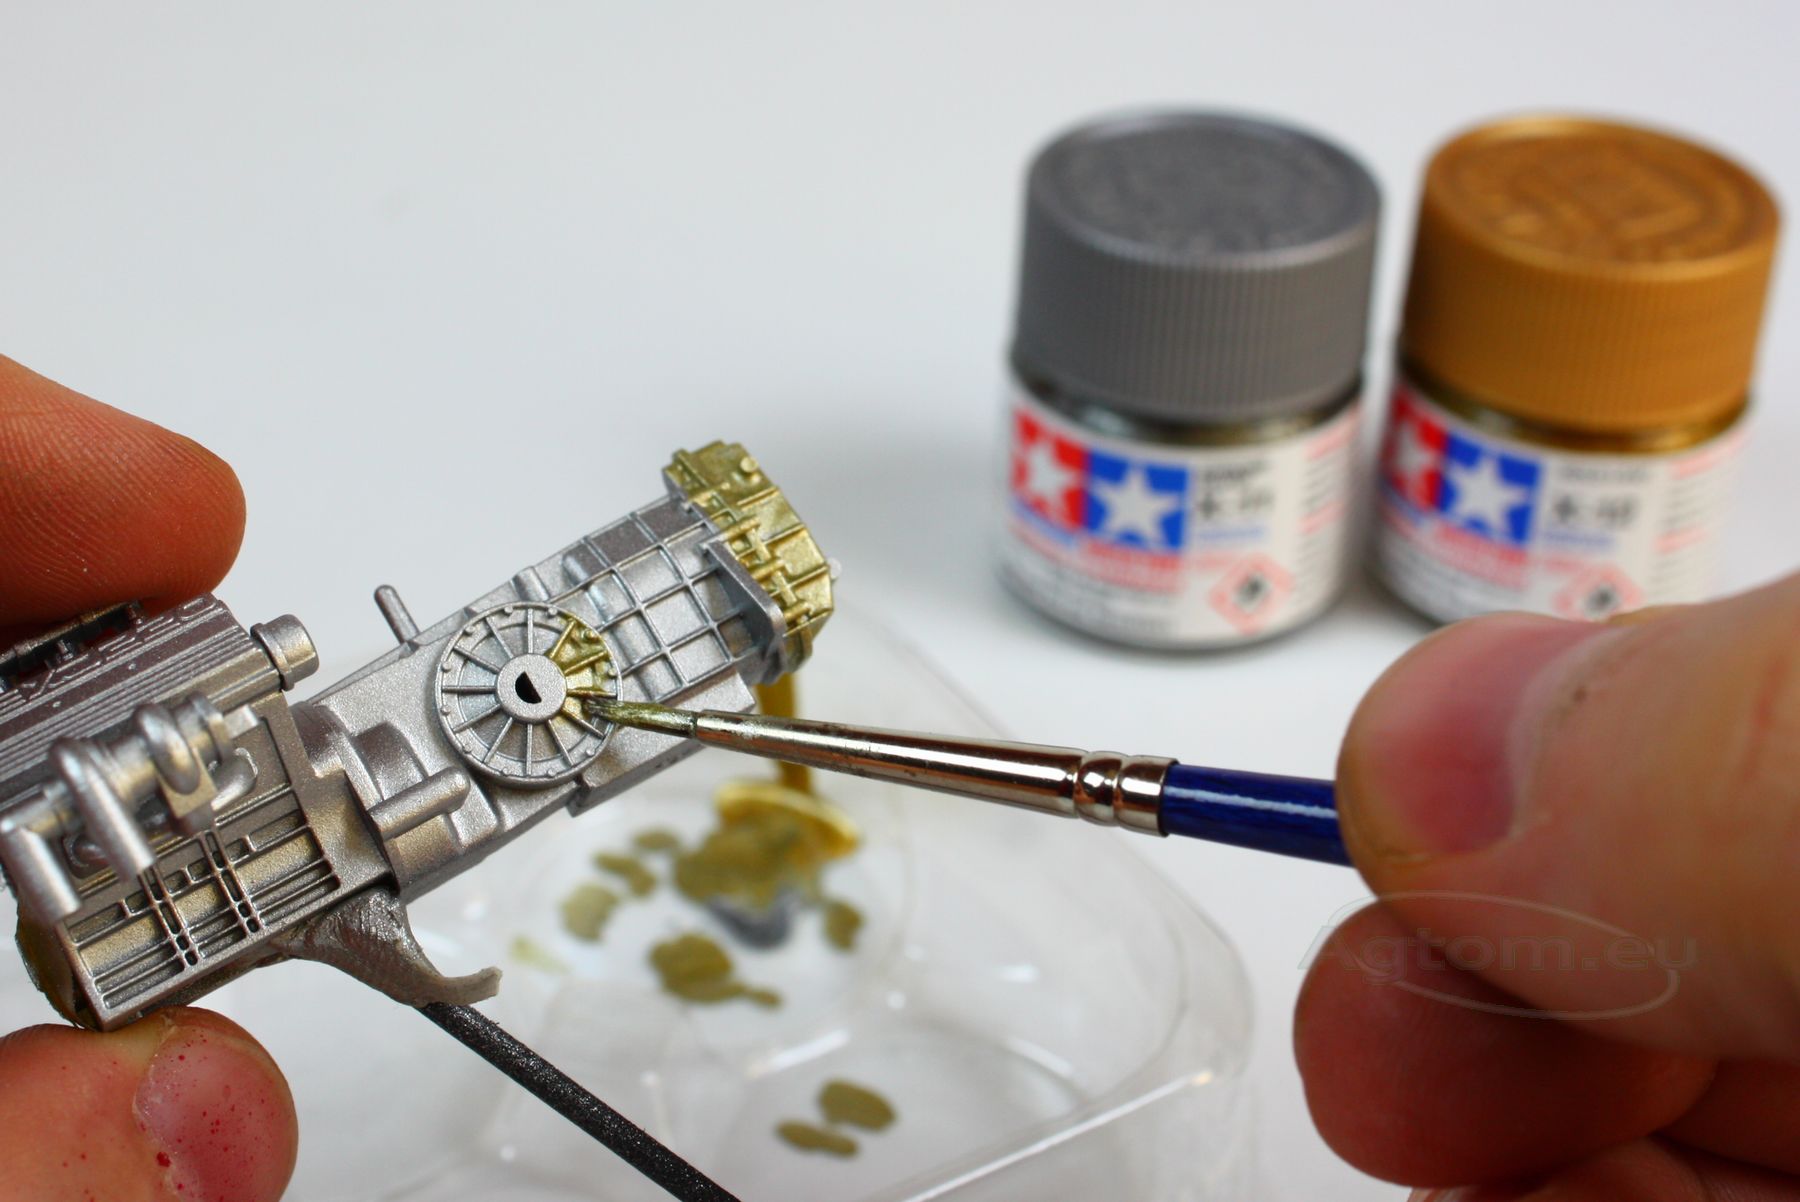
Paint each of component one by one.
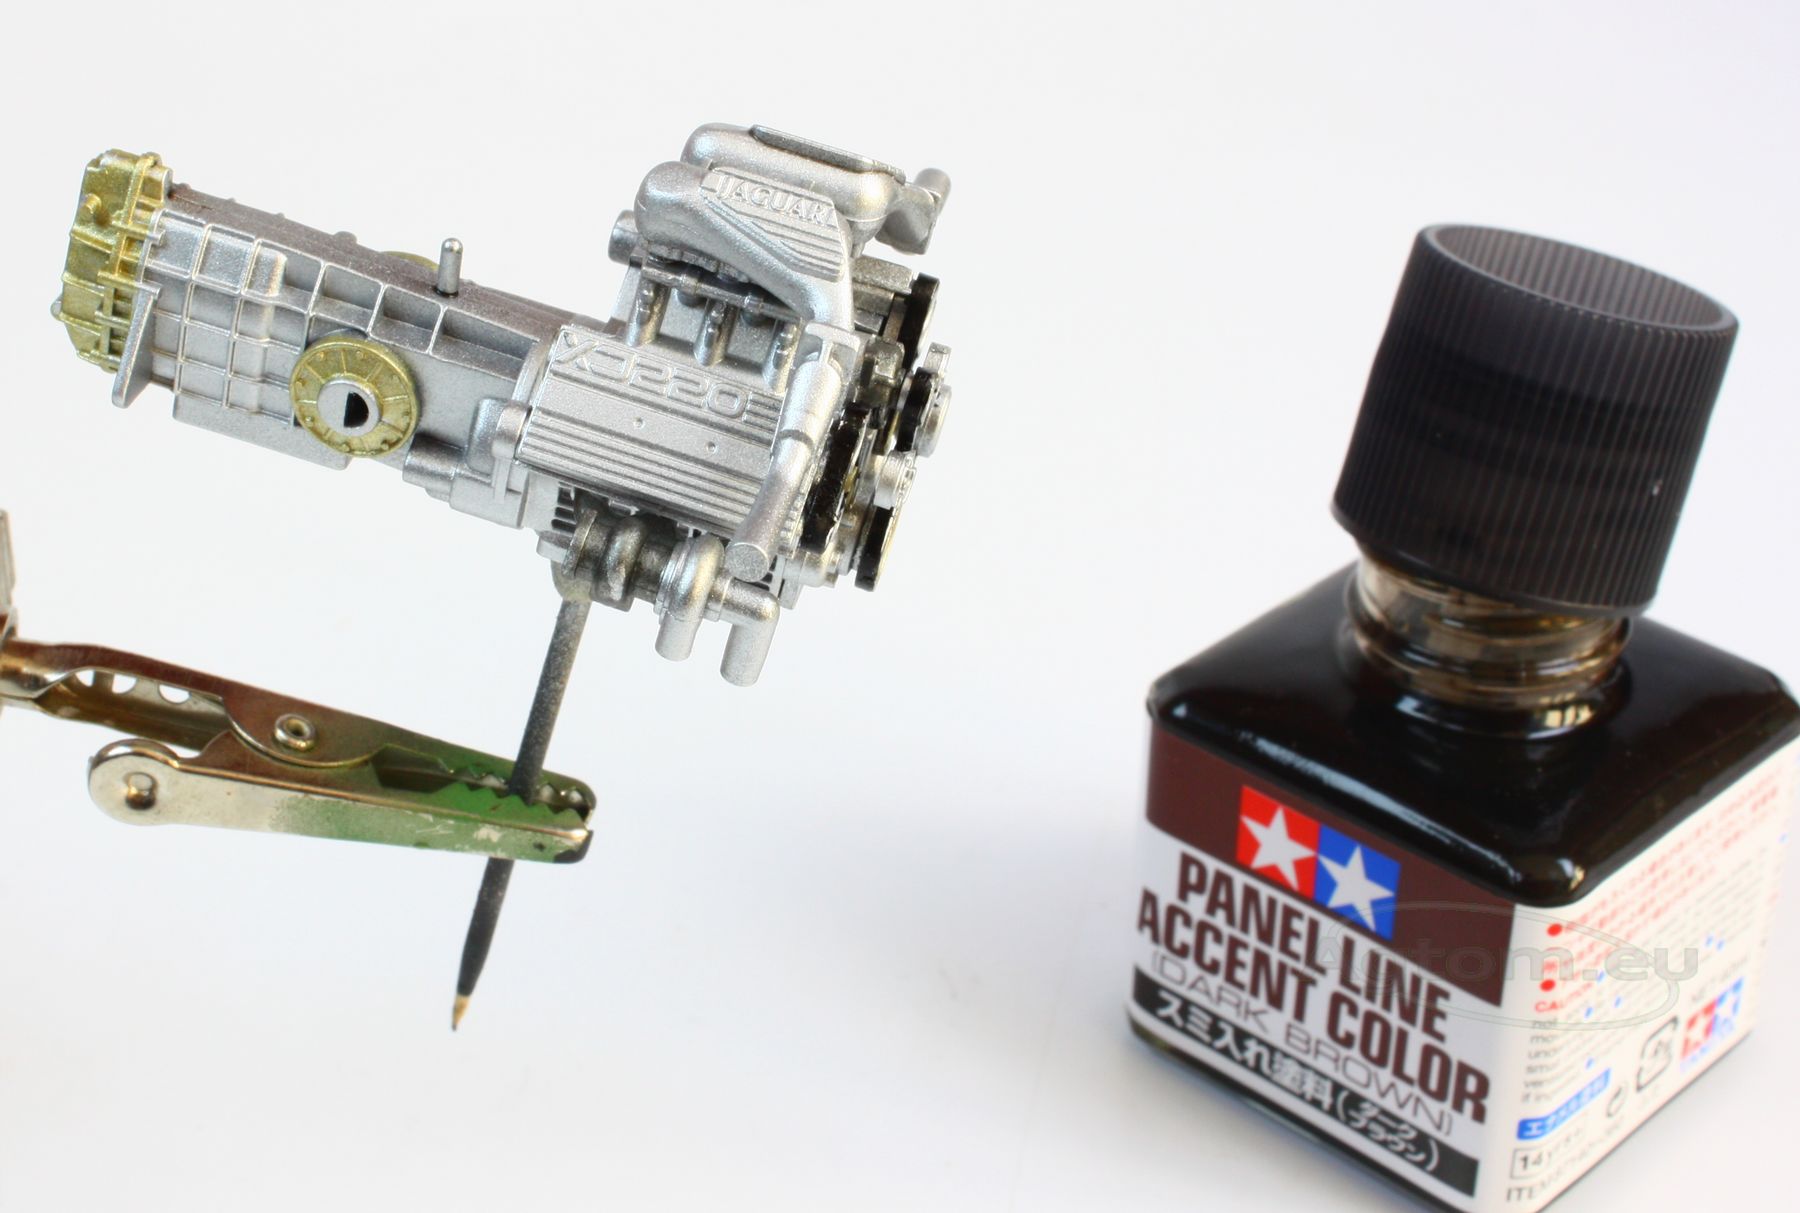
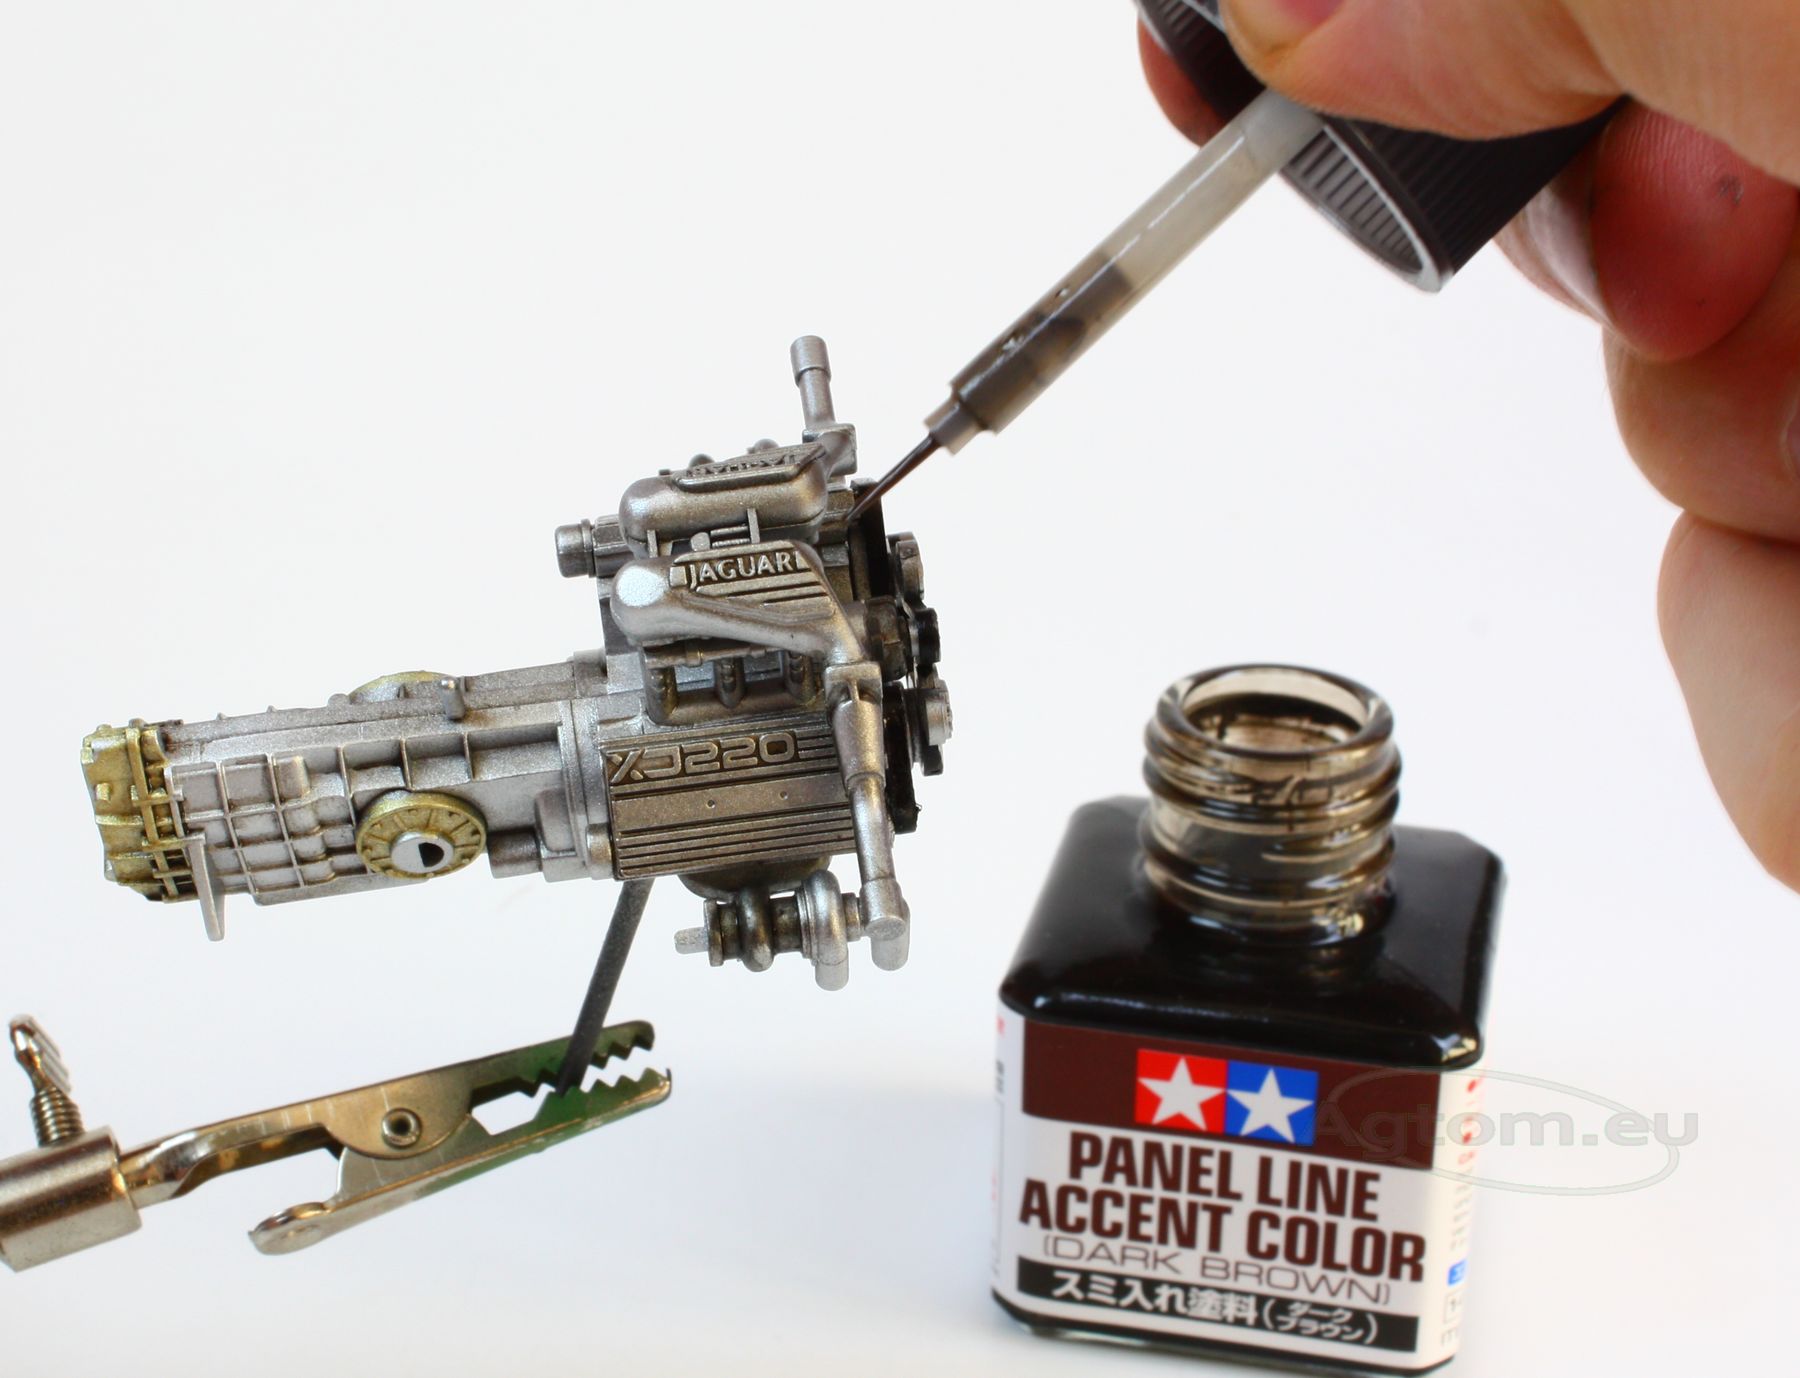
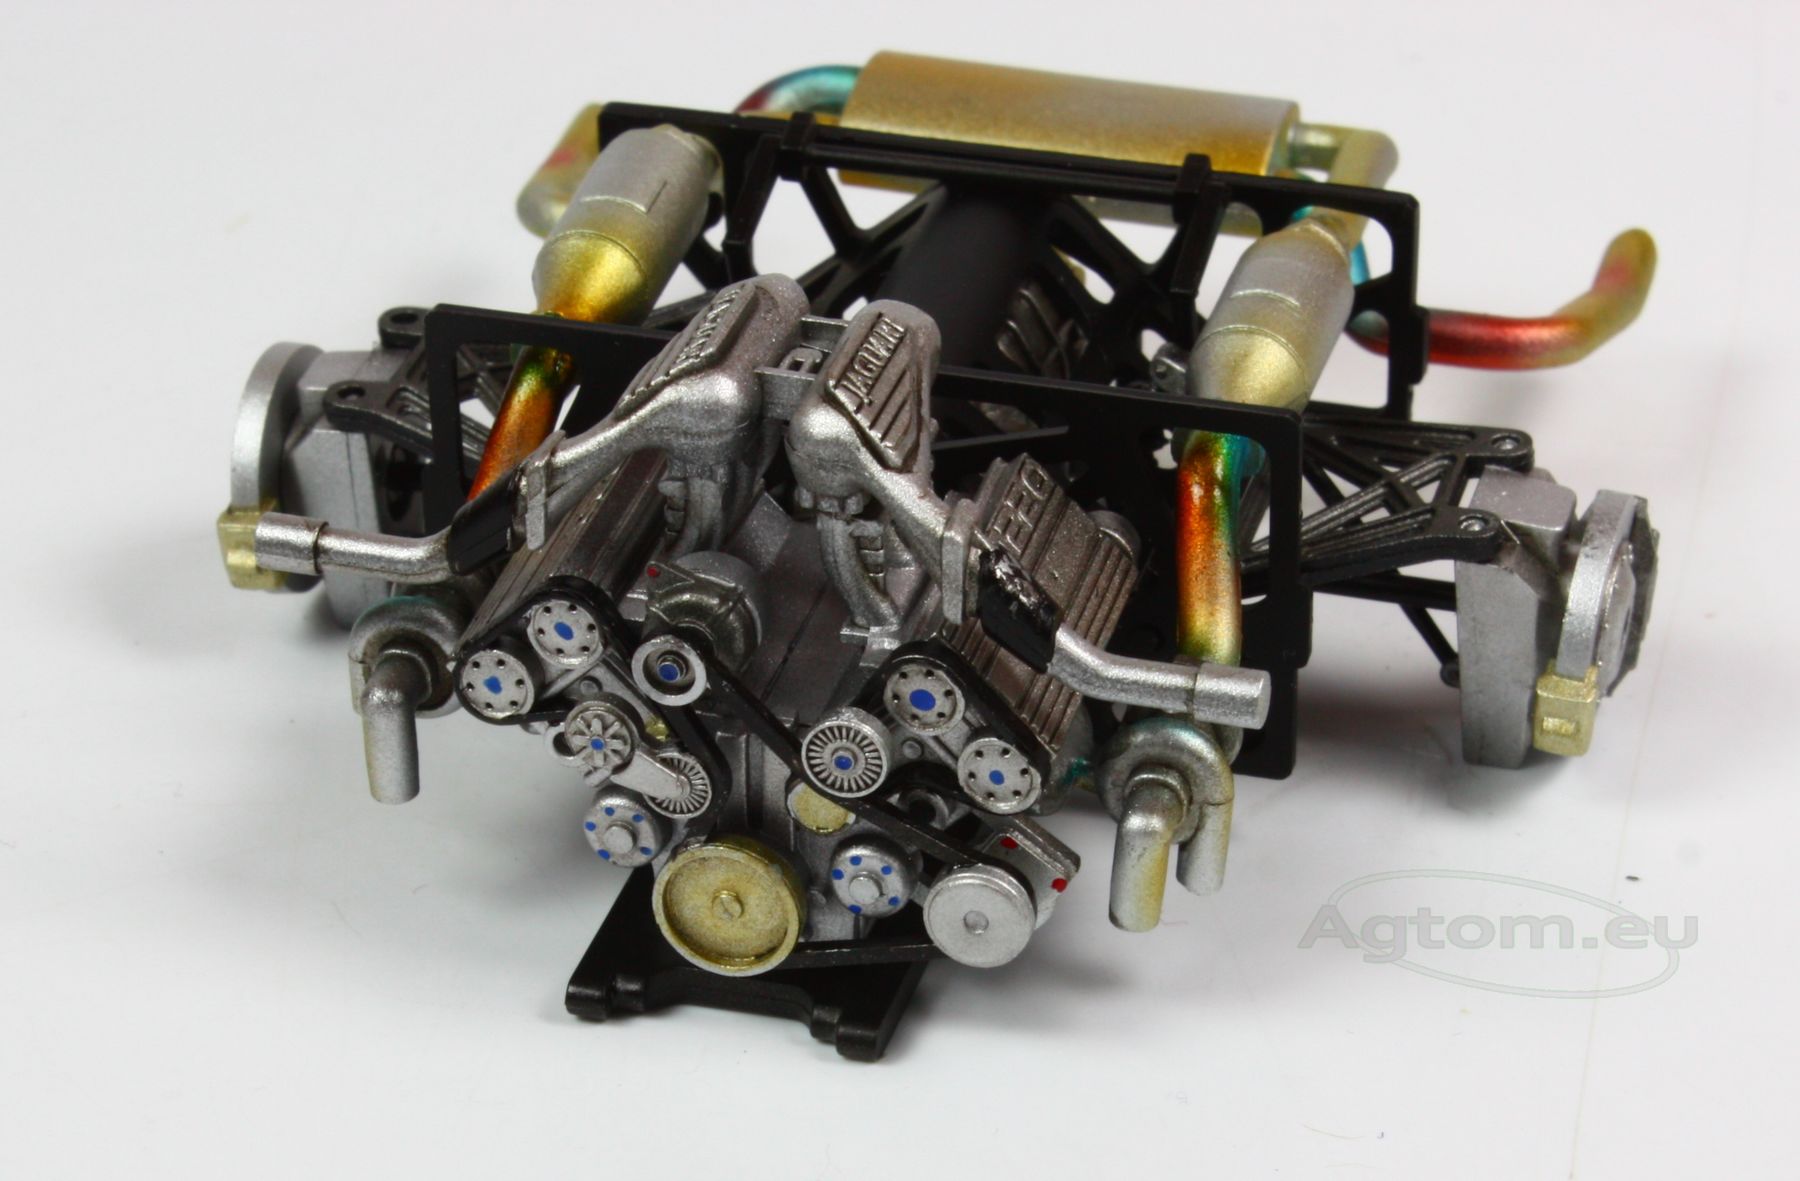
When the paint dries, we can assemble all pieces of the engine together. Pure silver, shiny and brand new looking engine doesn't look realistic, so we've decided to give it a little-spent look. The quickest and easiest method to do so is using a wash. You can make it by yourself or use one of the ready-to-use washes from Mig, Vallejo or Tamiya. We decided to try our Tamiya Panel Accent Dark Brown, as its most suitable to make engine dirt. Panel Line from Tamiya is very convenient too, as it has a brush under the cap. The product is very thin and it distributes perfectly on all nooks and crannies.
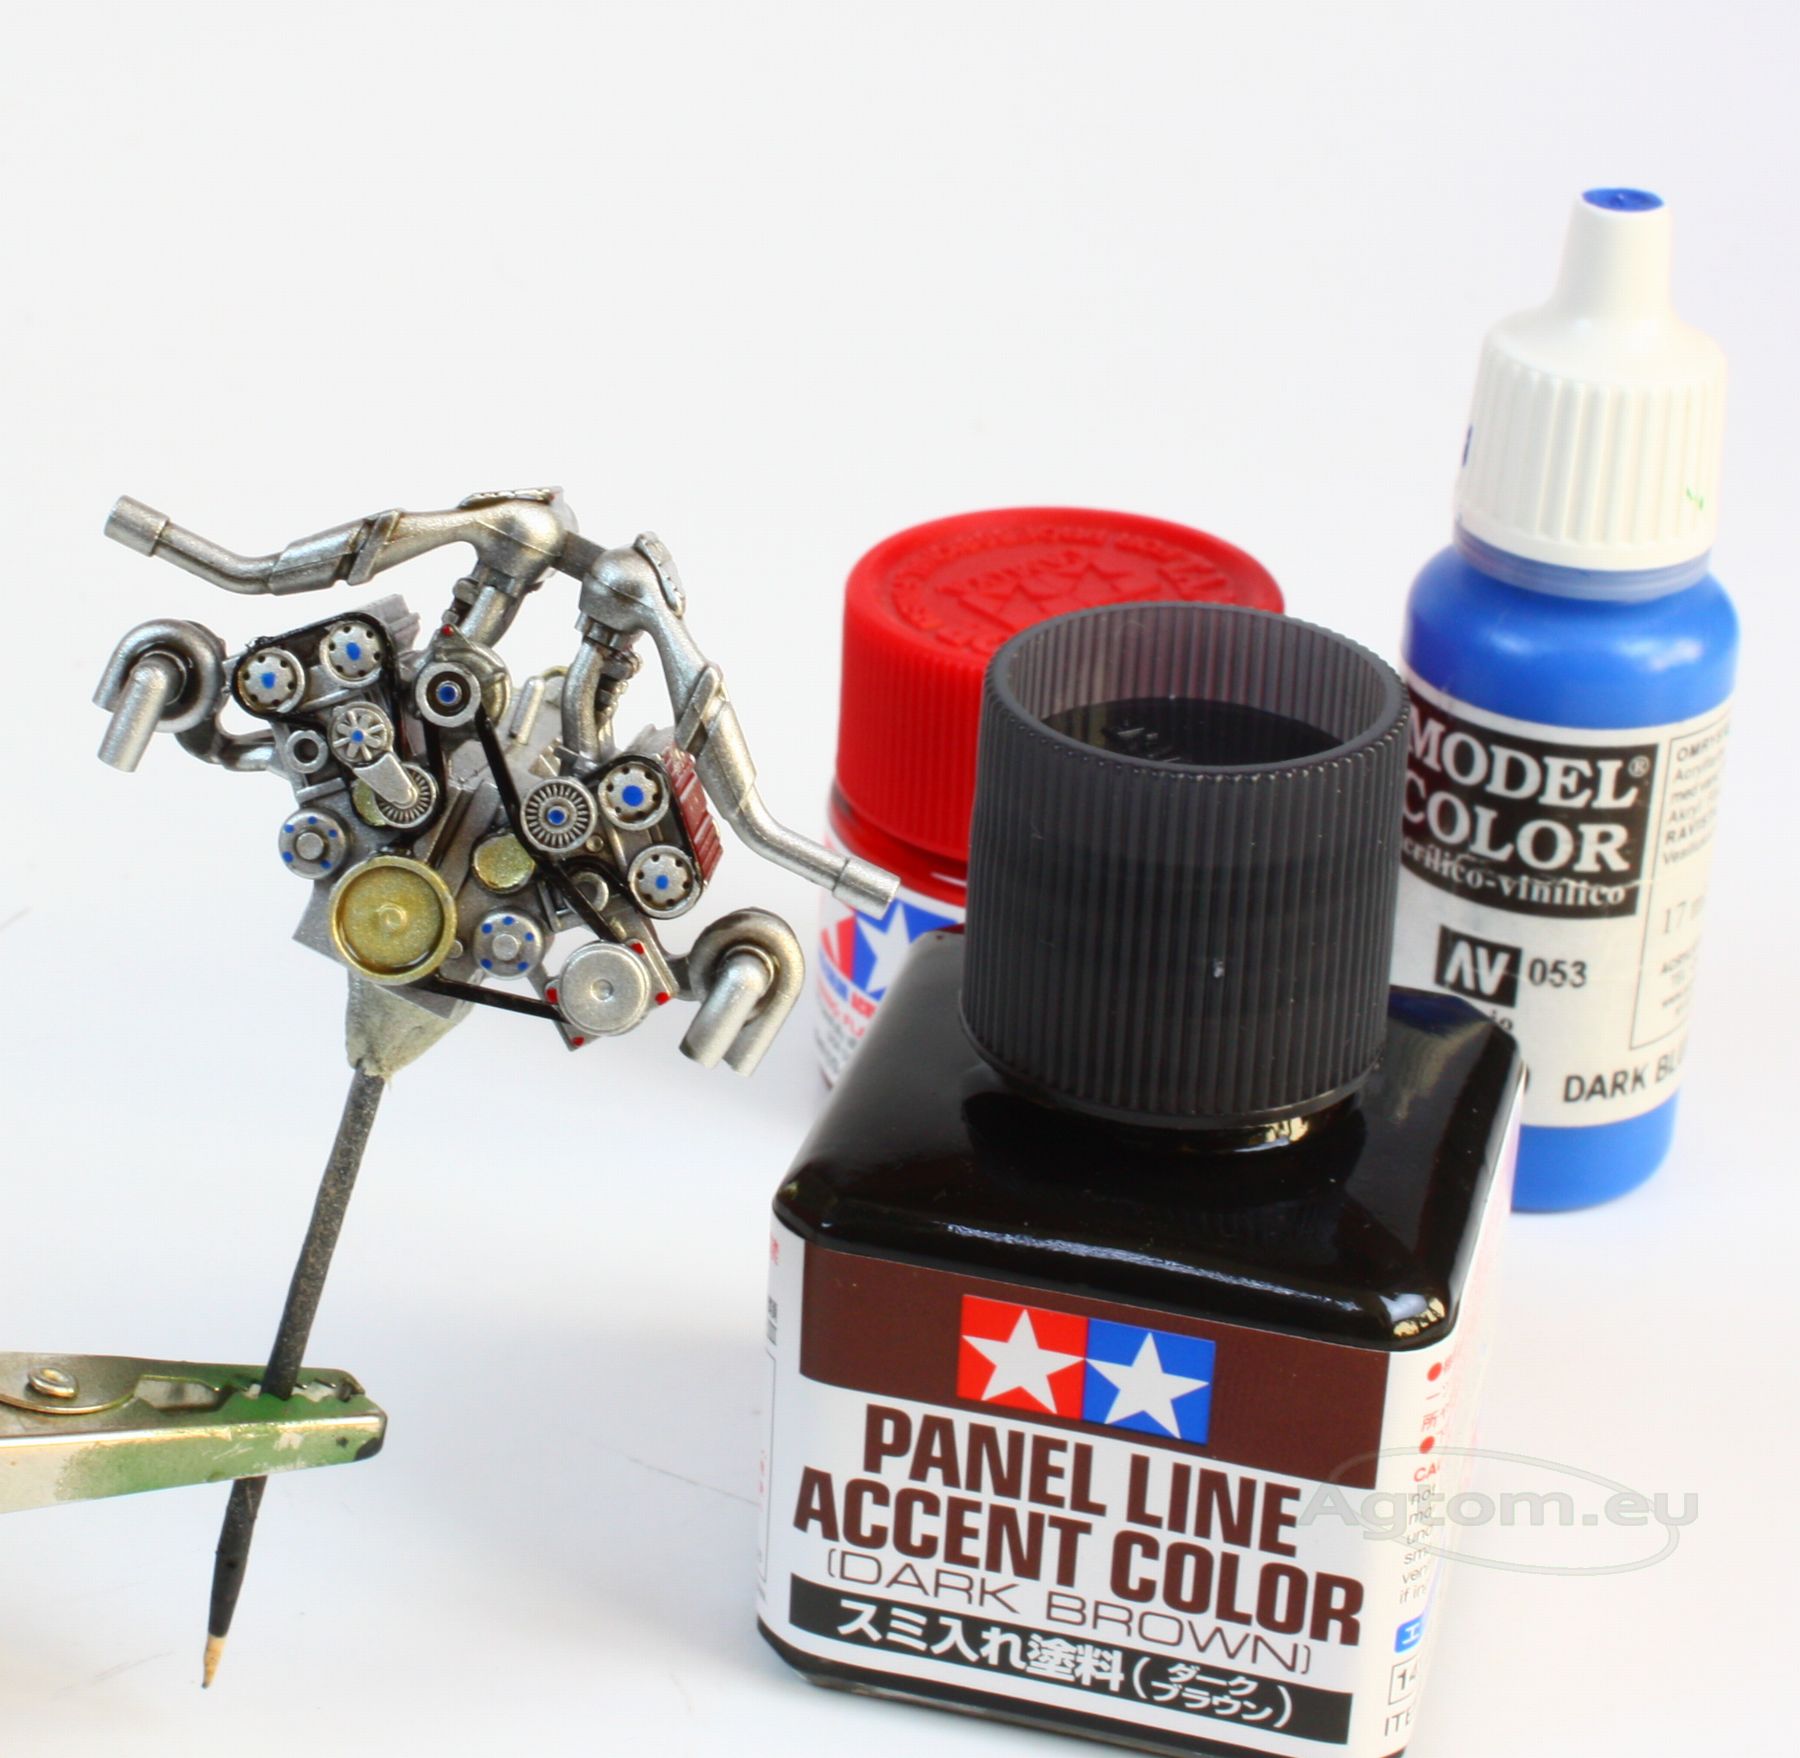
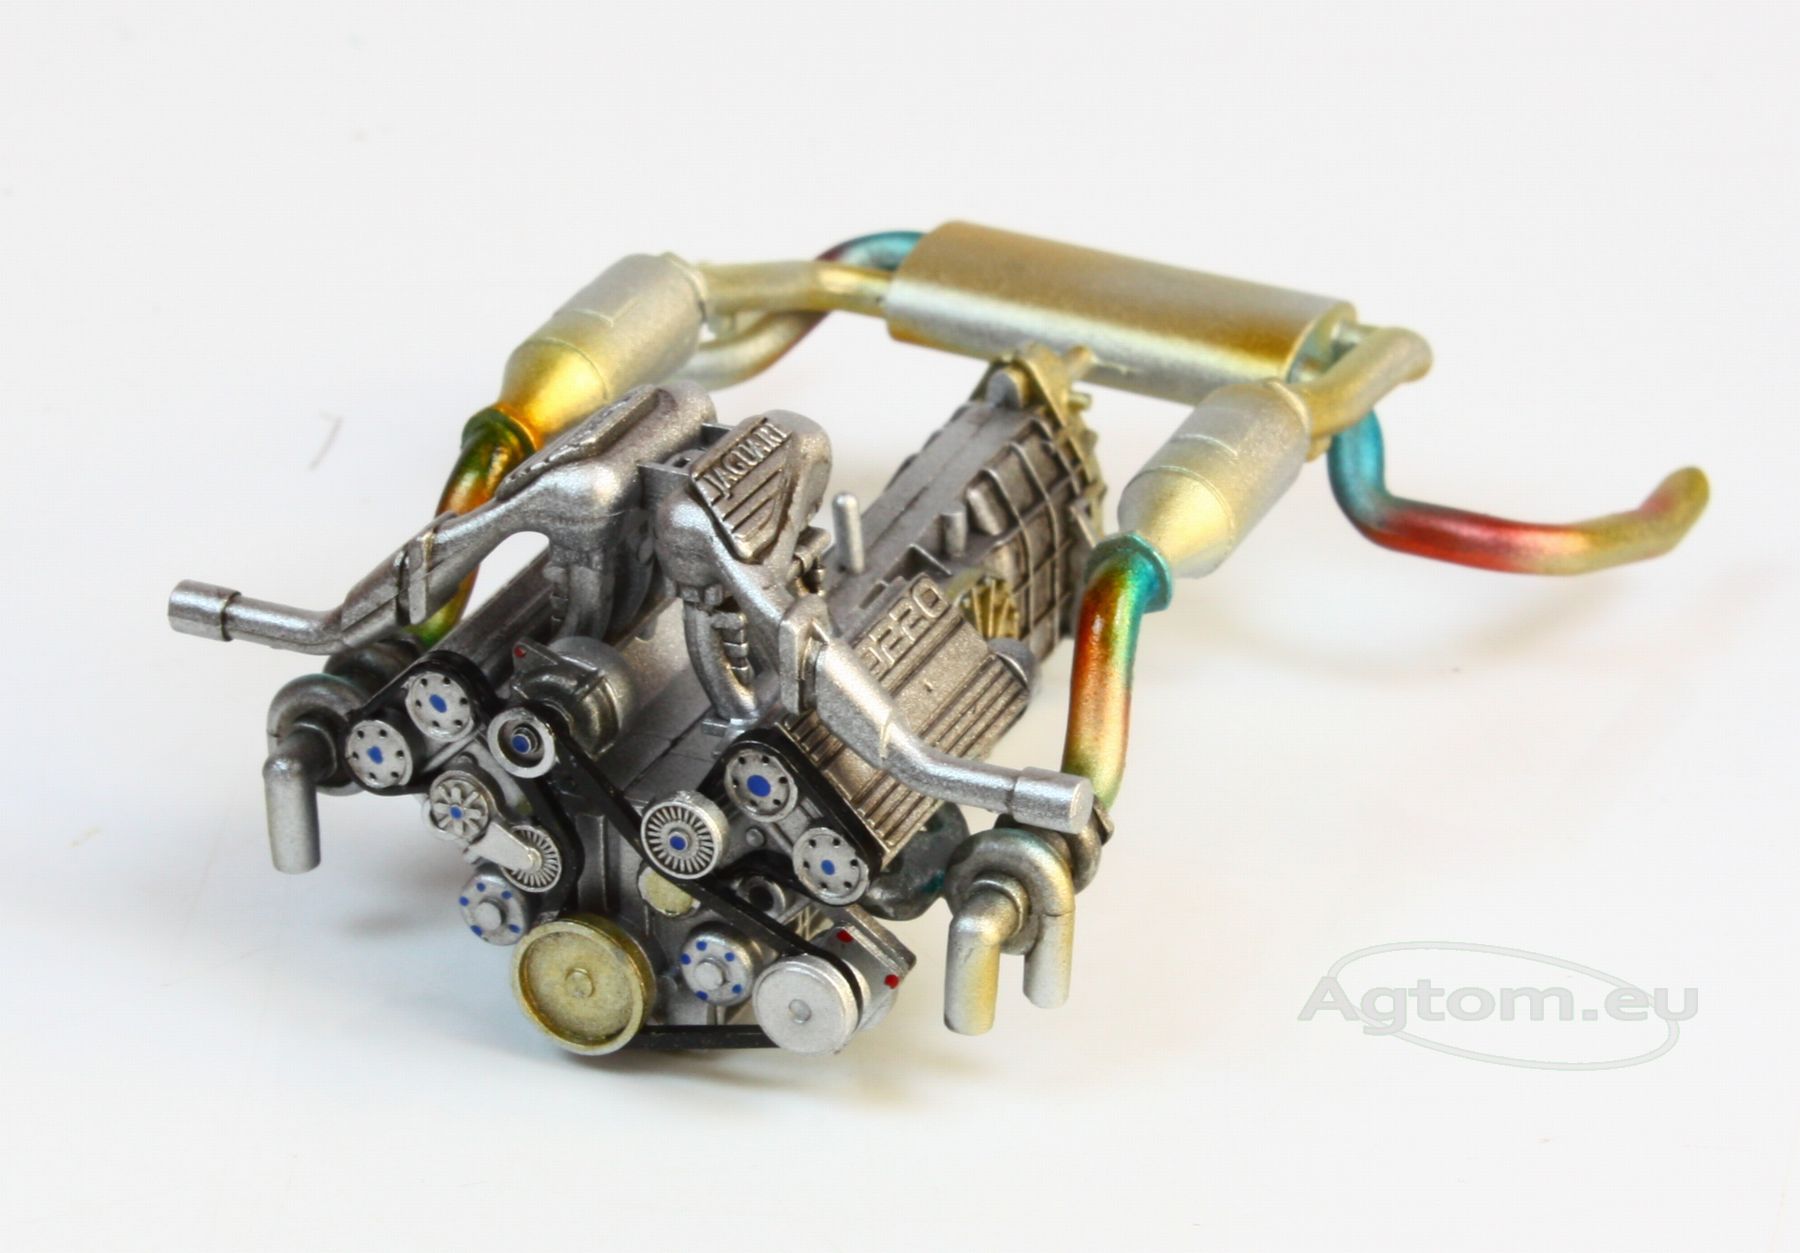
To make the engine and it's compartment more vivid and real, we painted colourful details as in the original car.
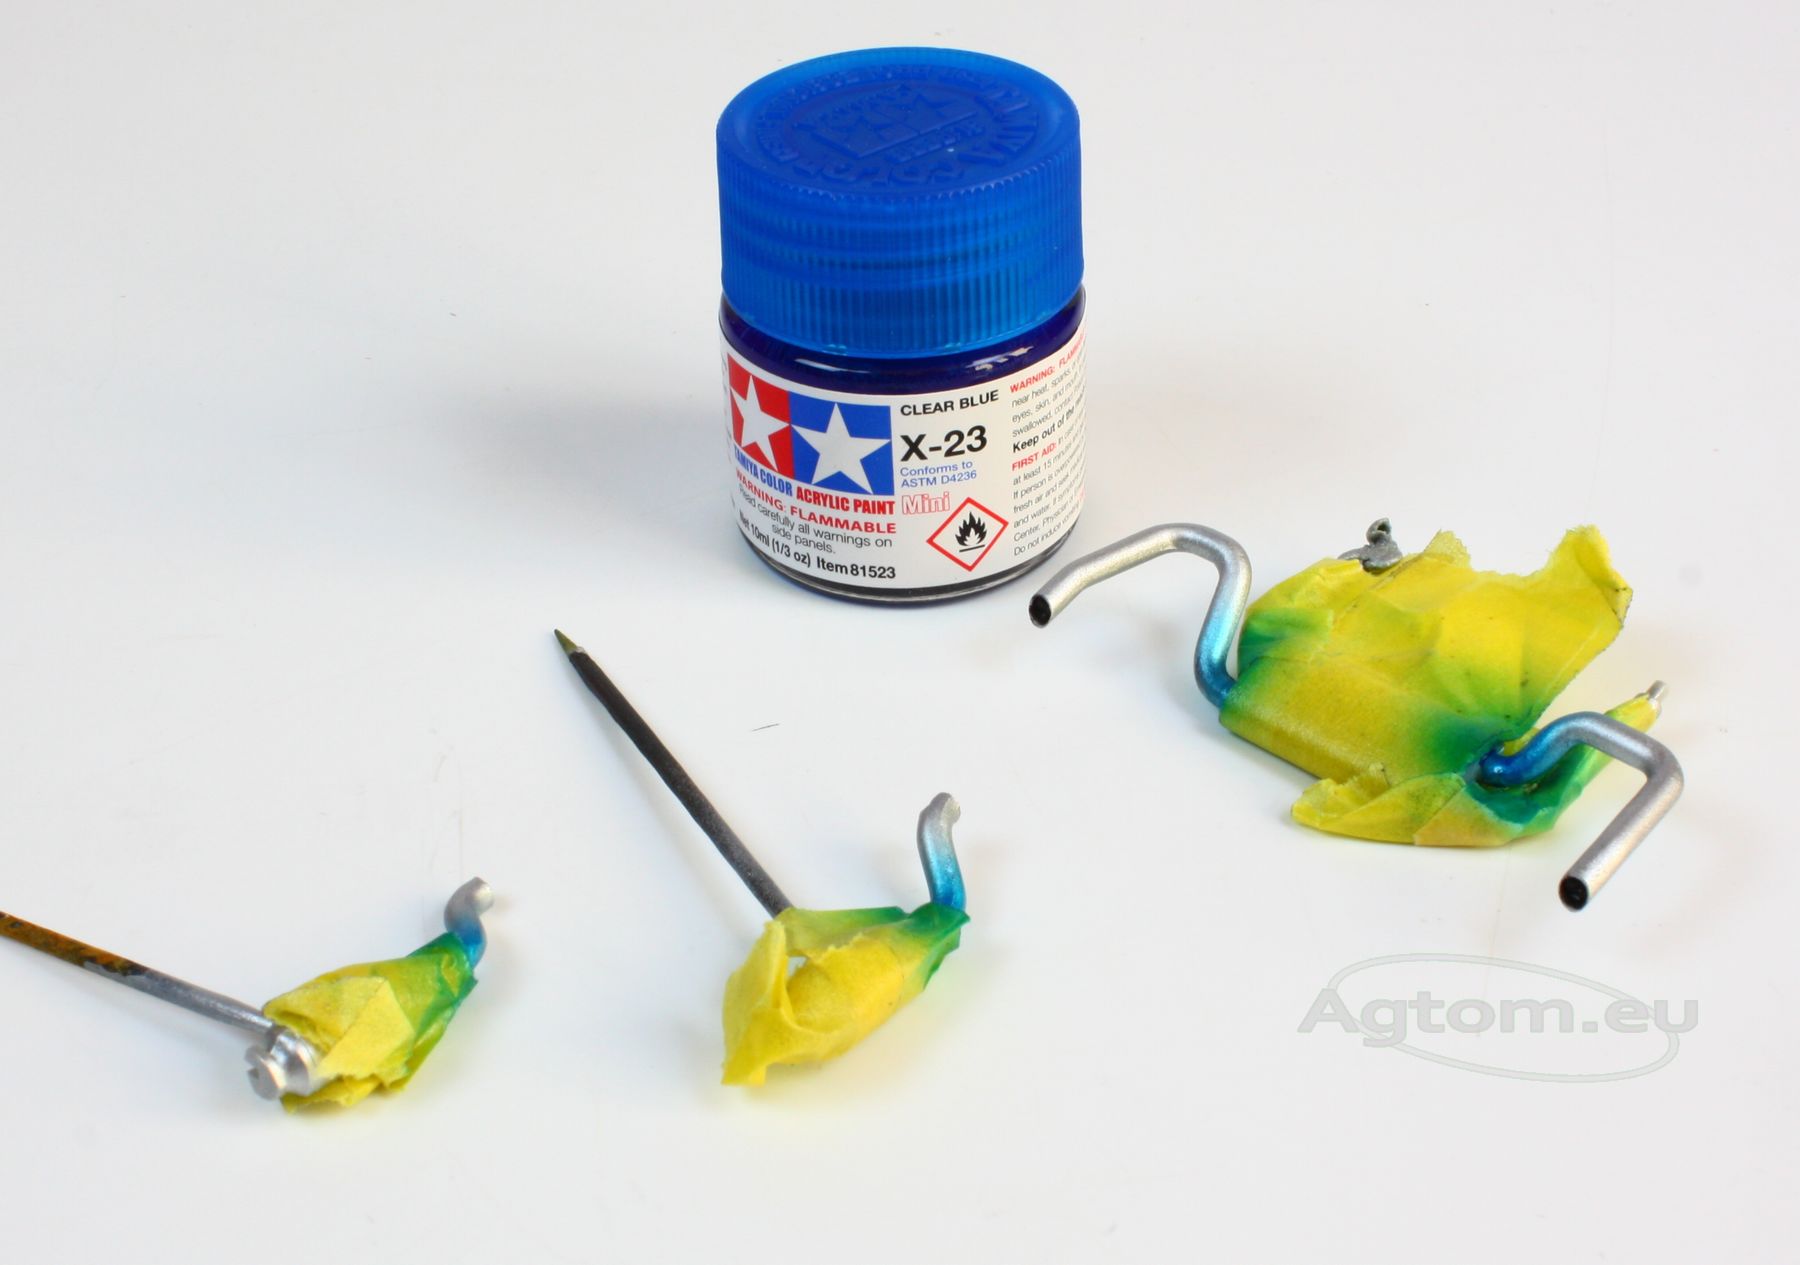
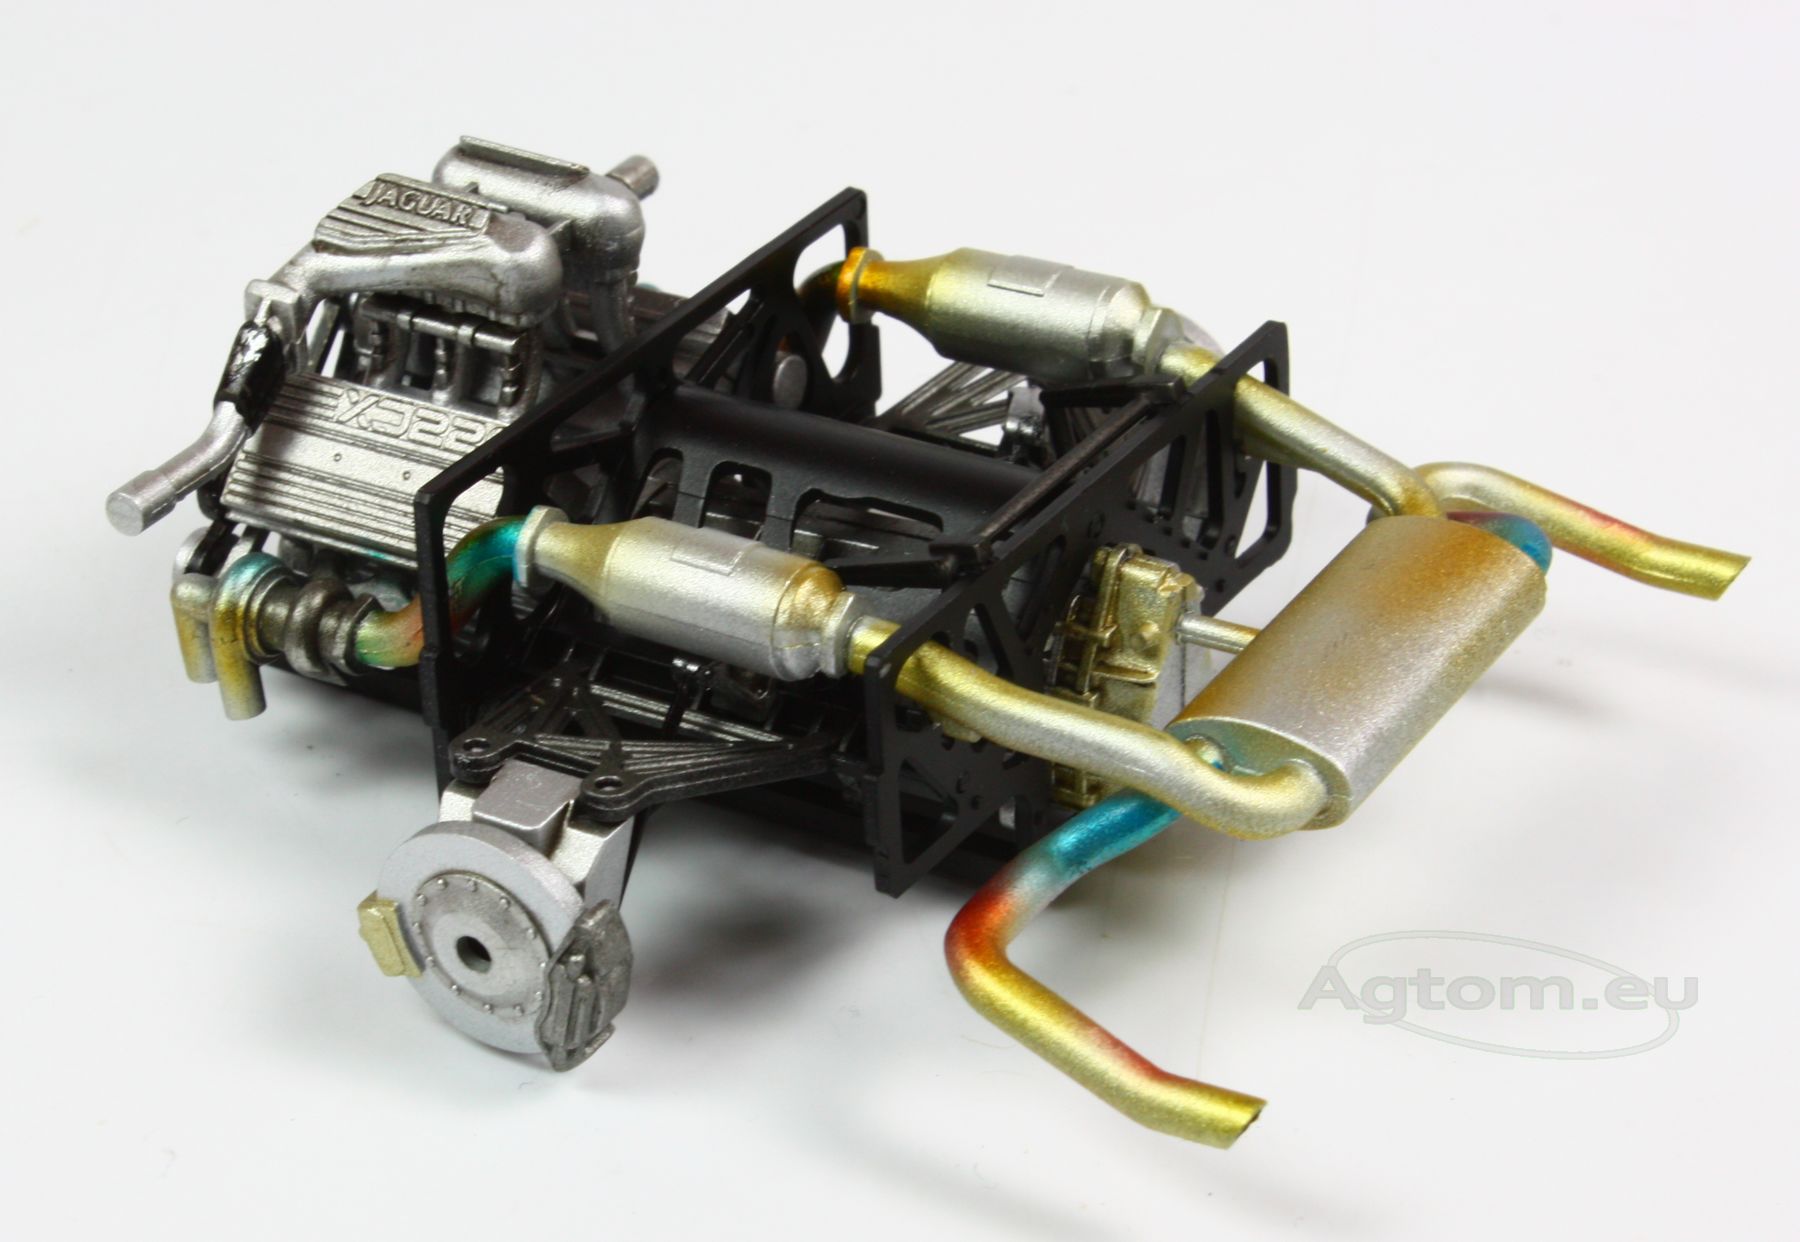
We have painted whole exhaust system silver, as given in the instructions. As bare silver is rather boring and doesn't give the model much life, we've decided to put some more work into it. We wanted to get the effect of heated steel caused by high temperatures, which can be observed very often on exhaust systems. Depending on the area, you will need blue, yellow, orange and red tones. Less overheated areas will be yellow, more exposed to higher temperature will be reddish while those put under extreme exposure to temperature will be blue.
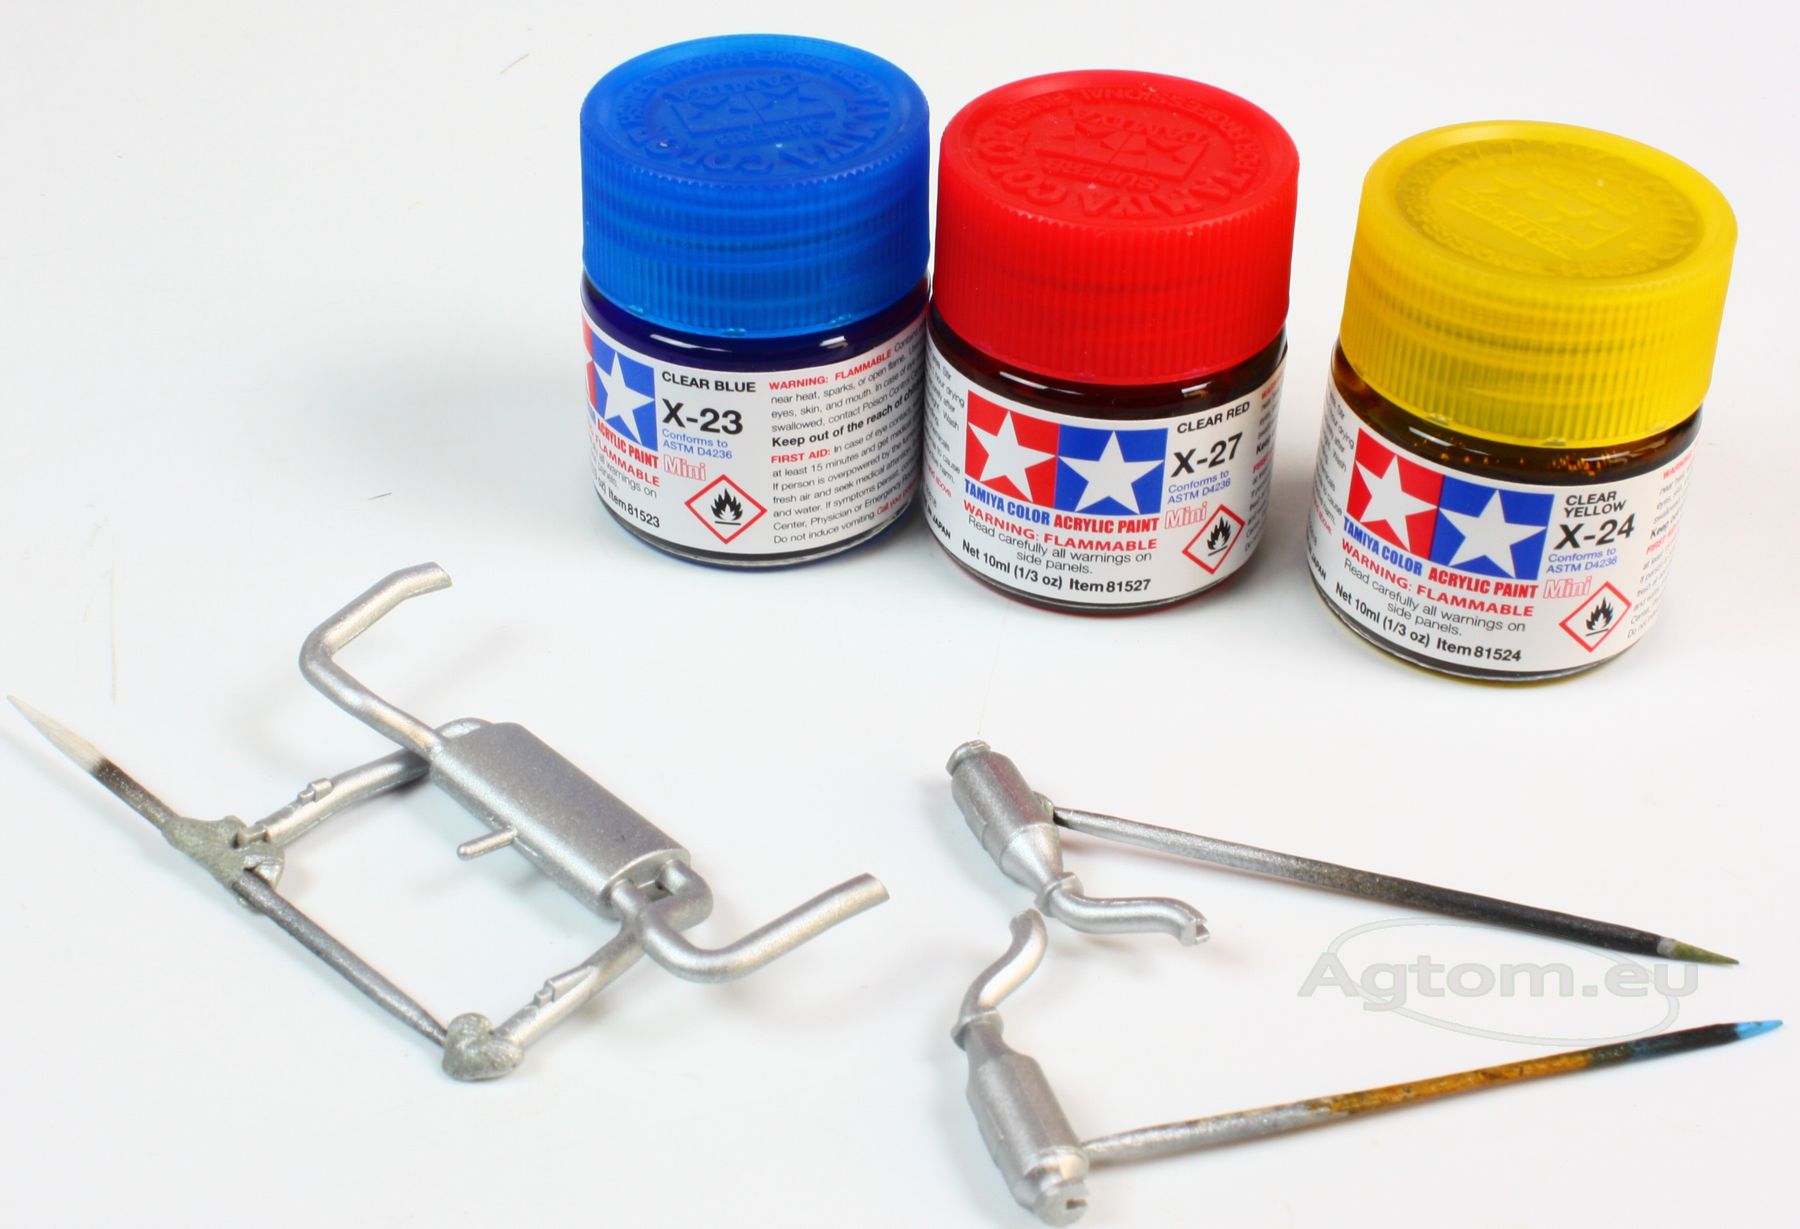
Tamiya Clear paint is perfect for this task, as they will give us transparent color, so pure metal will stand out from underneath them.
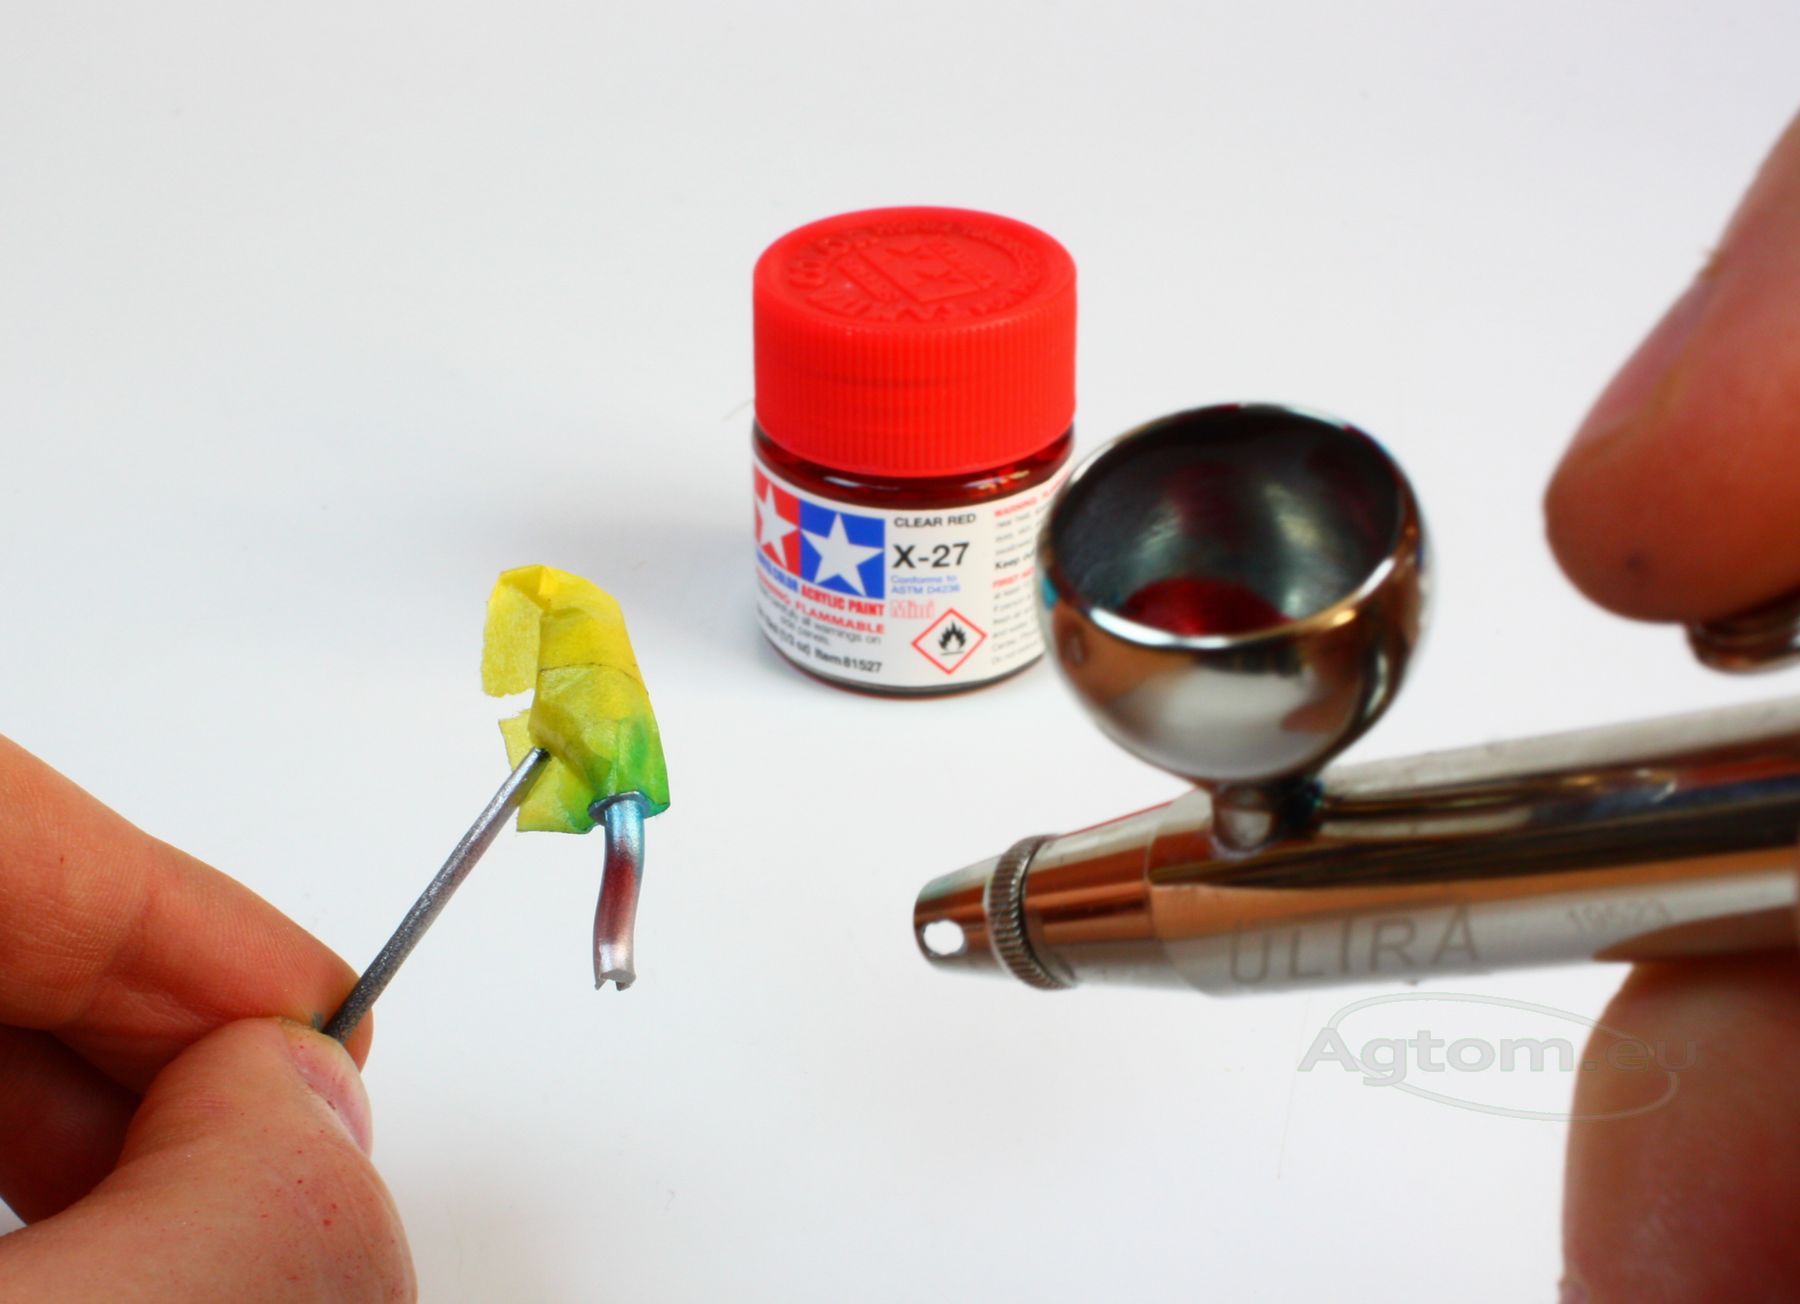
To do this, we have used an airbrush, as it allows us to control paint perfectly and to cover our exhaust system in thin transparent layers.
And here's the final effect
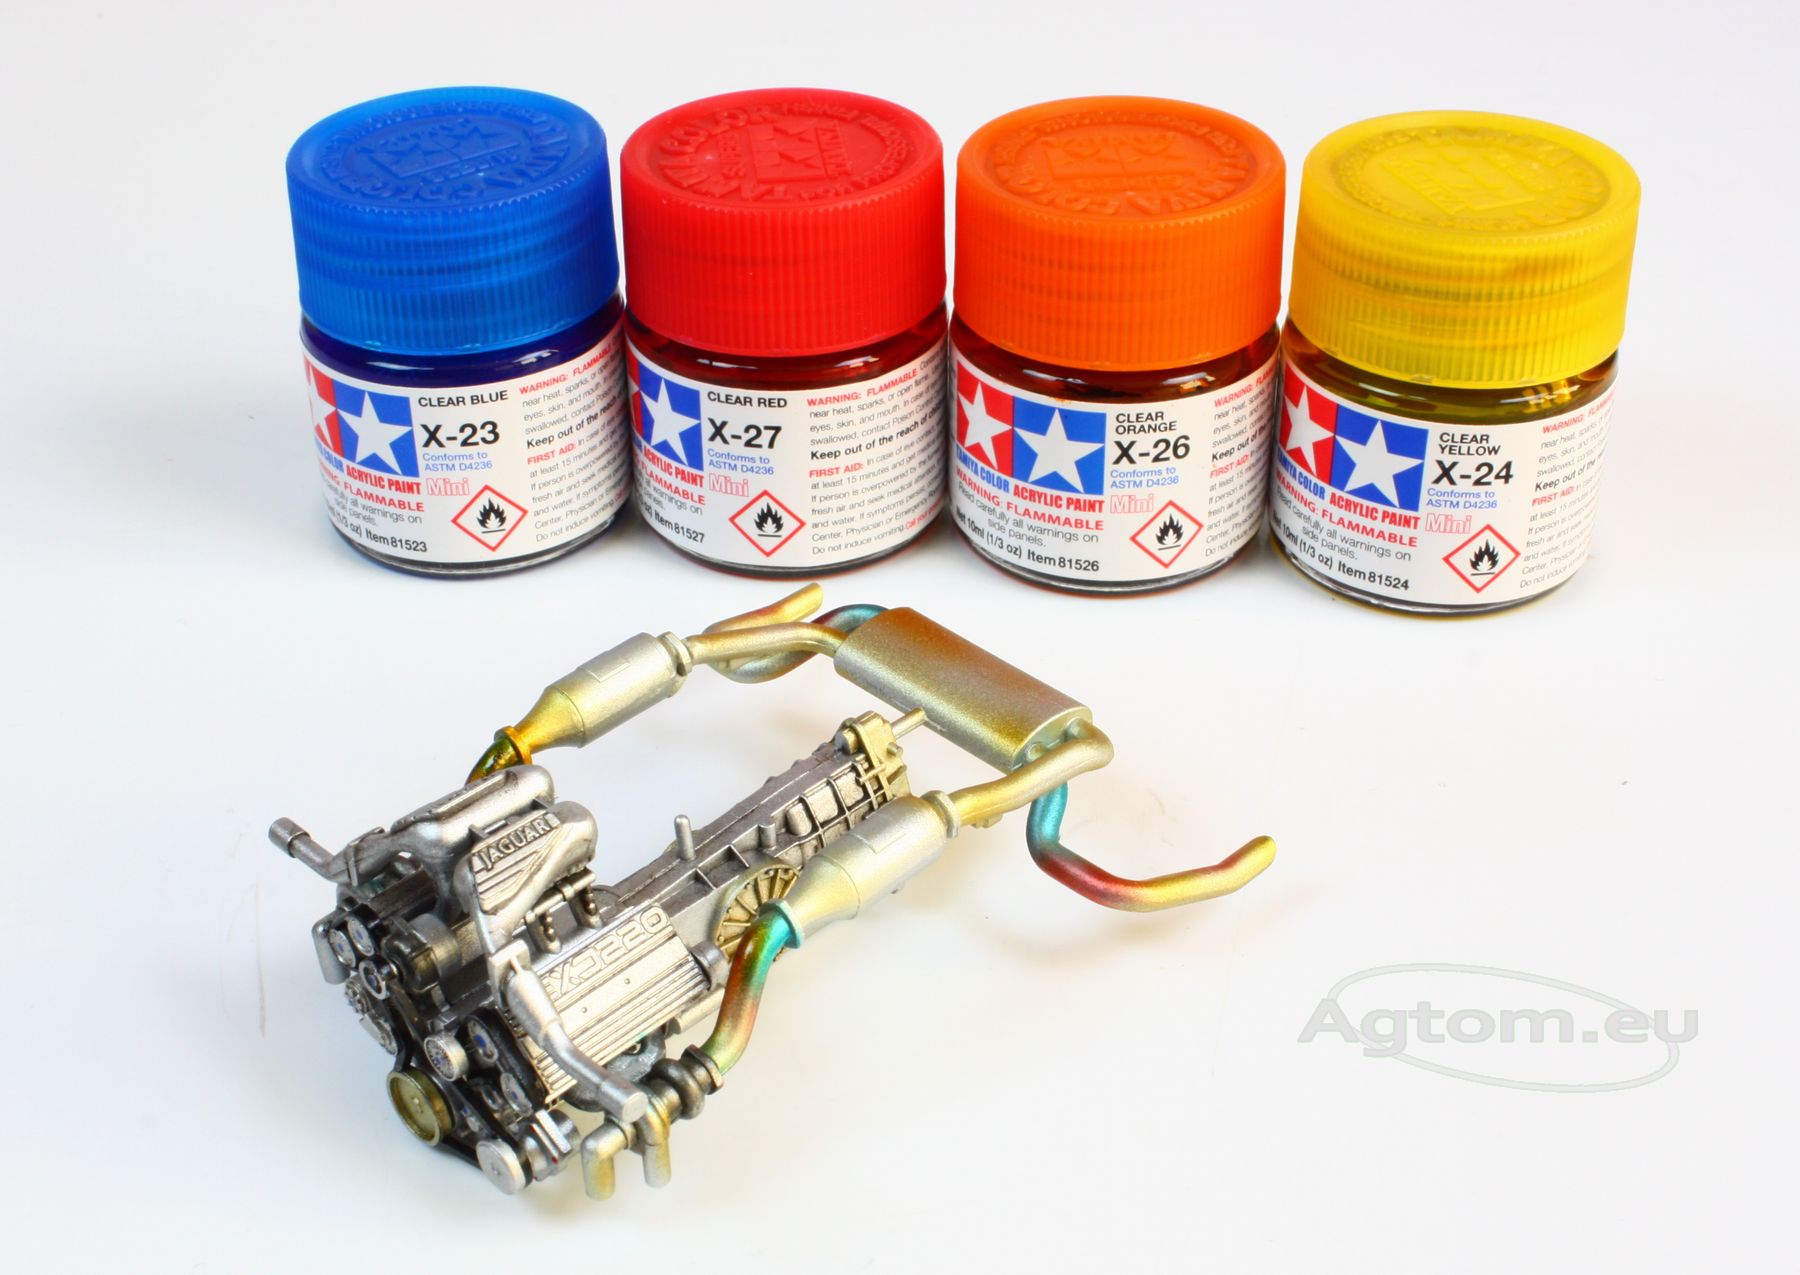
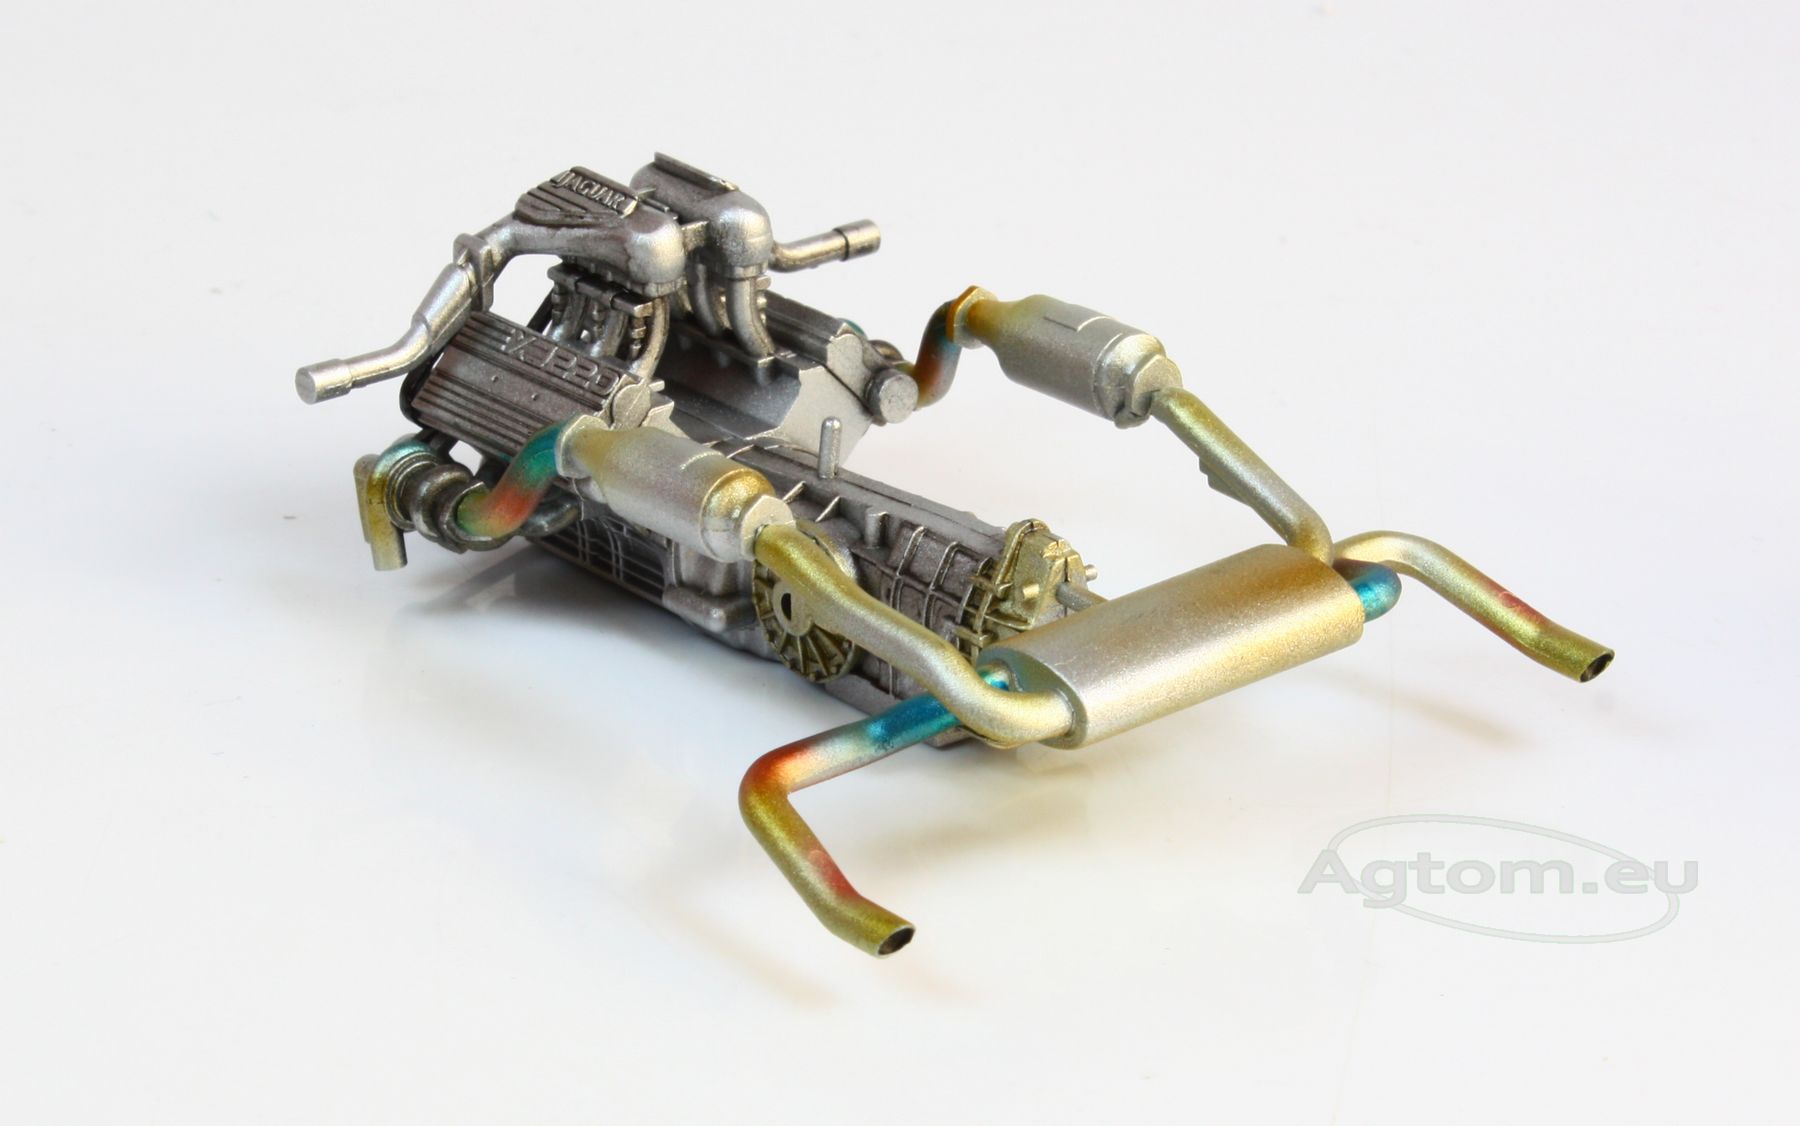
It came out a little too bright, but after mounting the engine to the car, it will give it more contrast and life.
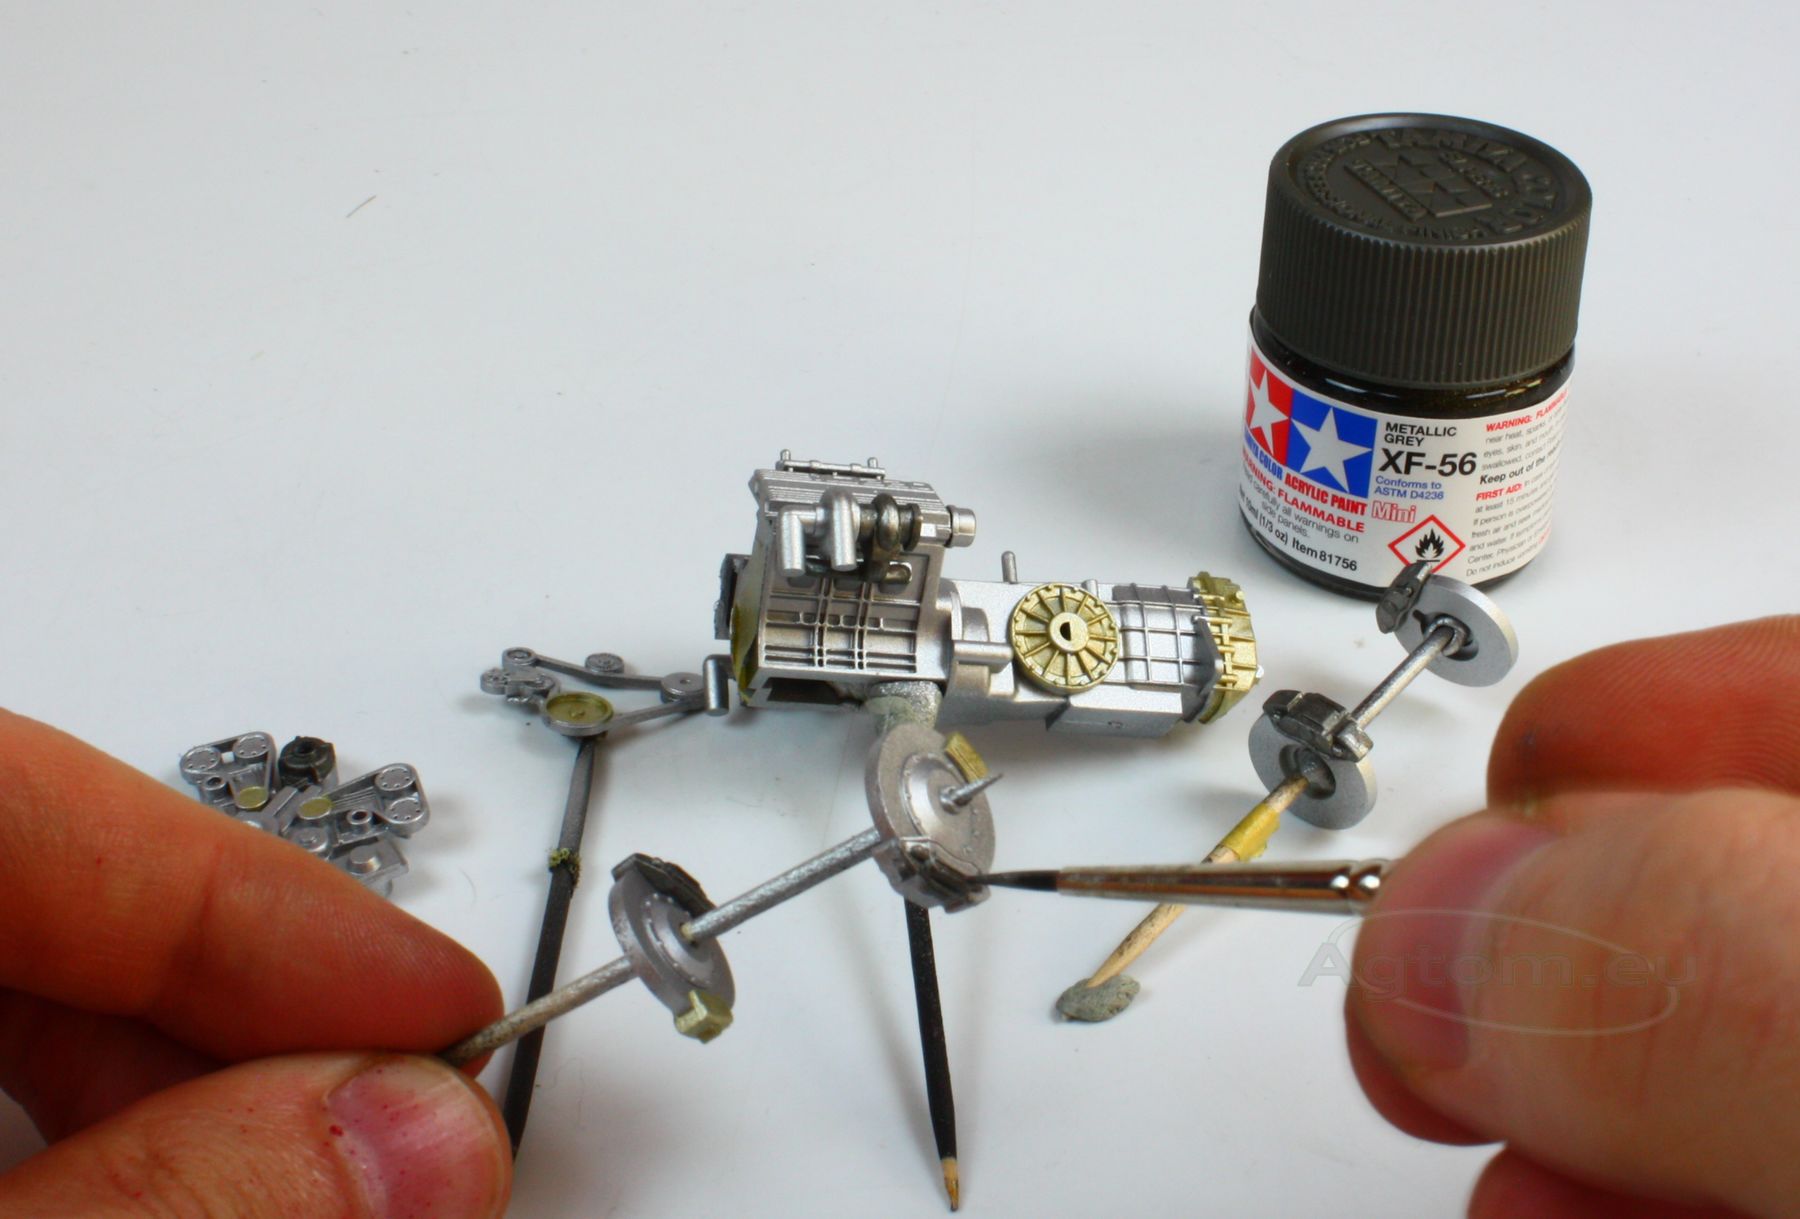
Now it's time to put our 549 horsepower beast in the cage. We assembled housing of the gearbox, swingarms, shafts, dampers, hubs and brakes.
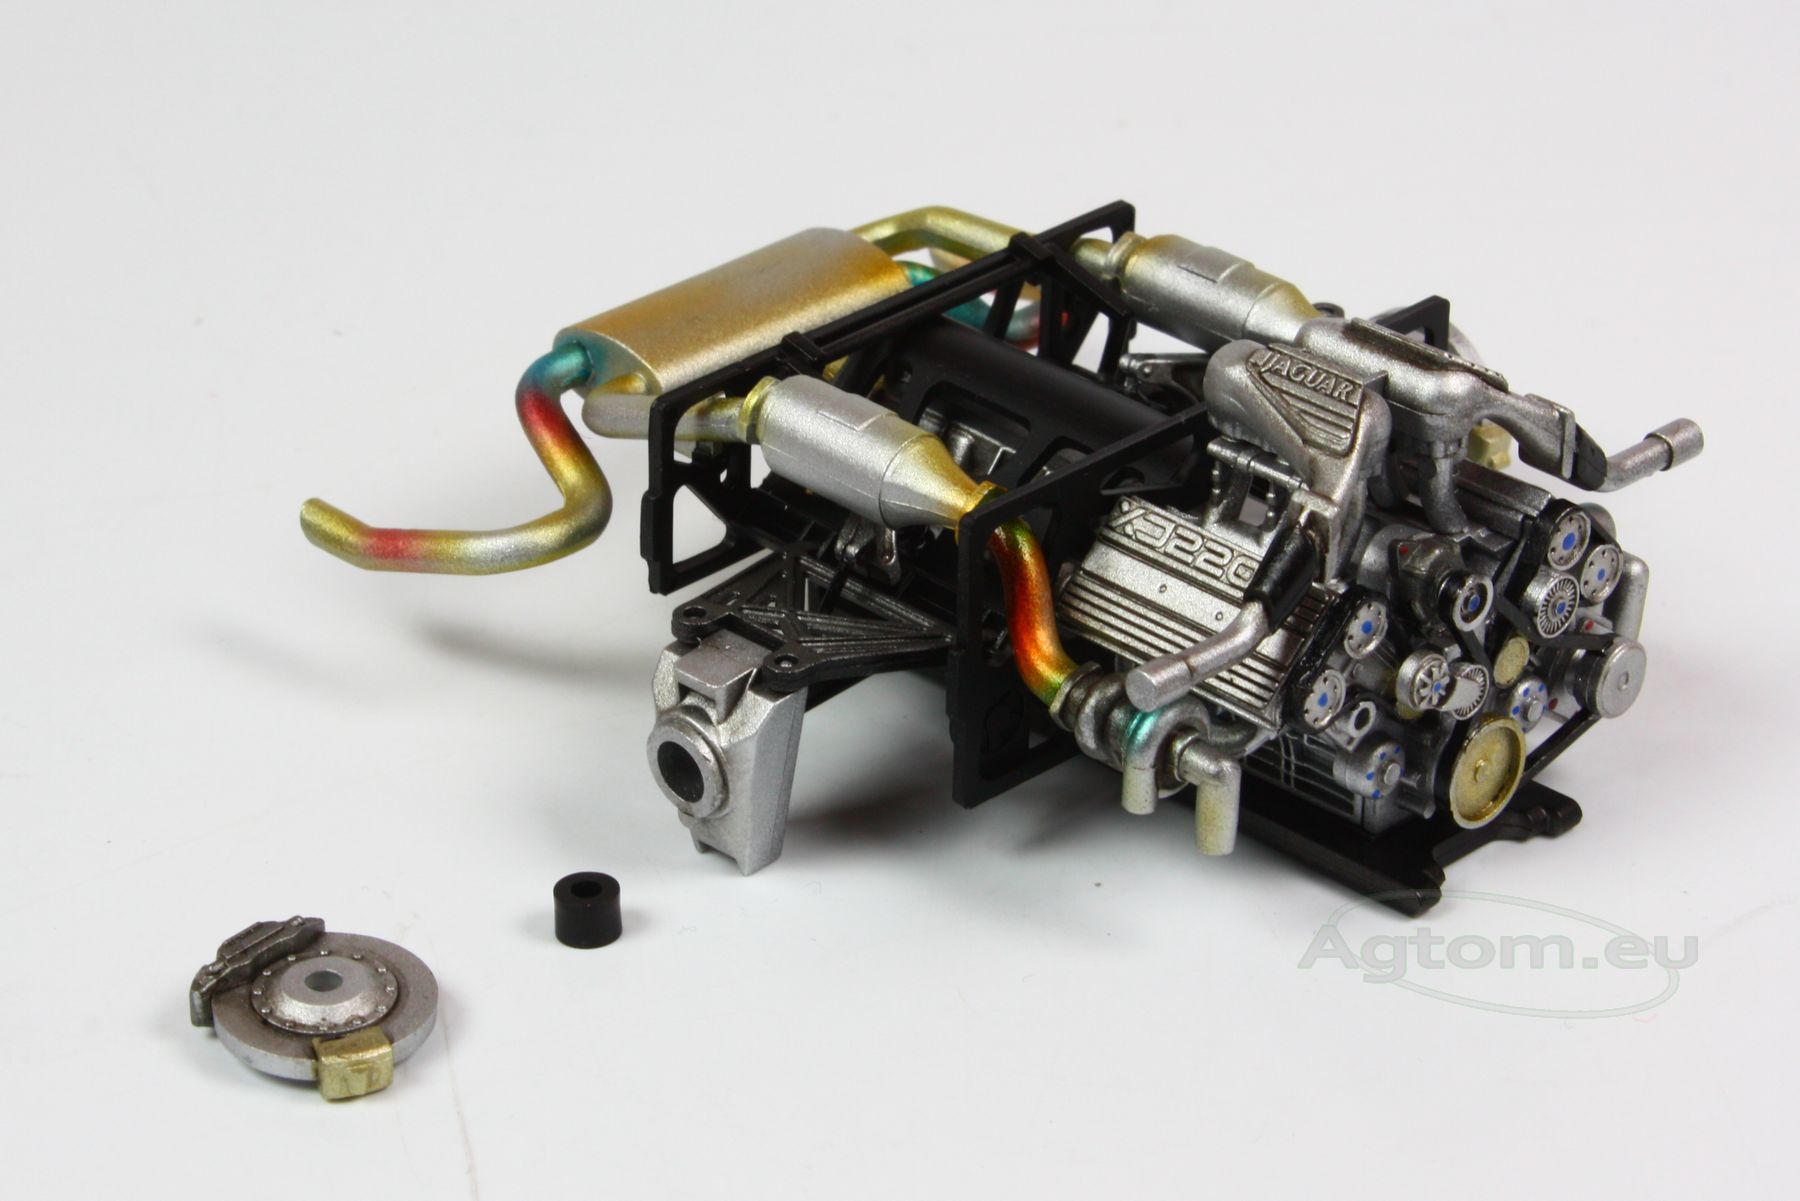
While gluing brakes, make sure you won't glue rubber sleeve to the hub, as it enables wheels to move.
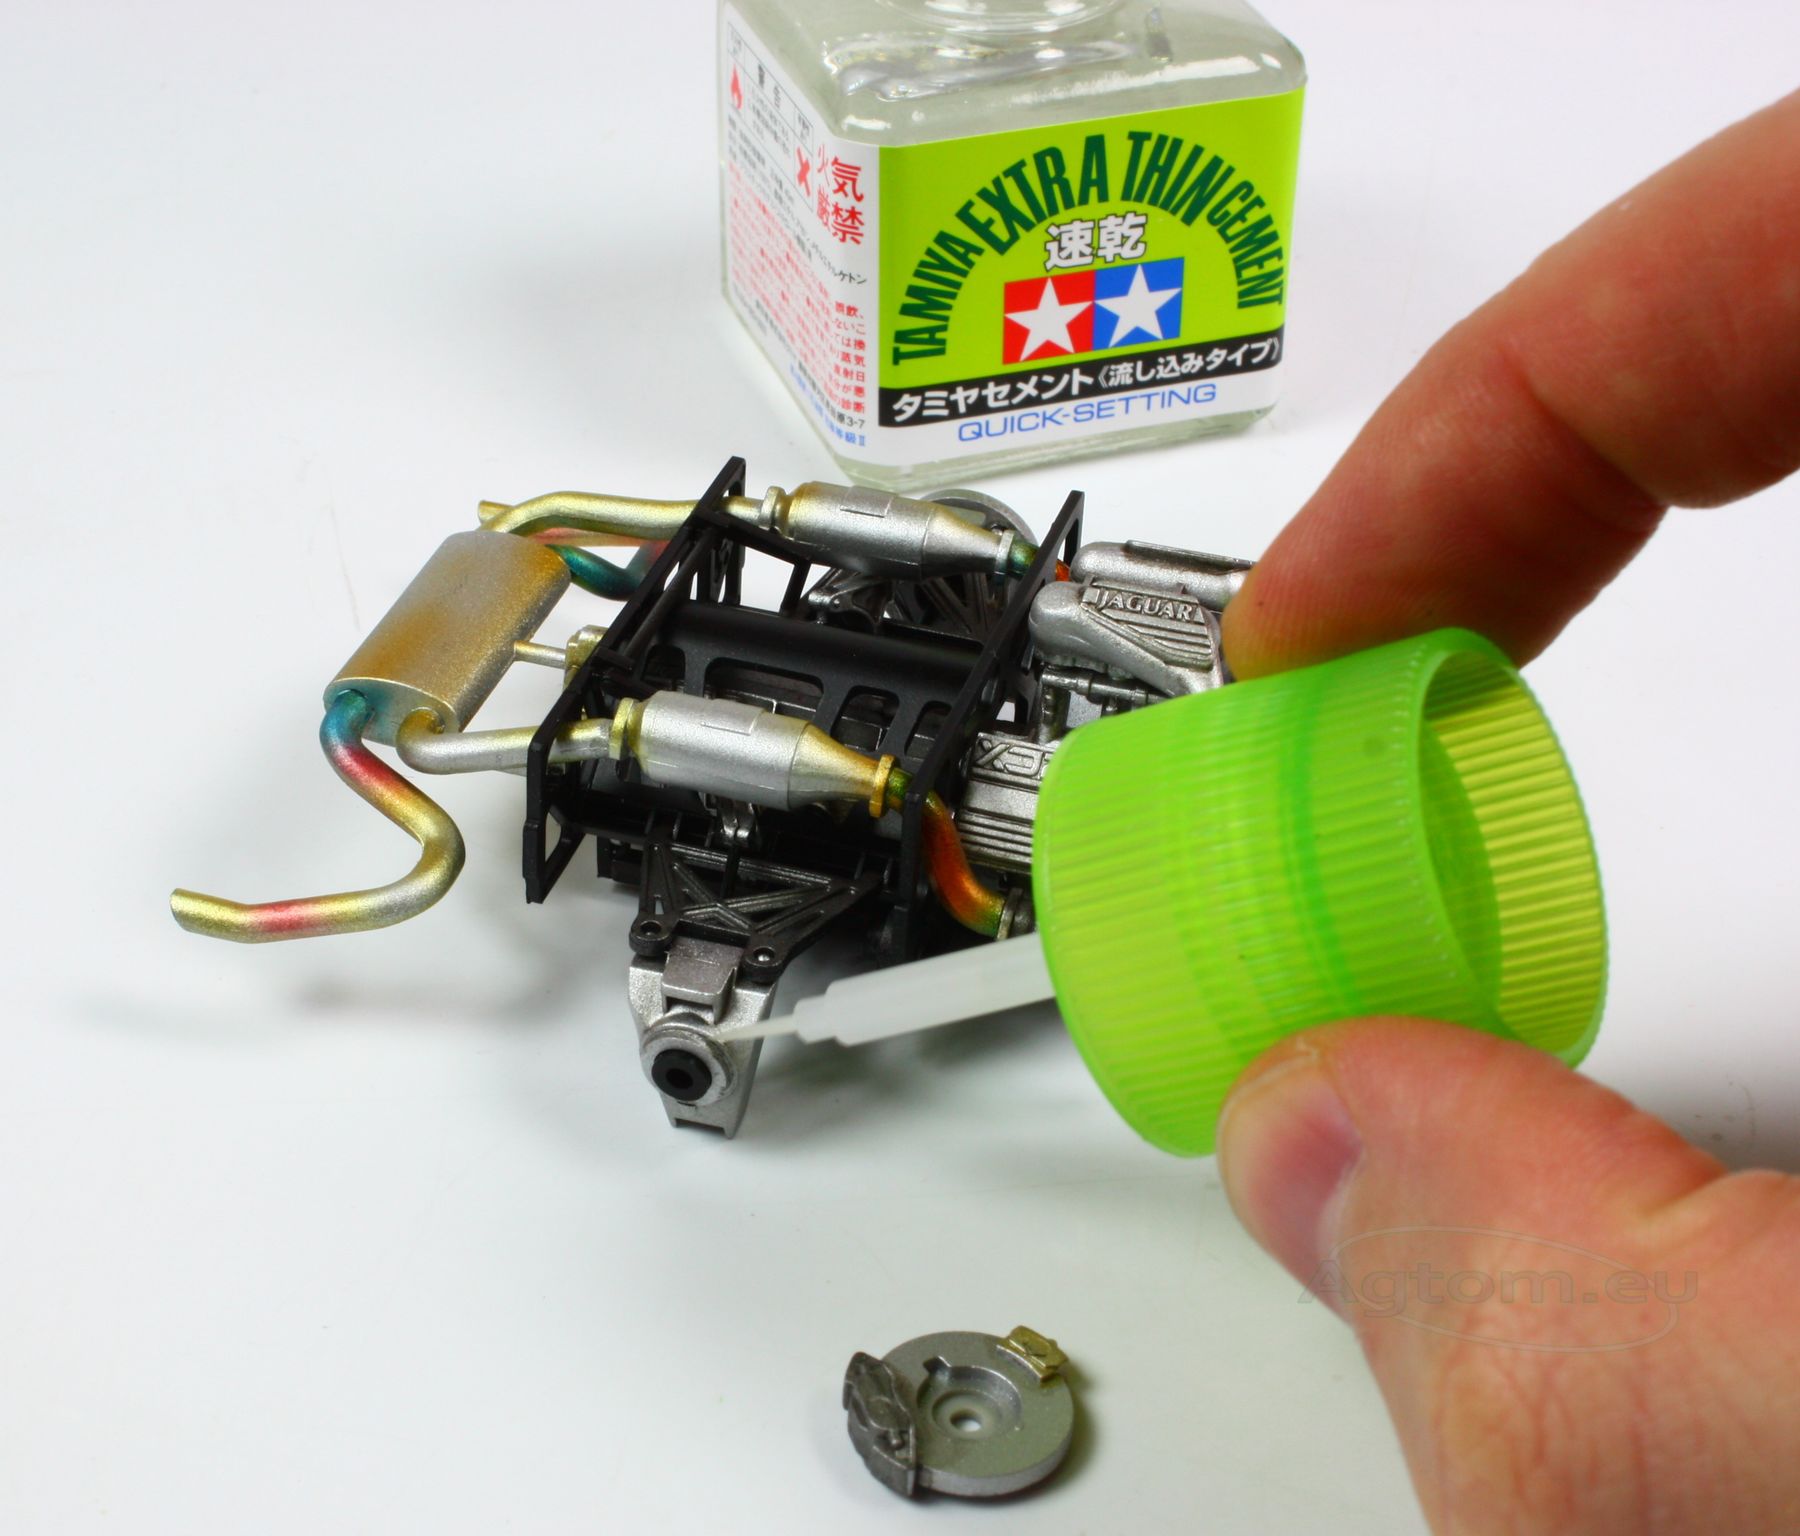
The engine is ready to put it together with the rest of the model.
When the engine is set properly in its place, we need to assemble front wheels suspension. Again, be cautious with gluing. Hubs have special locks, which enable front wheels to turn.
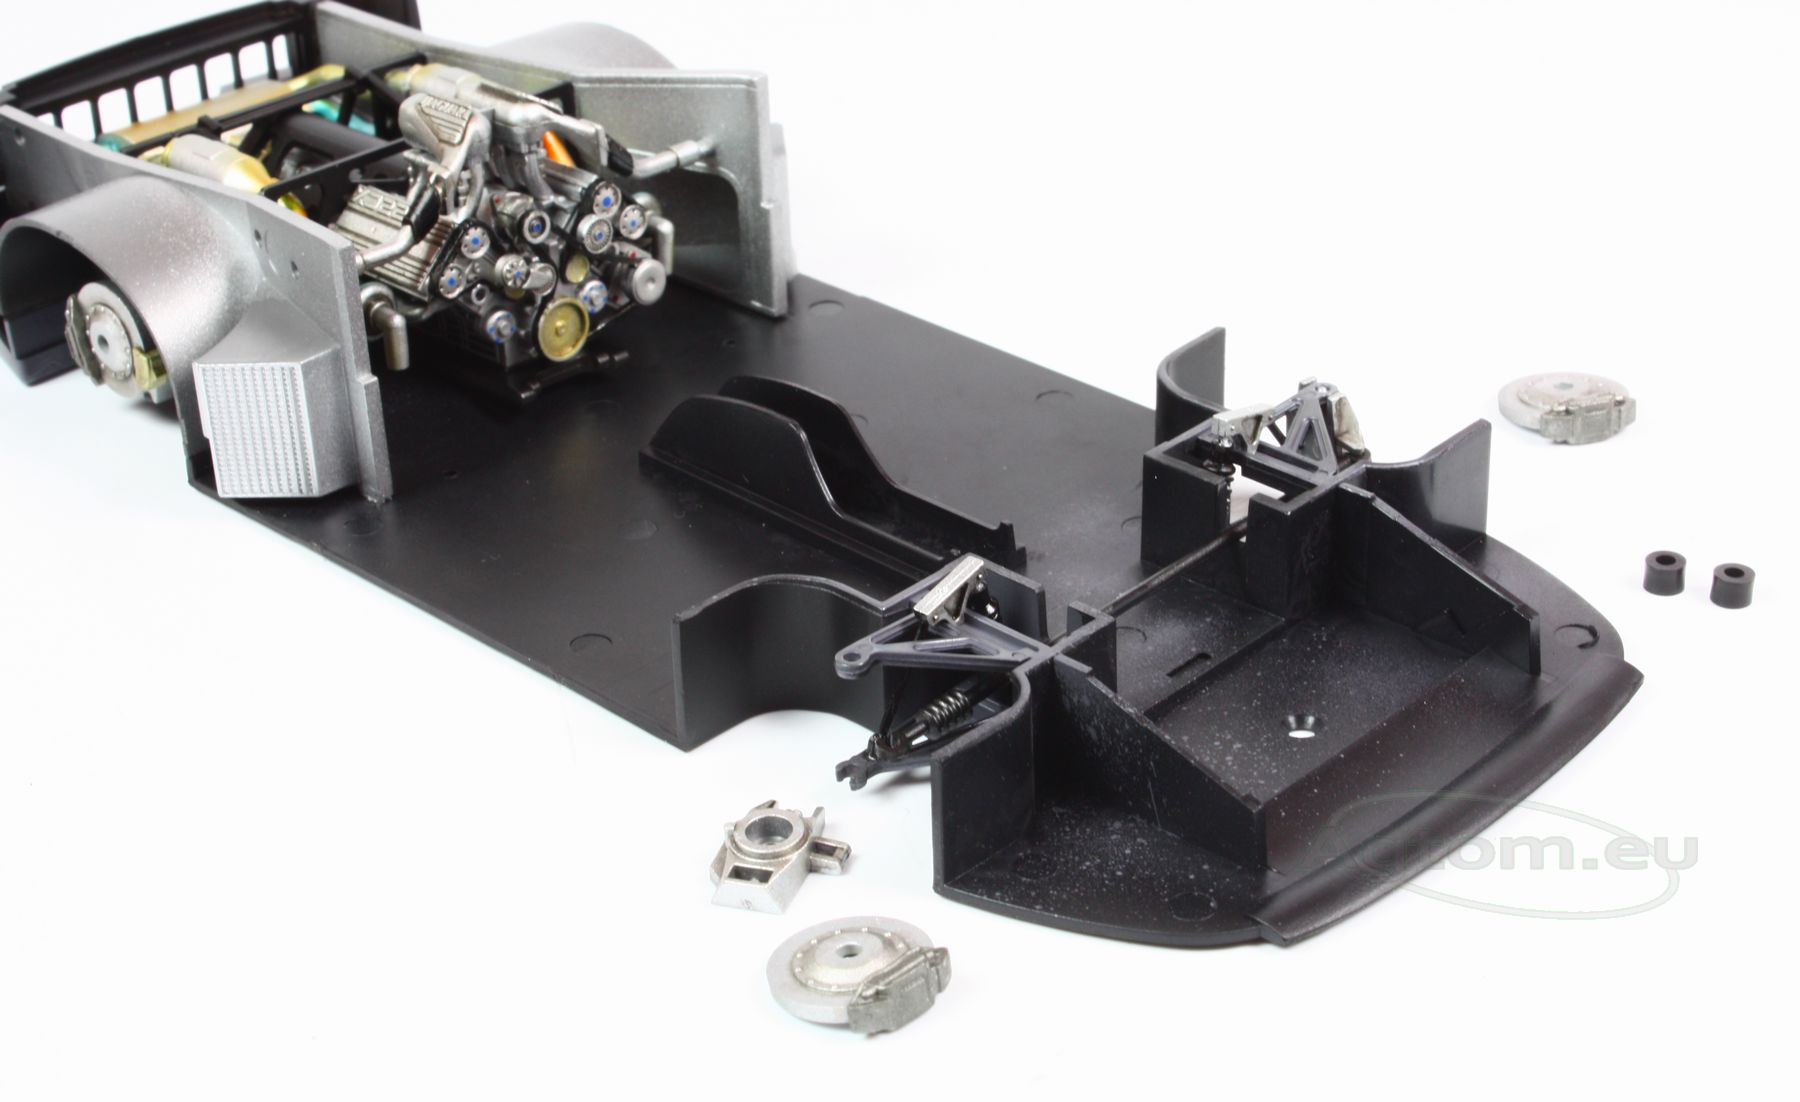
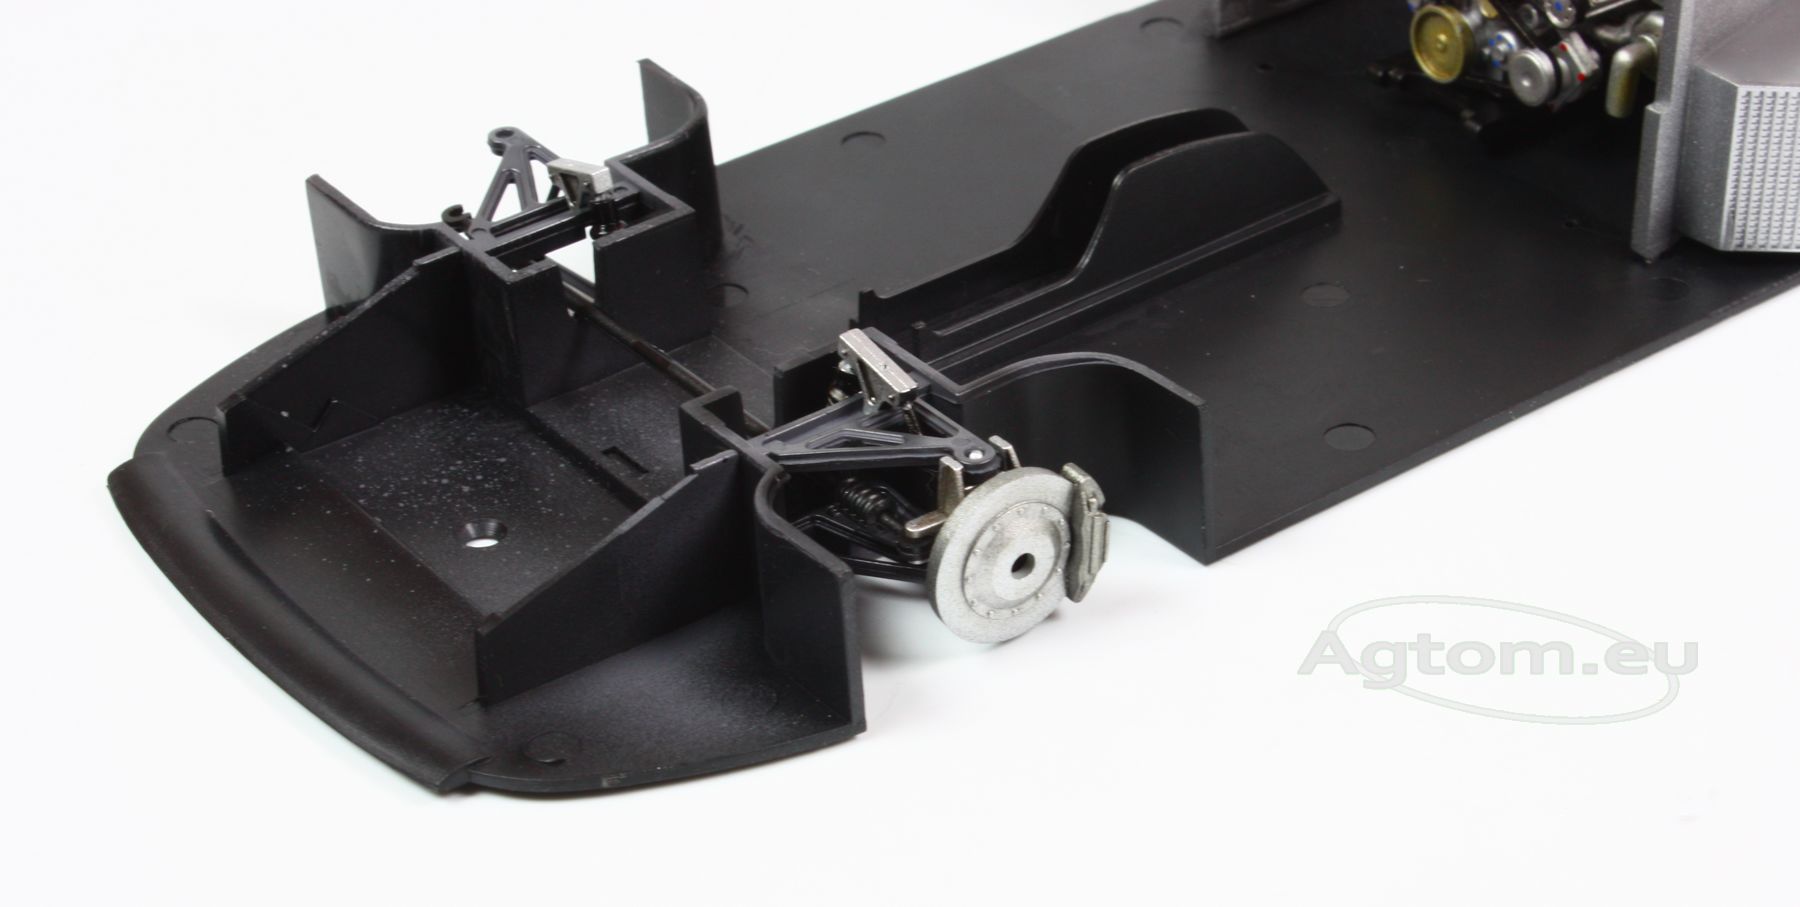
When the glue dries, we may attach wheels. Rims were painted silver and had tires put on.
Patafix - tymczasowa masa klejąca
HUMBROL Farby Akrylowe w sprayu 150ml
Farby Akrylowe TAMIYA mini 10ml
Rozcieńczalnik do farb akrylowych Tamiya X-20A
Tamiya Panel Line Accent Color
Klej Tamiya Extra Thin 40 ml szybkoschnący
Aerograf HARDER & STEENBECK ULTRA