No products
To be determined Shipping
0,00 zł Total
 en
en  pl en
pl en
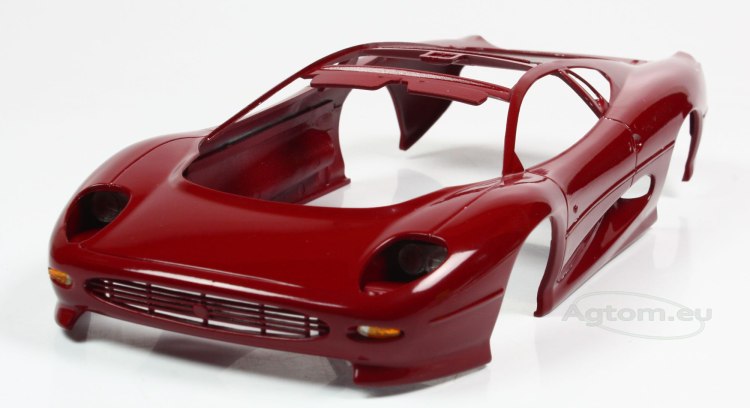
The first thing you need to know, you need to be super careful when working with transparent elements. They are fairly easy to damage, and it is most difficult to remove scratches or stains from transparent plastic. Good advice is to work on a piece of cloth, it's far more delicate than usual desktop.
After removing any mould and imperfections from your element, you need to mask its surface to paint window frames. Some models have special sheets of masking tape, profiled for their windows and lights. Unfortunately, not our Jag. We used Tamiya Masking Tape and elastic 3M tape for the edges (you can use Tamiya Tape for Curves). It is crucial to use elastic tape, as it is perfect for shaped surfaces, and unlike regular tape, it won't come off when folded. Be sure to mask your window from the inside. When doing so, be patient and precise, make sure tape is appended tight. The unevenly applied tape may cause stains and may ruin our transparent element and our work.
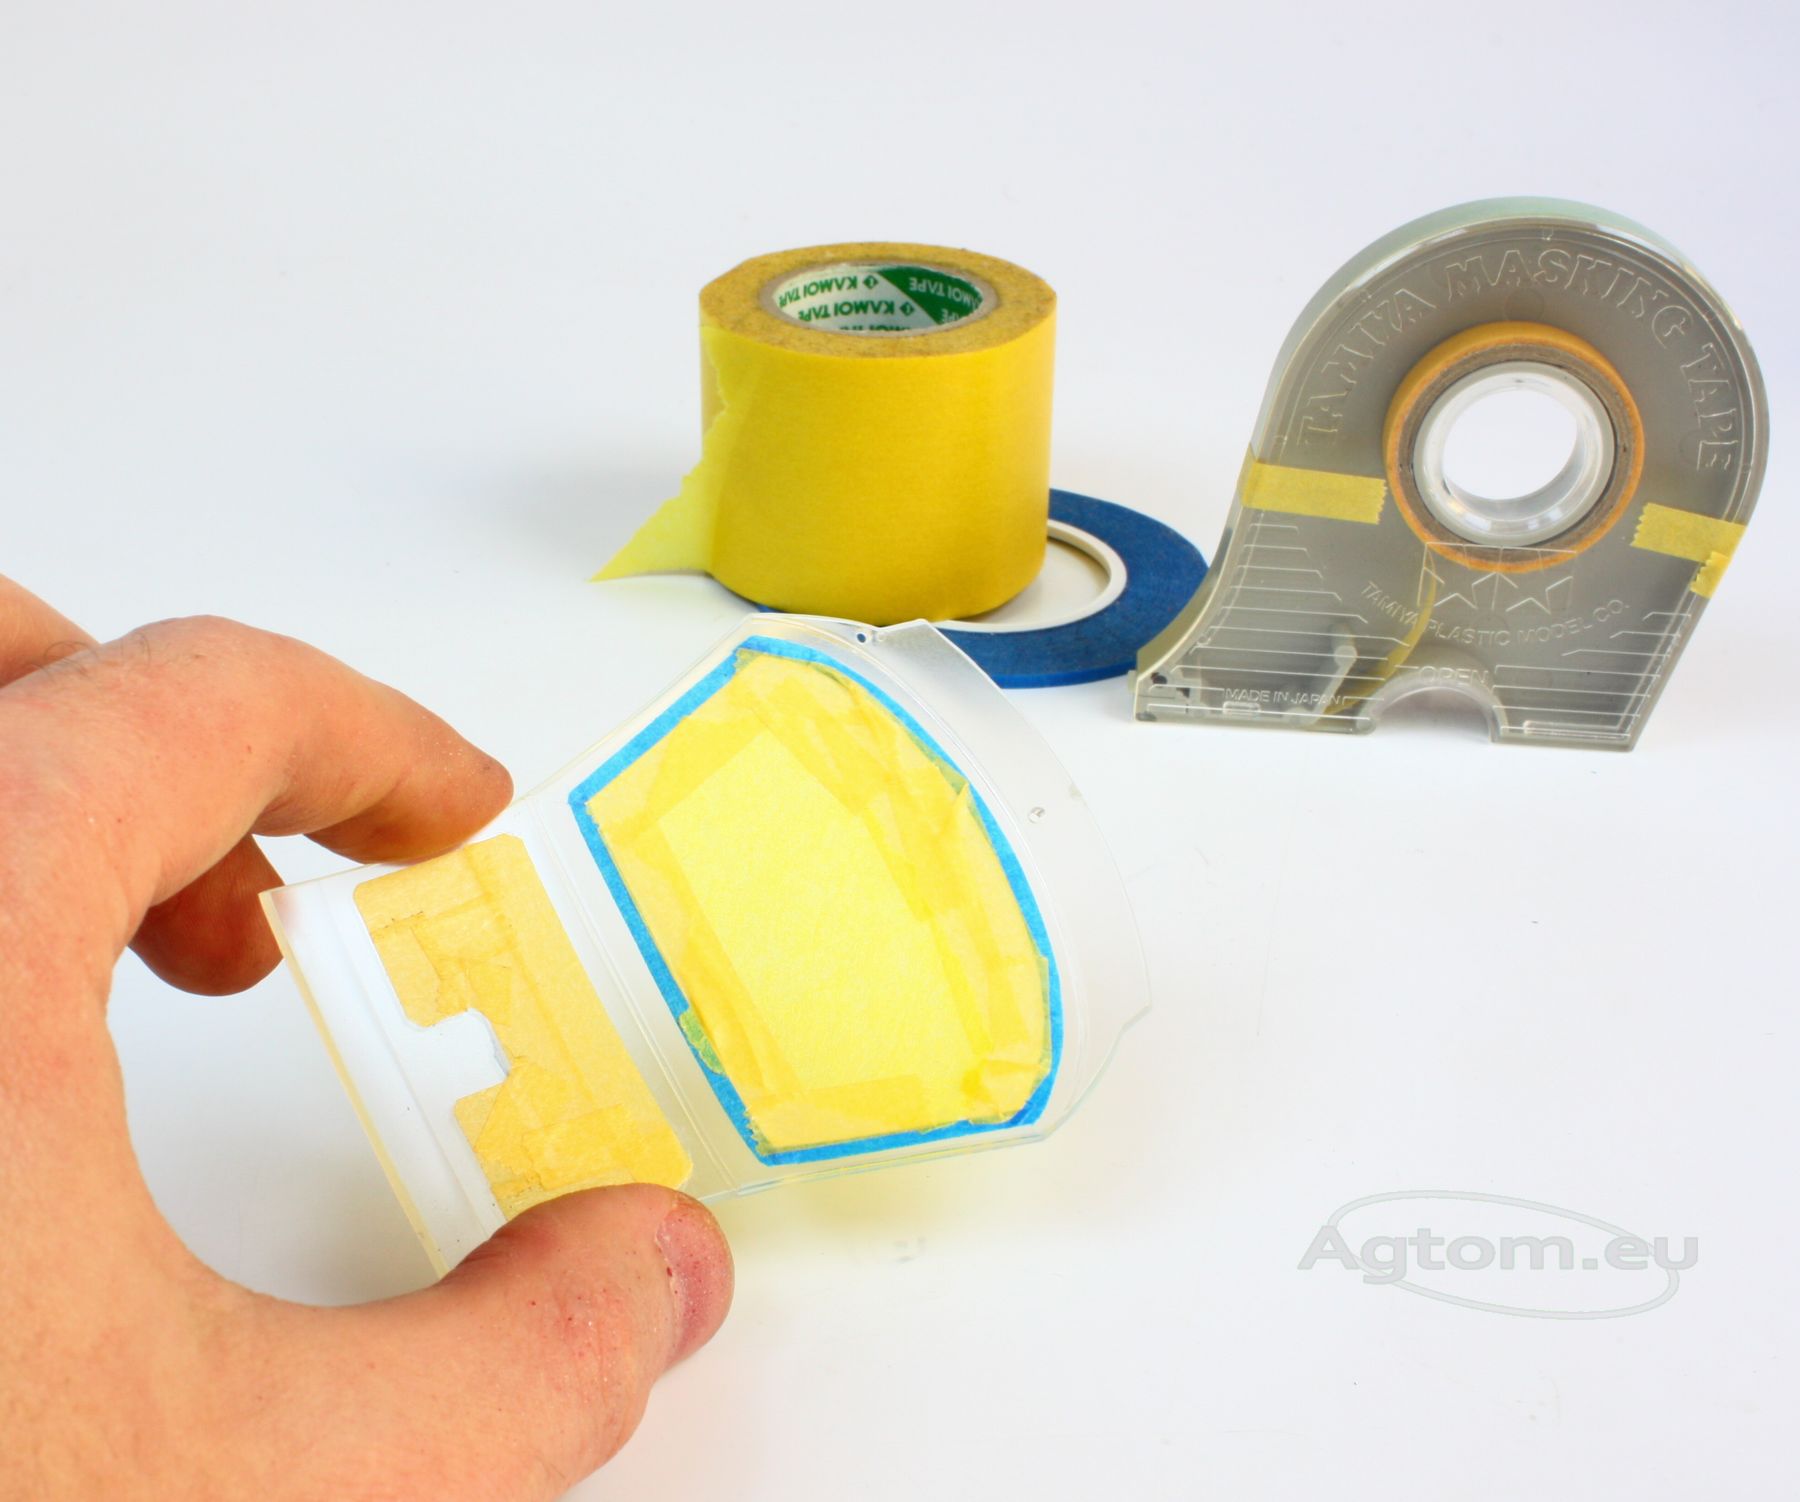
Carefully apply masking tapes from the inside, to prevent any unwanted dirt.
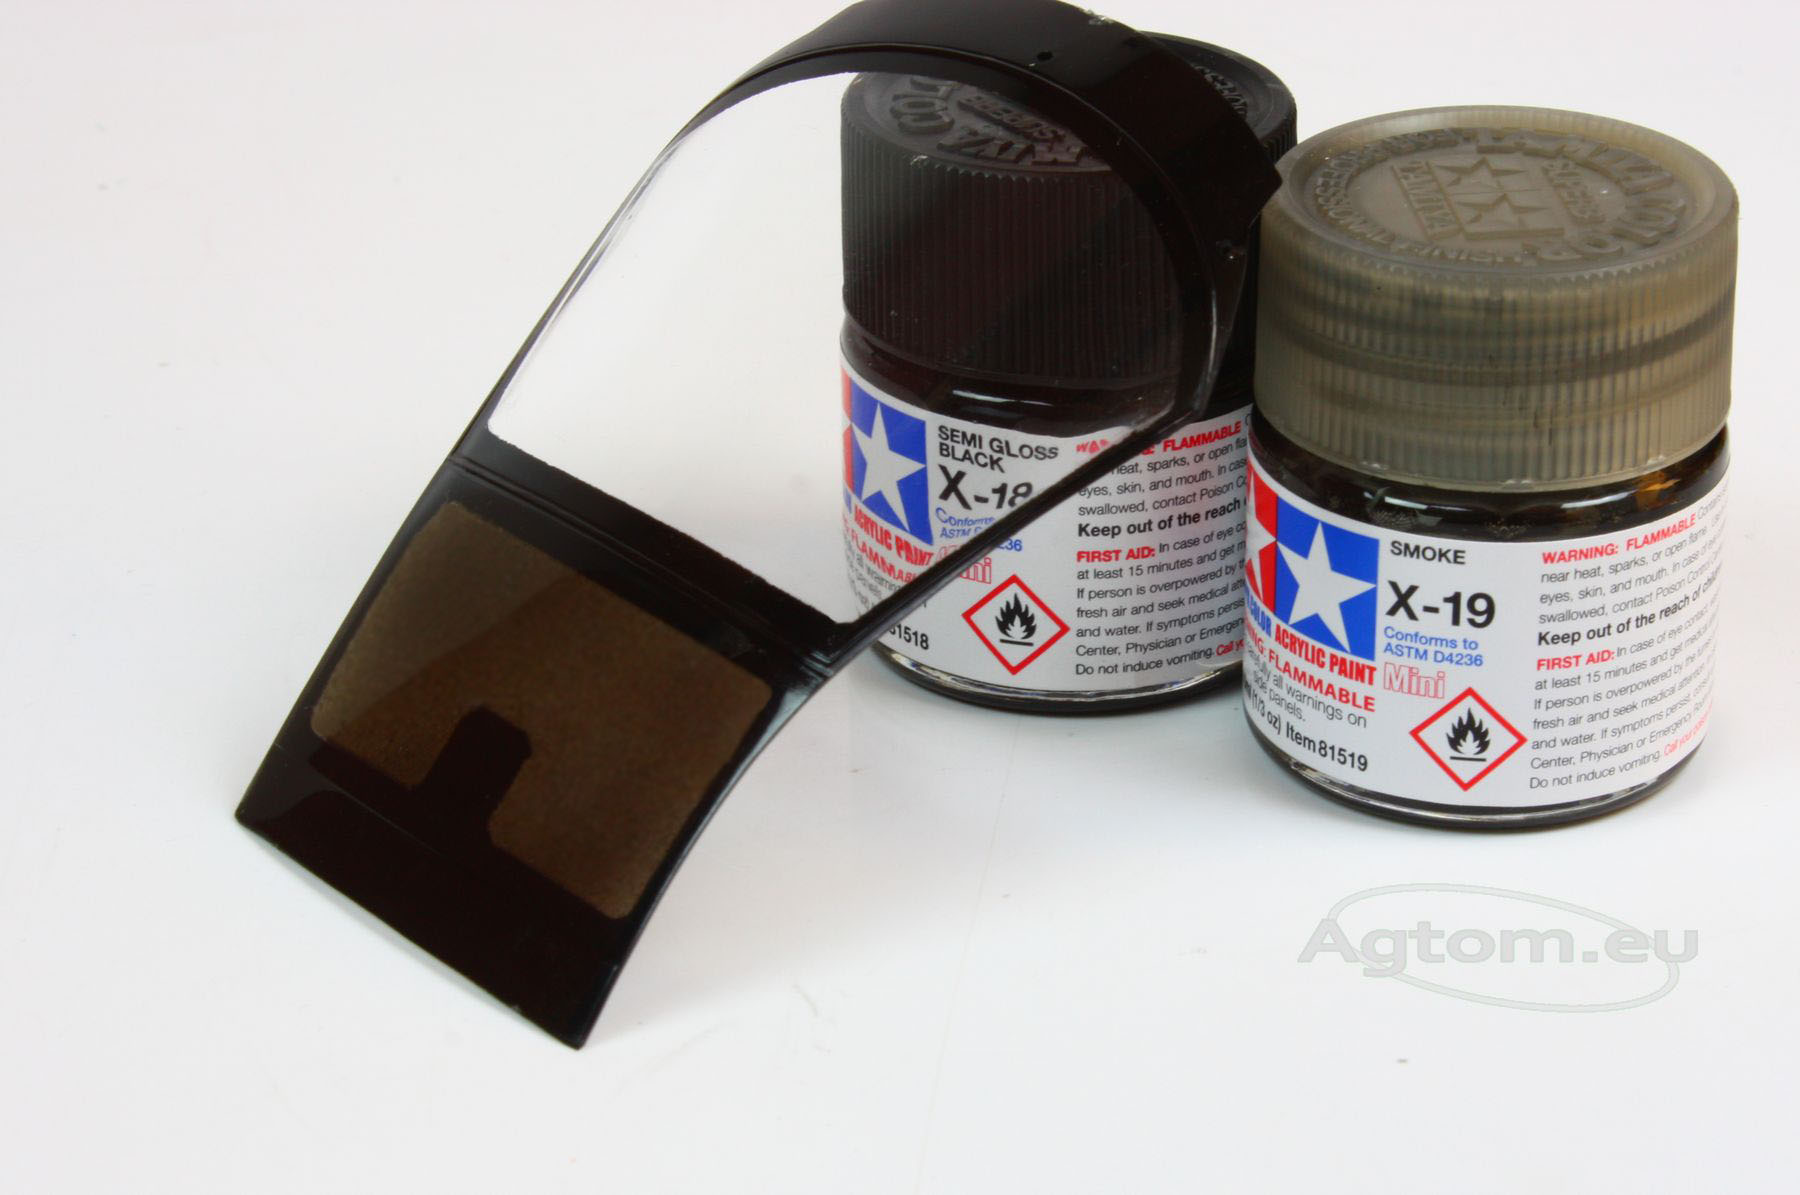
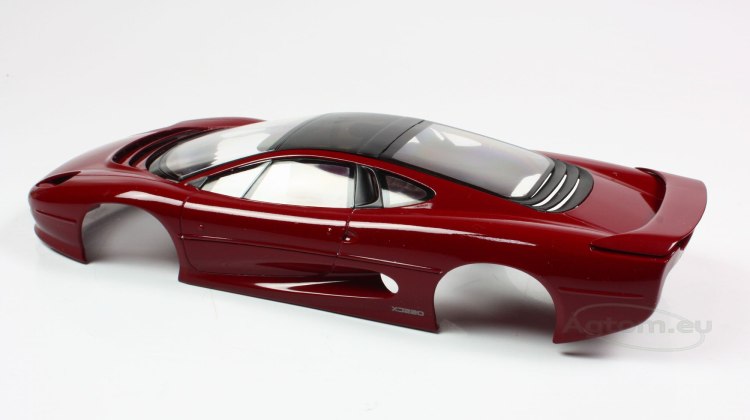
Now, we can paint window frames. We used Tamiya X-18 Semi-Gloss Black using an airbrush. You may also use a spray, but it's less precise. If you decide to paint with a brush, remember to apply only a little paint with few layers, as too much paint may soak through our mask. Never paint along the tape, always perpendicularly, with inner-outside brush moves. That way, you won't expose tape edge.
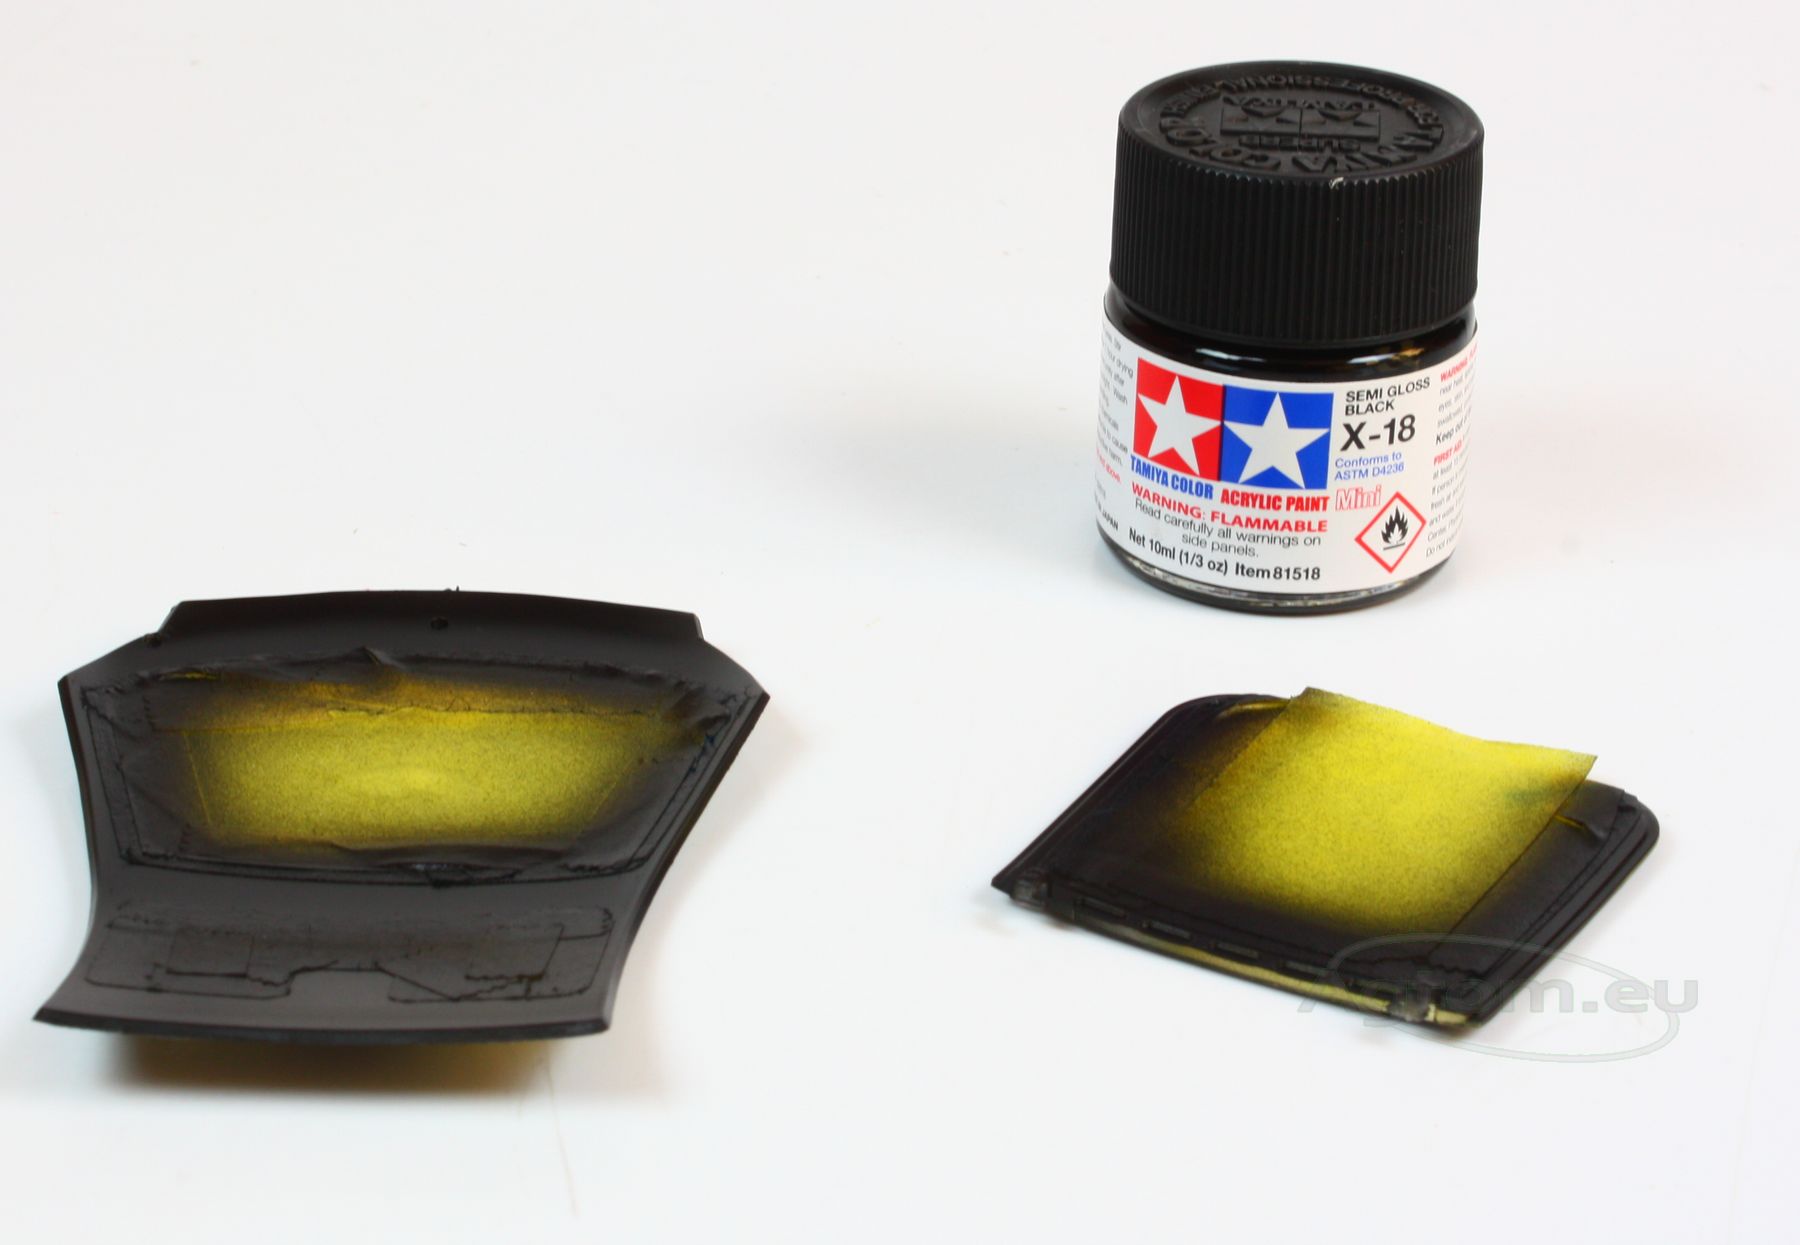
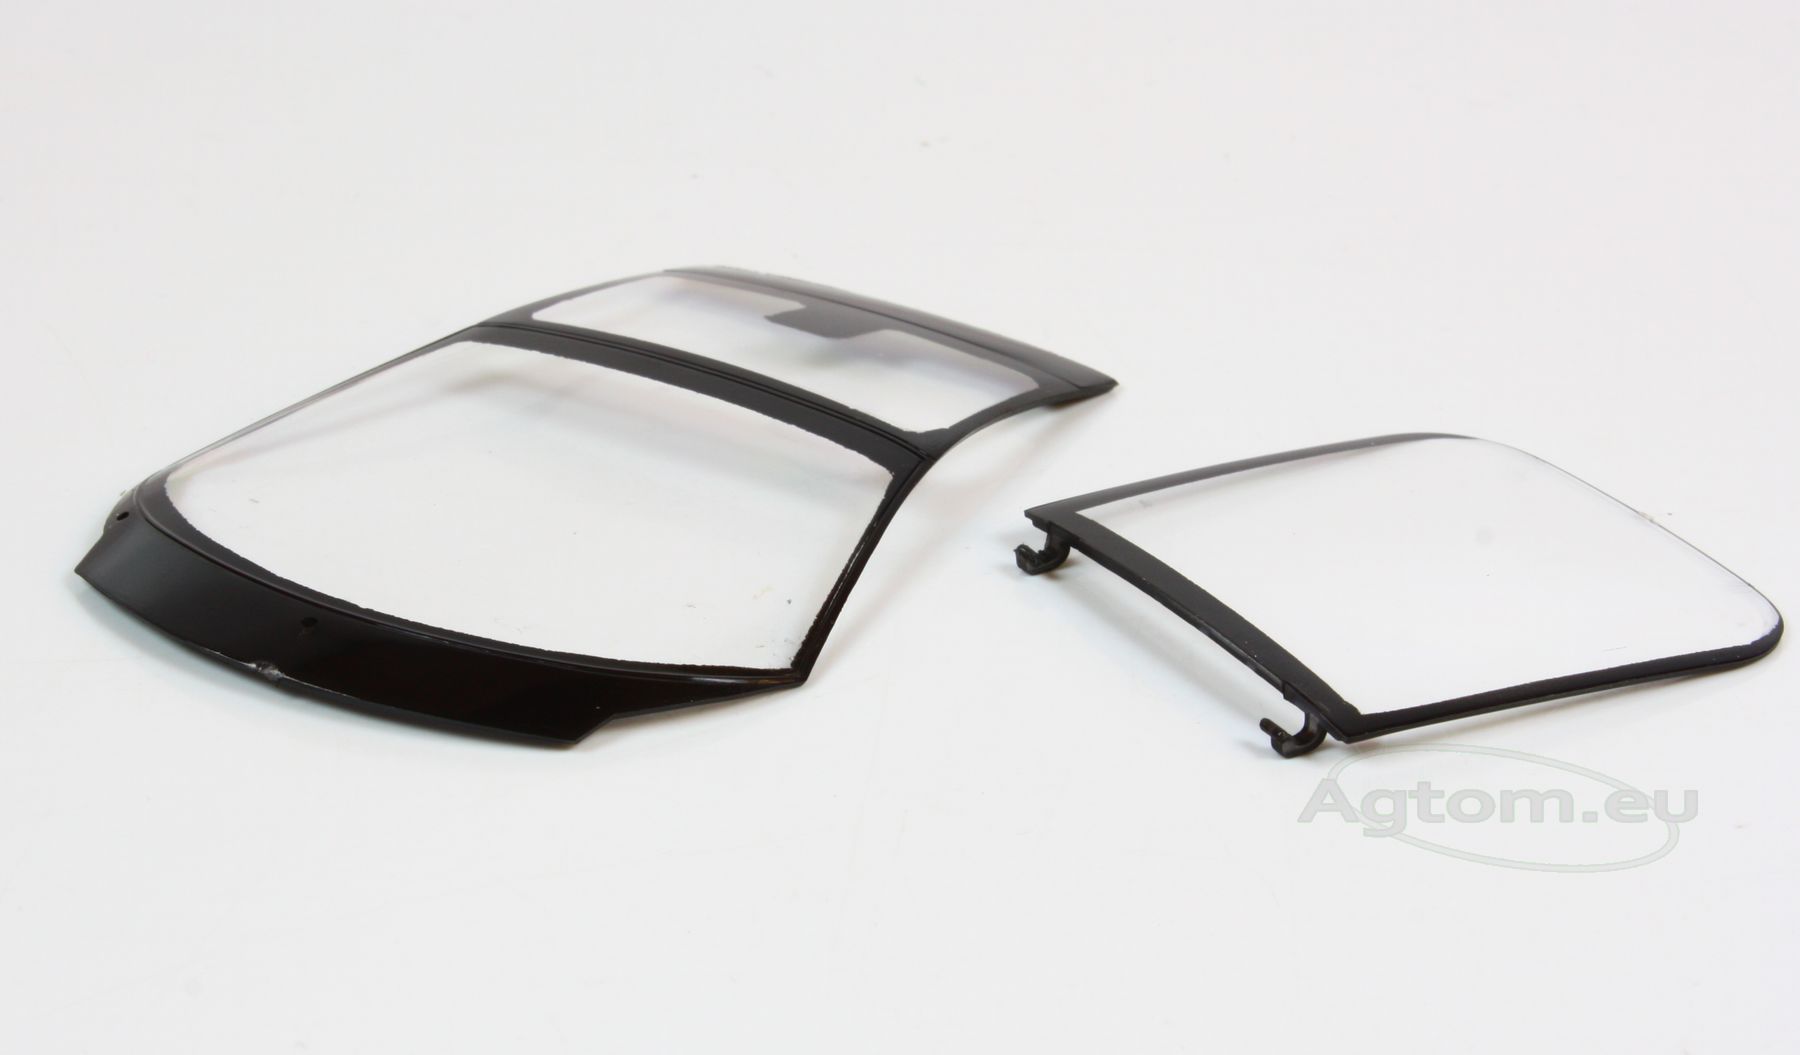
When the paint is fully dry, remove the masking tape.
If you don't have masking tape, you will have to paint it with your brush. It's far more difficult and requires more patience and precision.
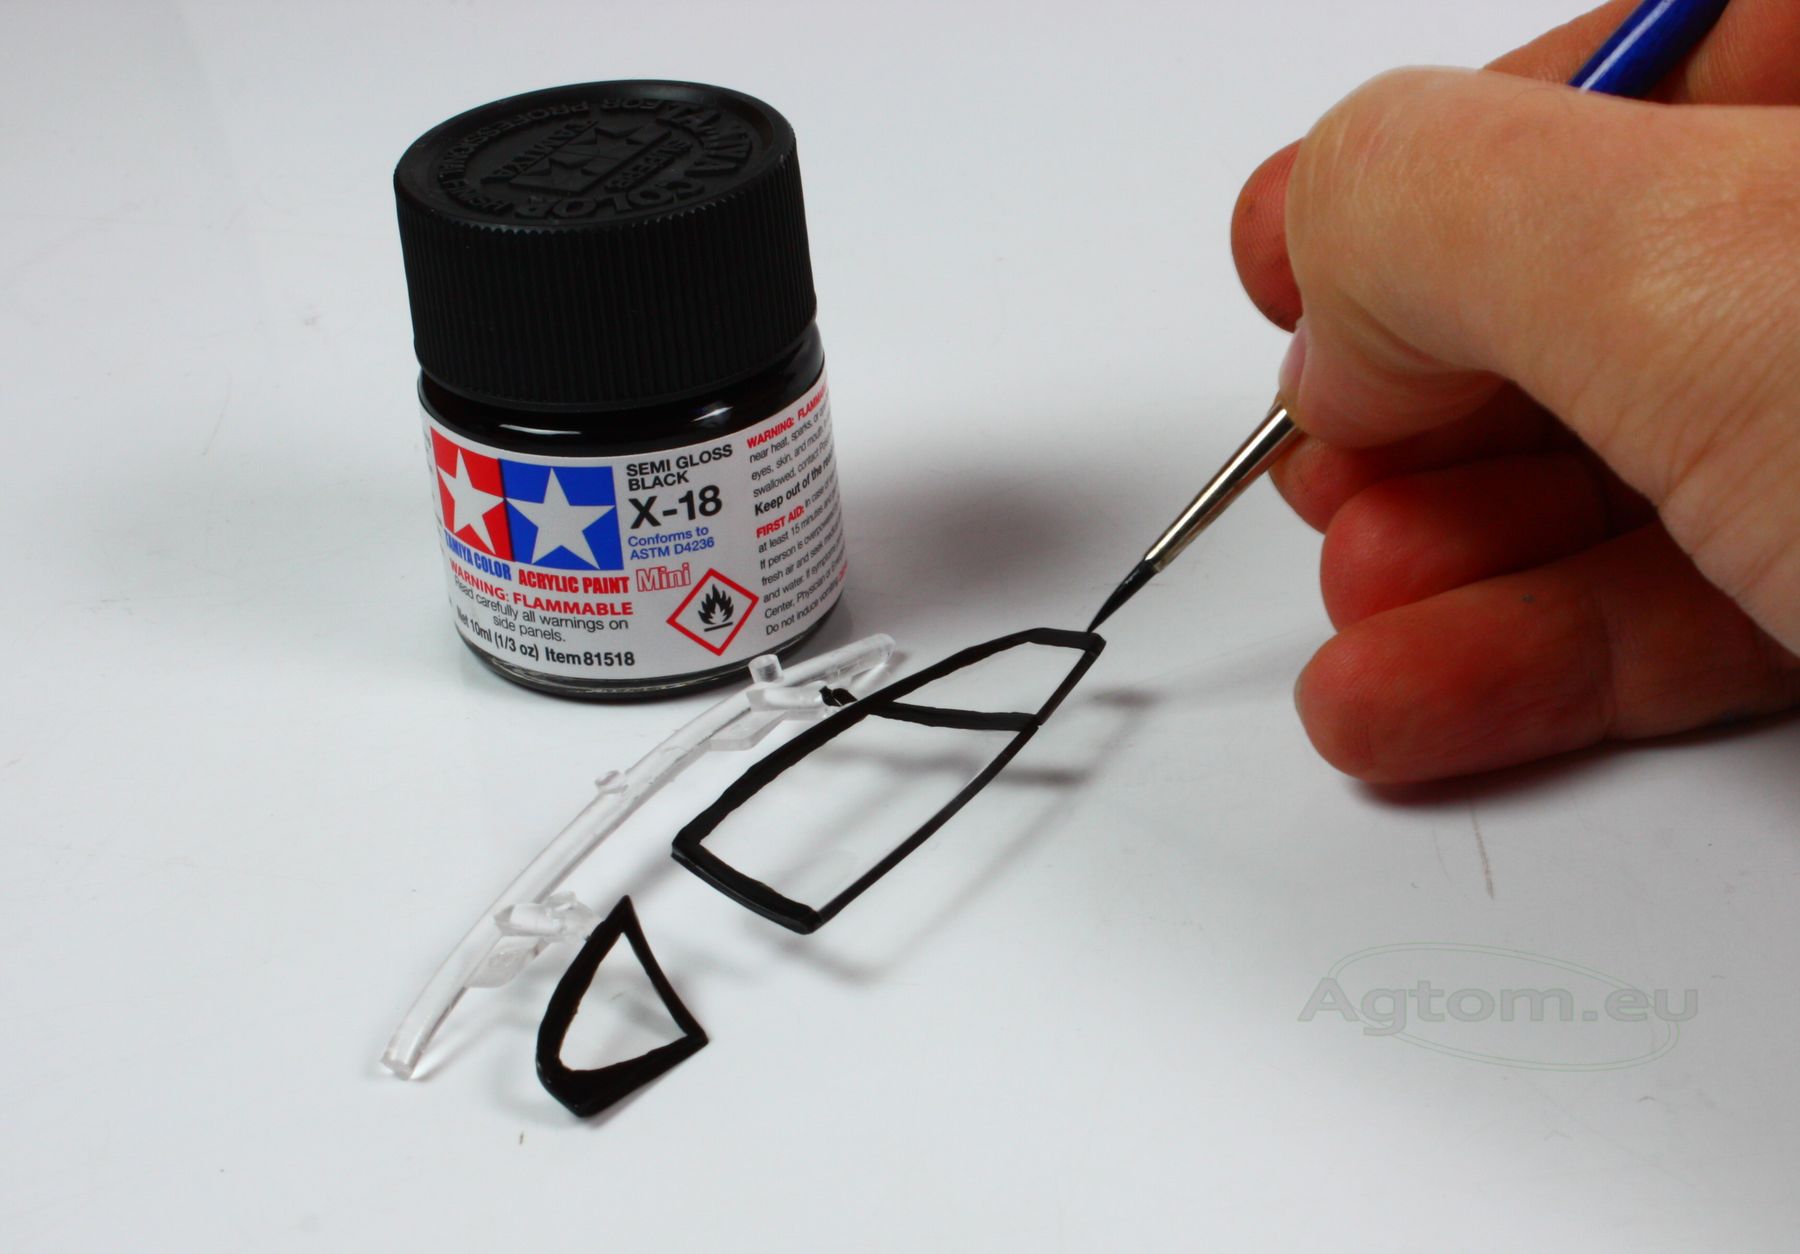
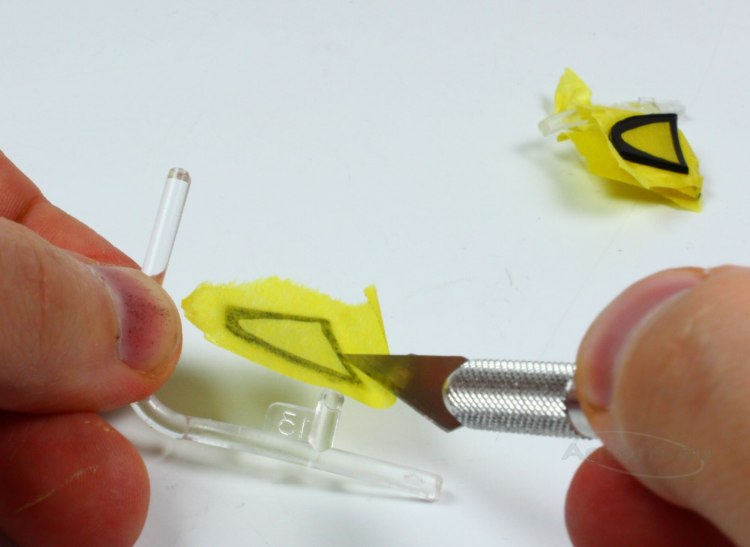
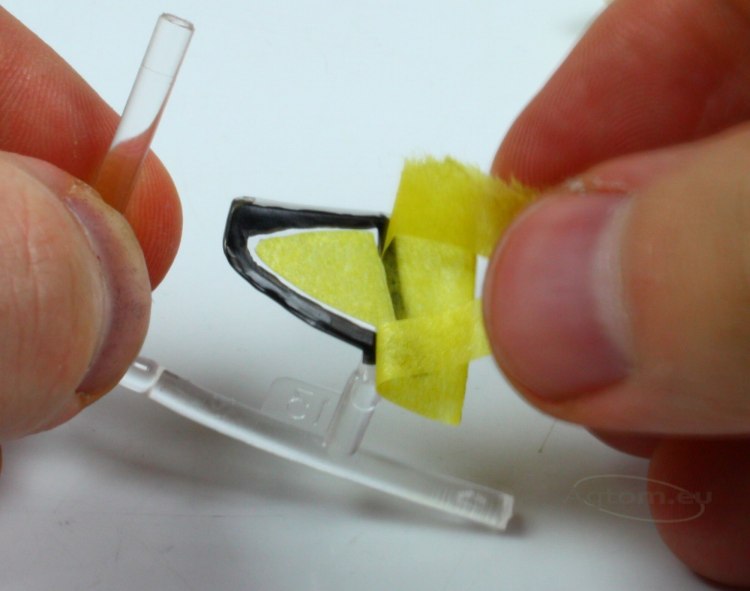
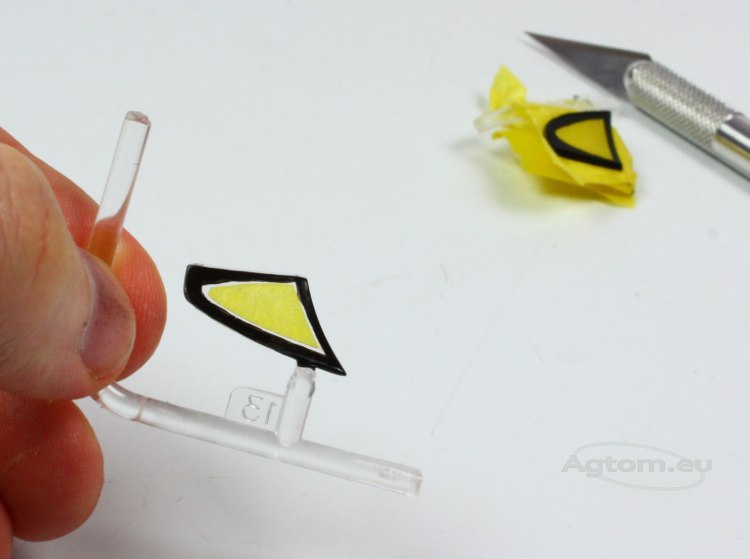
Another way to mask more complicated elements is to prepare shaped piece of masking tape. Use the very sharp knife and wide masking tape. You need to be very cautious, not to damage your element with too long or too strong cut. You may also paint edges of your window frame, so you will see the shape you need to cut from underneath the tape.
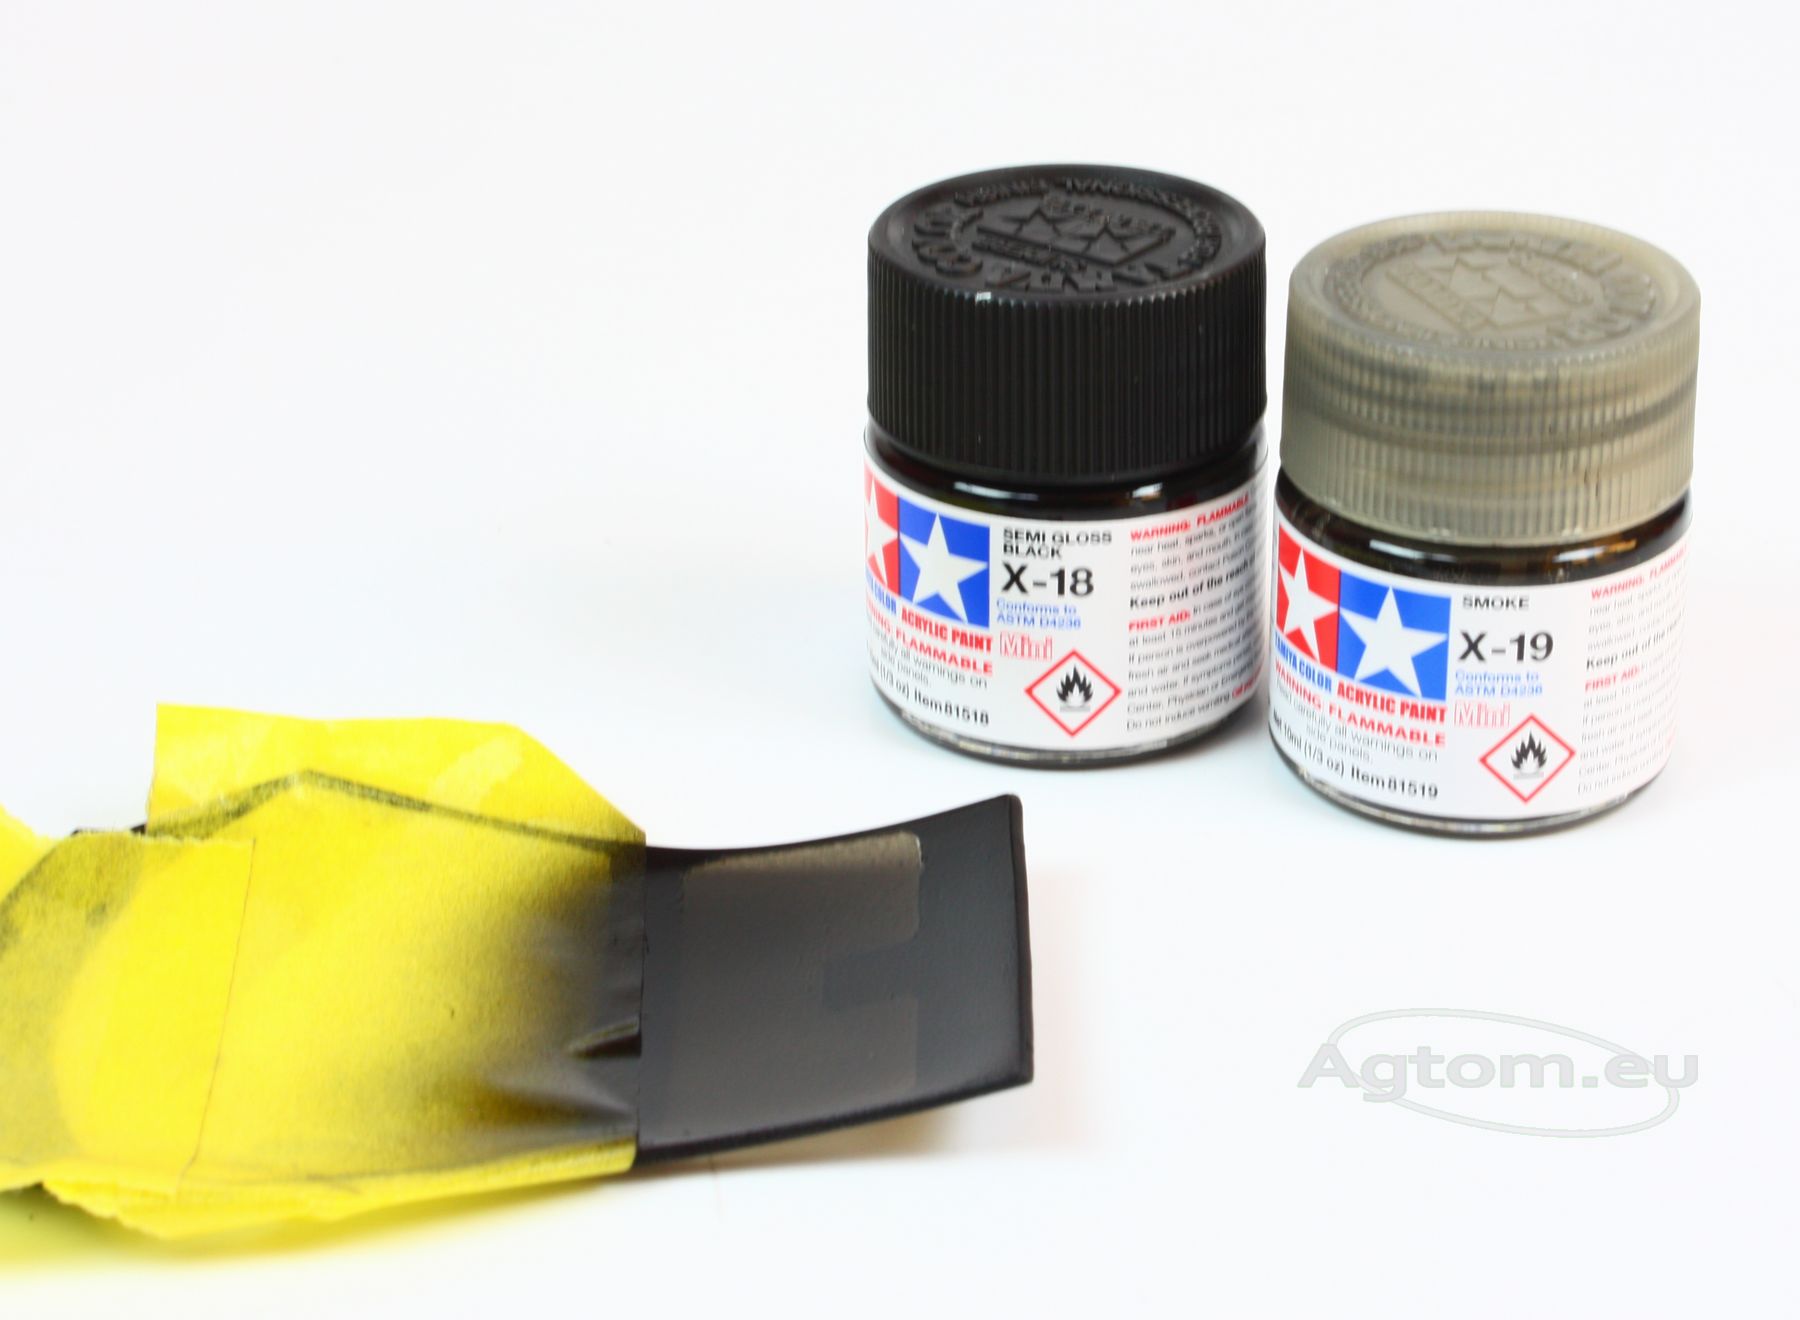
Tinted glass on the top of our car is painted with slightly transparent paint Tamiya X-19 Smoke and just a drop of X-18 to make the colour more intense. In this step, you will need an airbrush, as it is almost impossible to make with a standard brush. You can also use Tamiya spray TS-71 Smoke, but you won't achieve that intense black colour.
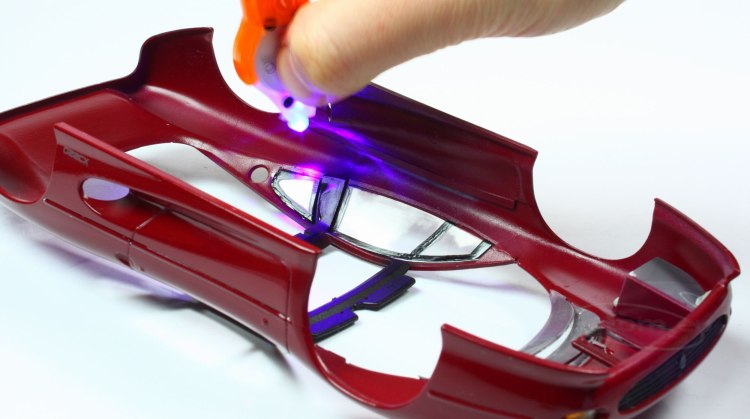
When our windows are ready, we need to glue them to the body. Never use the standard plastic clue to do so, as when it evaporates, it leaves white sediment, which is almost impossible to get rid of. When glueing transparent it's good to use special glues like Humbrol Clearfix or Revell Contacta Clear. You may also use PVA glue, but it's less effective and less solid. Each of those glues is gentle for plastic and doesn't provide a perfect connection.
Best glue for transparent parts is Bondic, extra strong, fully transparent and light curing glue. It's rather expensive, but worth the price, as it's quick, very convenient and suitable for other tasks too.
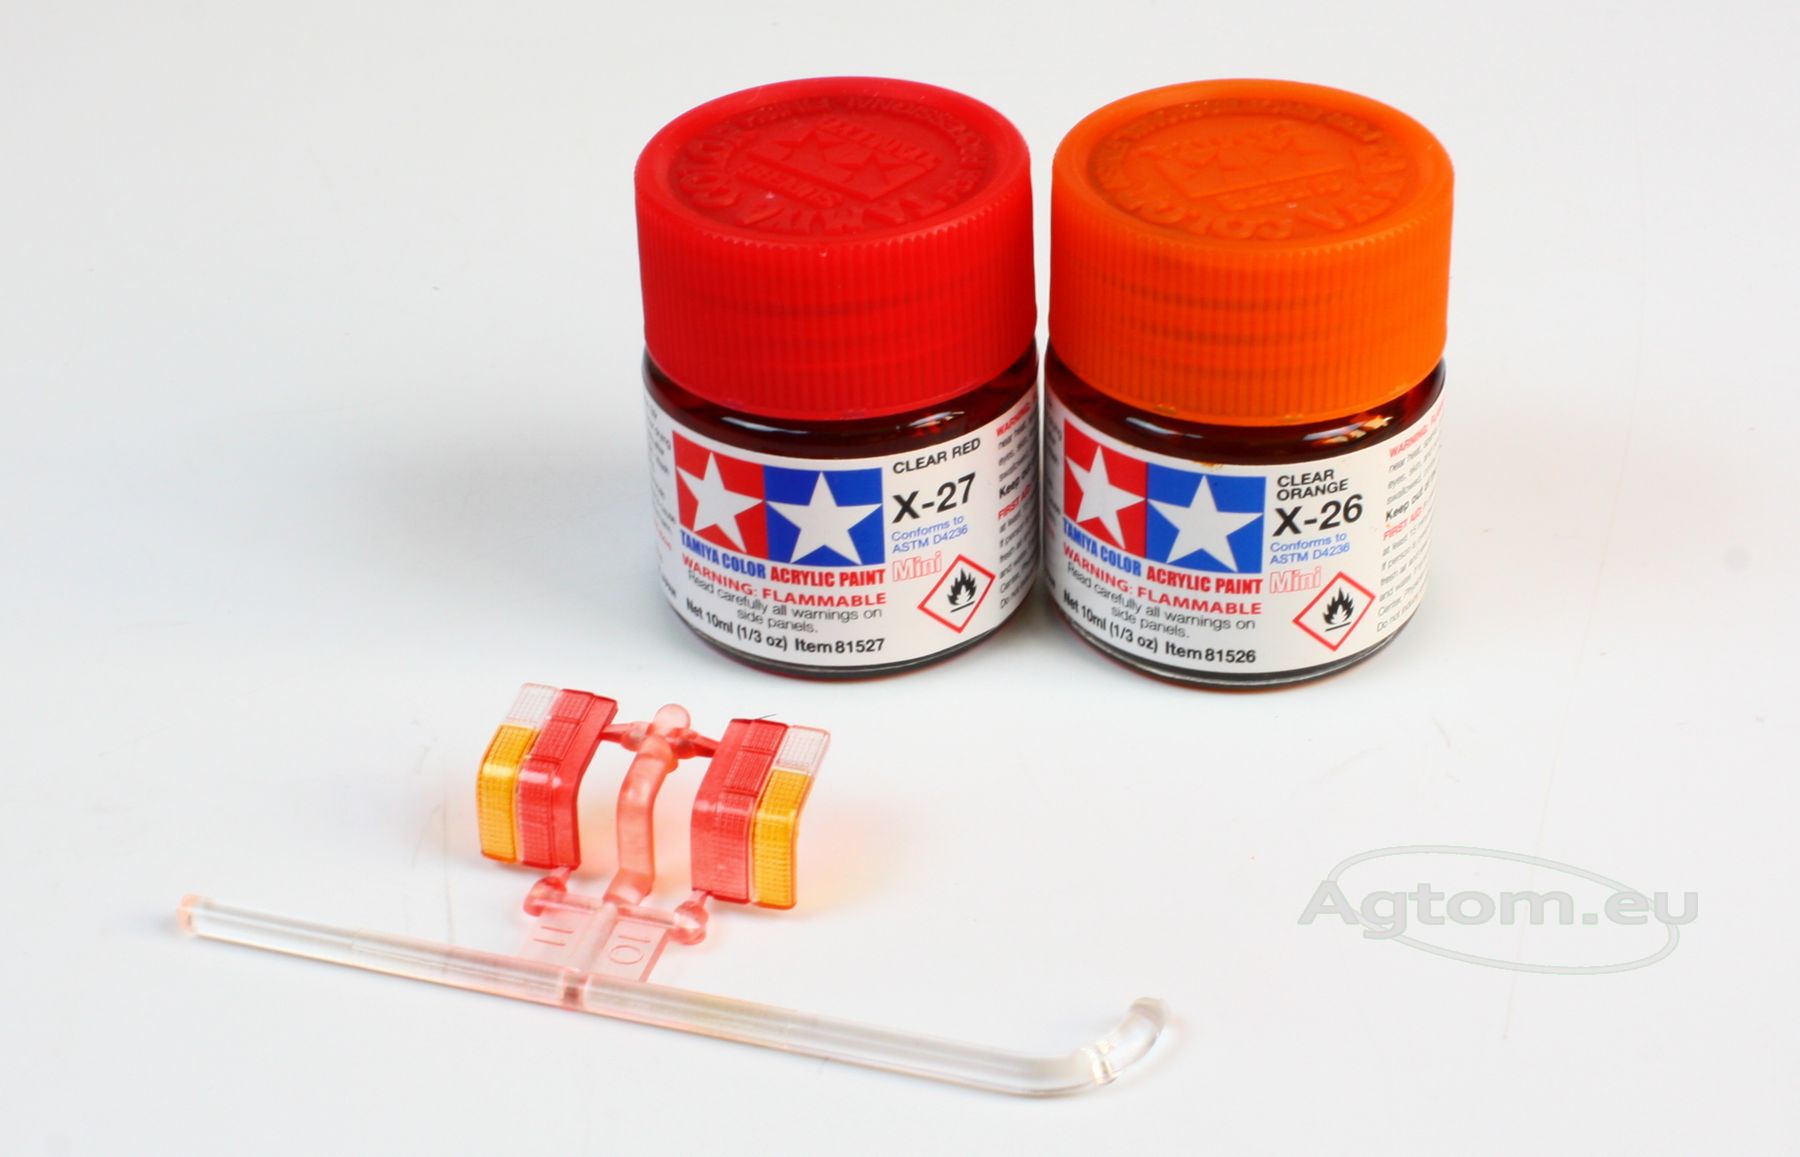
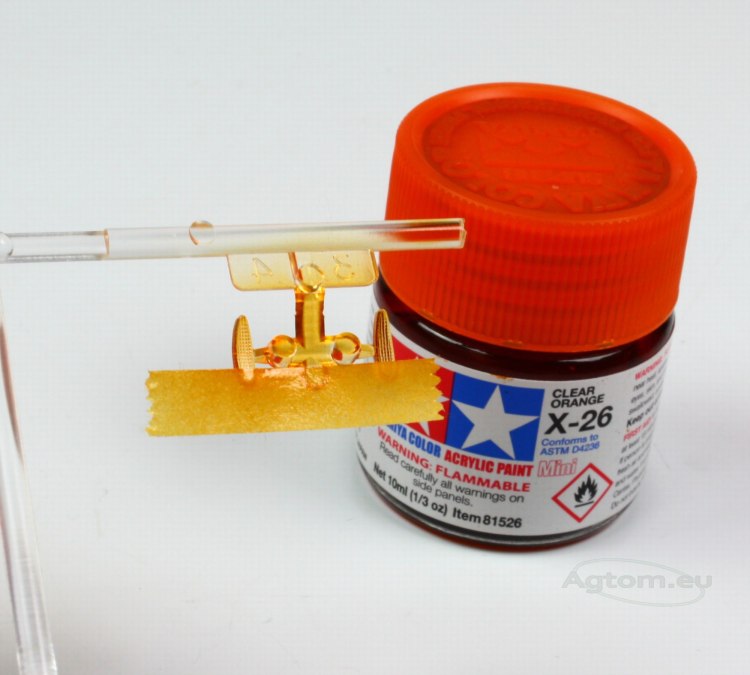
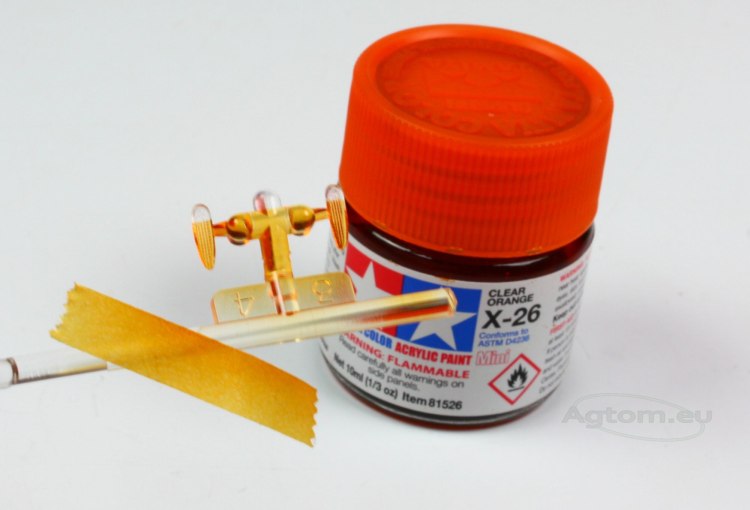
Blinkers and stop light are rather easy to paint with Clear paints. We used Tamiya X-26 and X-27. You can use both airbrush or standard brush.
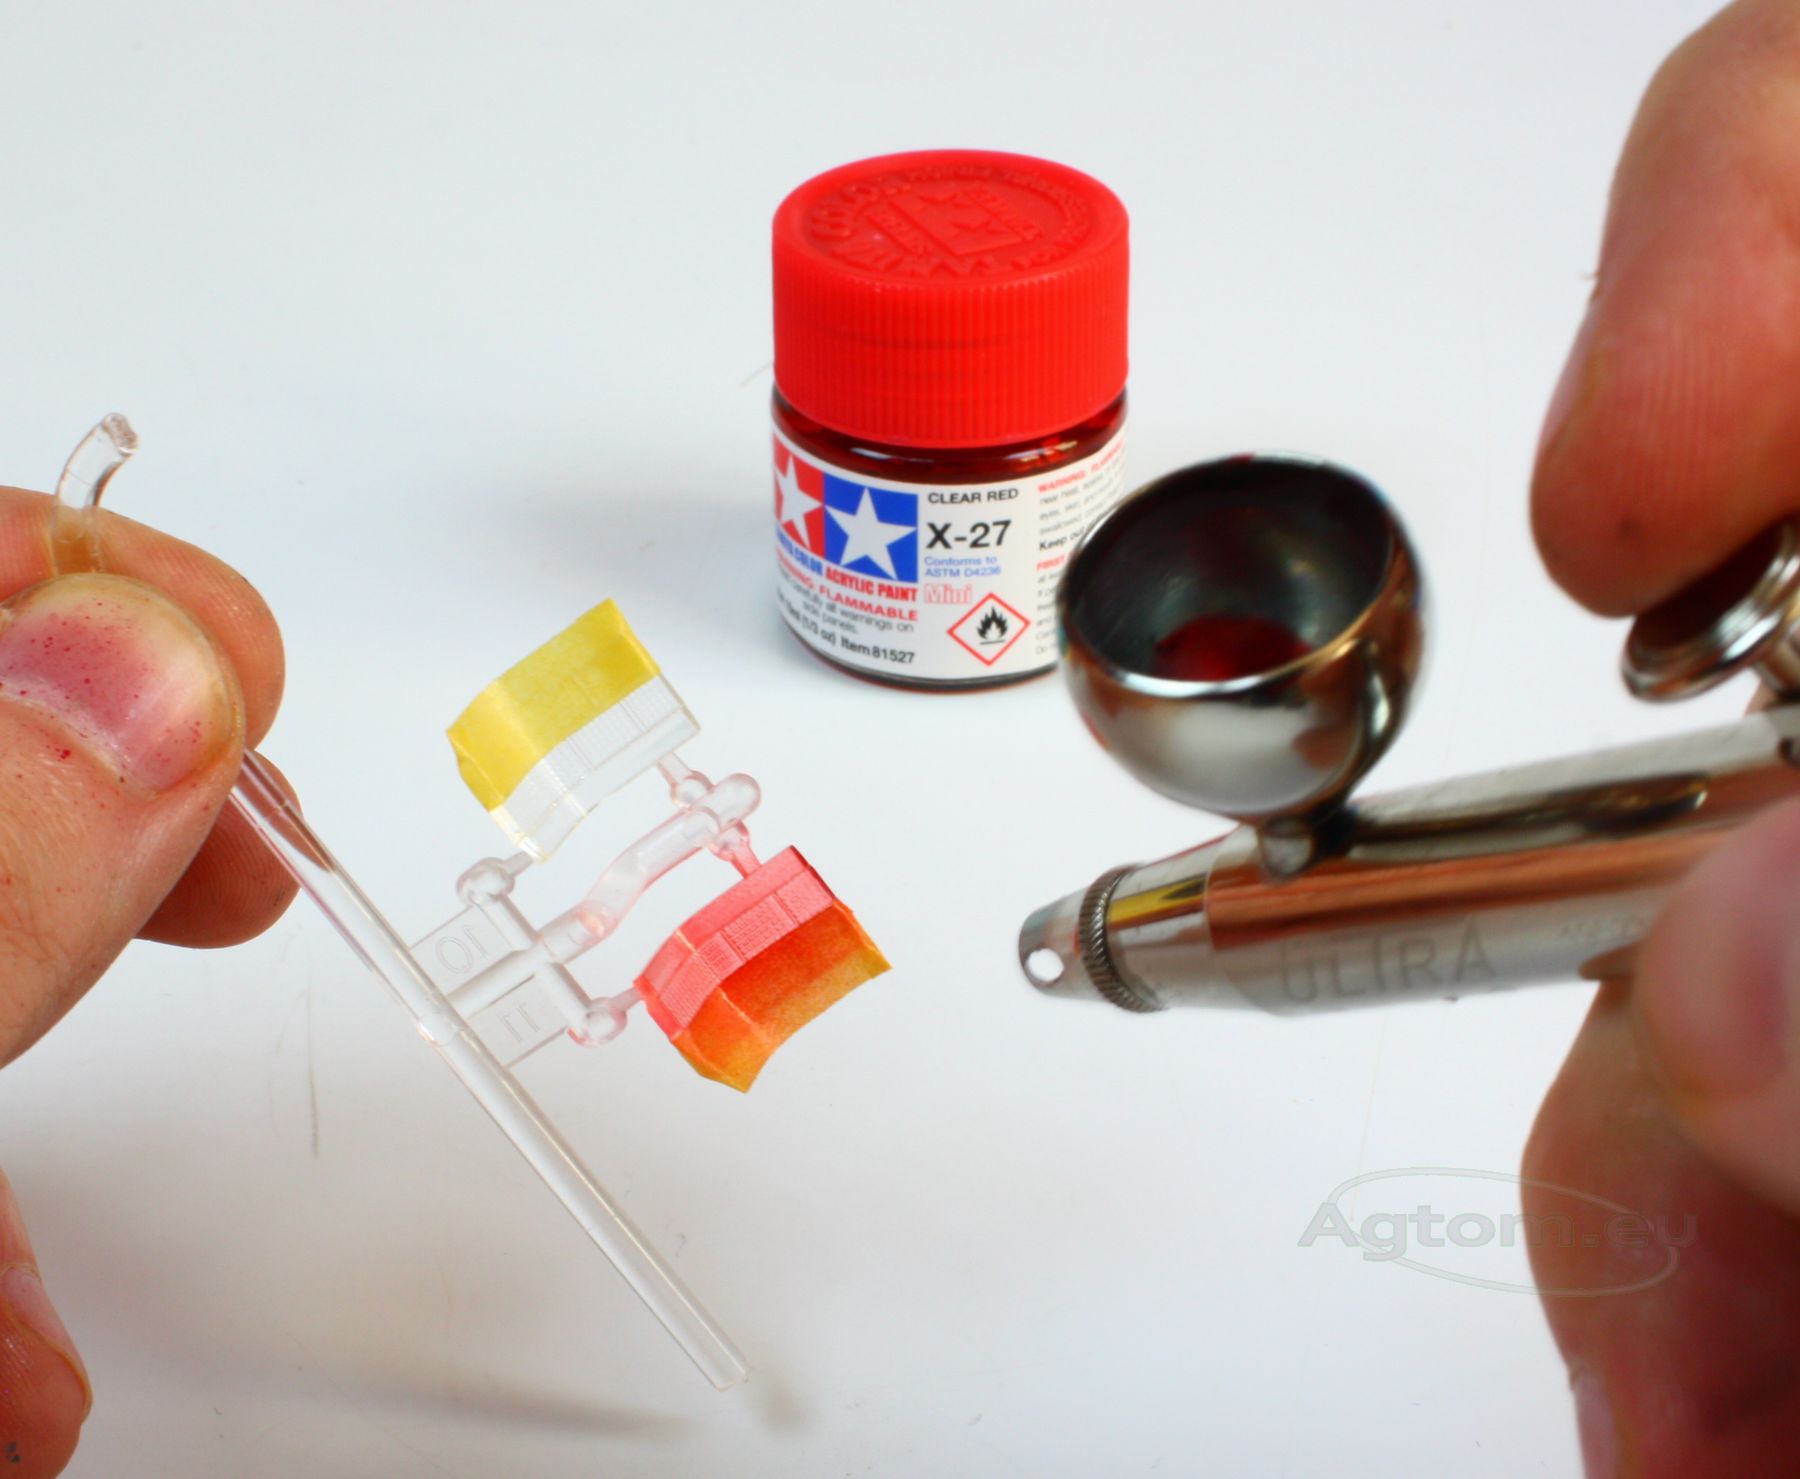
To avoid any inaccuracy, you can simply mask your lights too.
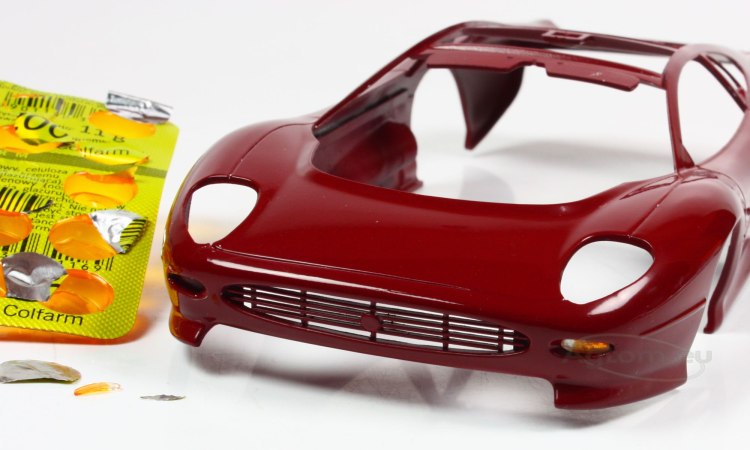
Light sockets should be painted using silver paint. You can achieve the more realistic effect by using small sheets of tin foil, as it's far shinier. It's very important it's very thin, as it is easier to form.
Farby Akrylowe TAMIYA mini 10ml
Aerograf HARDER & STEENBECK ULTRA