No products
To be determined Shipping
0,00 zł Total
 en
en  pl en
pl en
Welcome to the third part of our „painting German tanks” tutorial. In previous articles, we've been choosing paints and painting hull of our Jagdpanzer IV tank destroyer. Now it's time to finish spare parts, tools and other details we haven't done yet.
Handles, tool grips, tools, wheels, spare parts, tracks and other equipment disturb painting of larger areas, such as armor plates or hull. They are usually differently colored than previously painted surfaces, so painting them while attached to it may cause damage to previous work. Most of those parts have few elements of their own, so some masking may be necessary. For example, road wheels often have rubber tires, which can be easily masked and painted in seconds – it's far easier than painting them attached to the chassis.
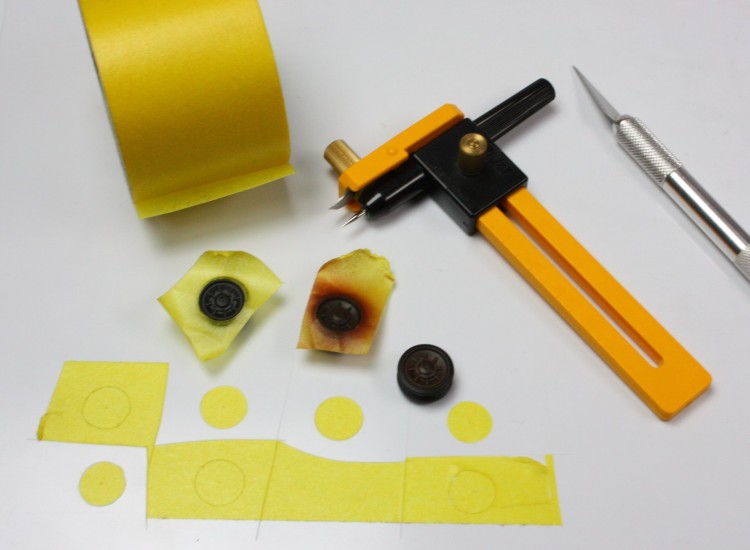
In our Jagdpanzer, as in most of the German vehicles, we have wheels with rubber rims. Those rims should be either black or dark gray – color of our primer. To spare ourselves with additions work with brush, you can simply cut a masking tape to hide rims before spraying or painting wheels. During the process, you will find caliper with blade most useful. Just cut a hole wide as wheel diameter in masking tape stripes and stick it over the rims. Now you can simply paint all of your road wheels in just a seconds, without worrying about any stains on the rubber surface.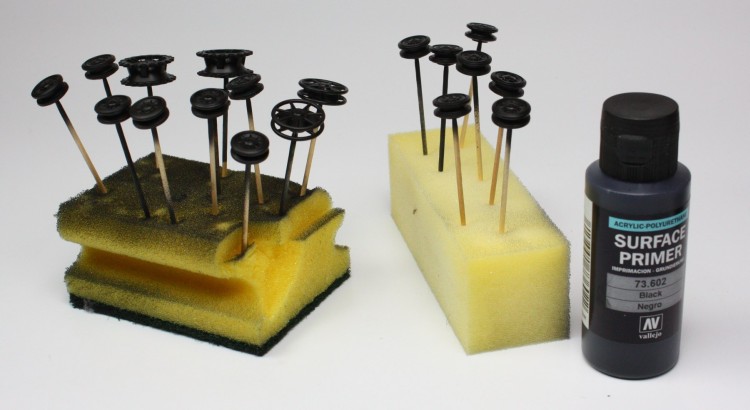

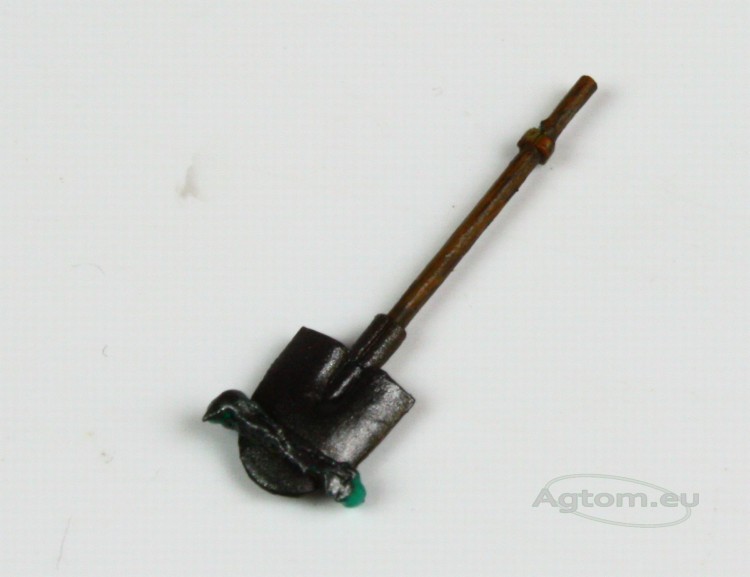
In the next stage, we will paint all attached elements, such as tools and spare parts. First of all – gun holder. It was very often skipped during vehicle camouflaging. We have painted it along with the hull but glued it after we were done with camouflage.
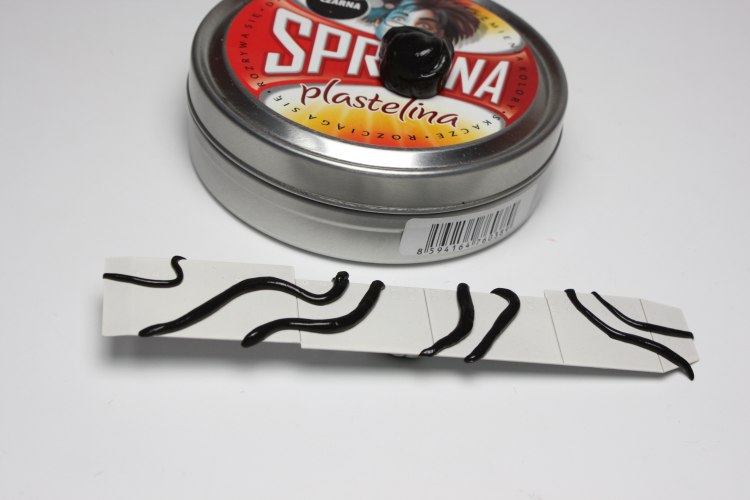
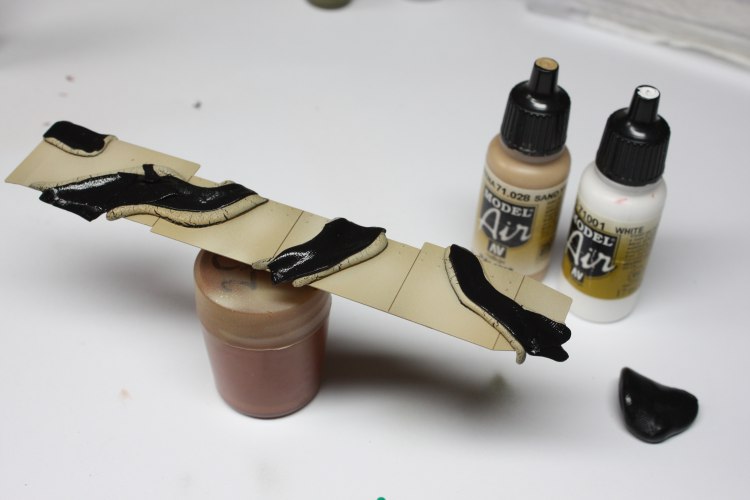
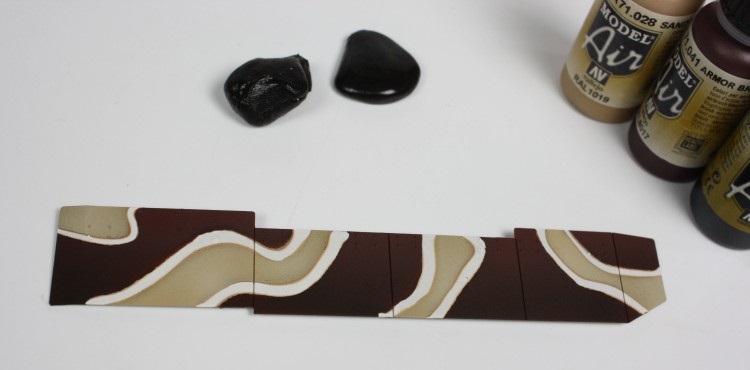
Other parts painted along with the vehicle were Shürzen side skirts. We have decided to leave one of them in pure Dunkelgelb colour, and paint second in less popular scheme. Again, we have used Panzer Putty (or so called Silly Putty, Sprytna Plastelina) for masking purposes. We have started with white primer and then masked it to create veins. Next, we have sprayed it with Dunkelgelb, masked it again and finished with Rotbraun. You can see the whole process on the photographs below.
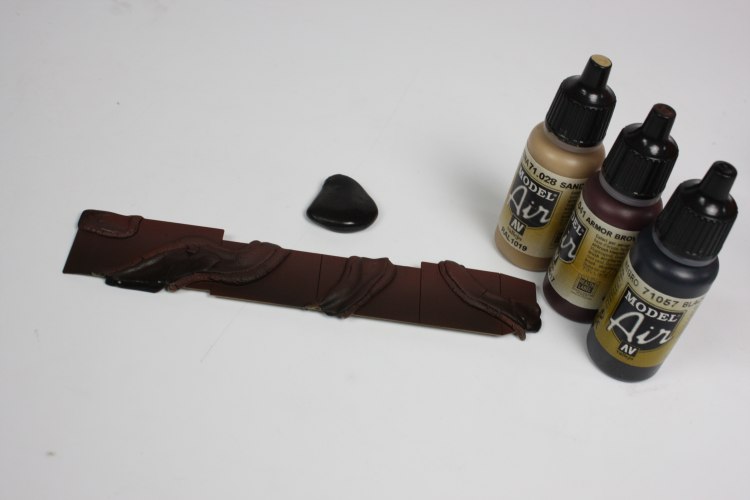
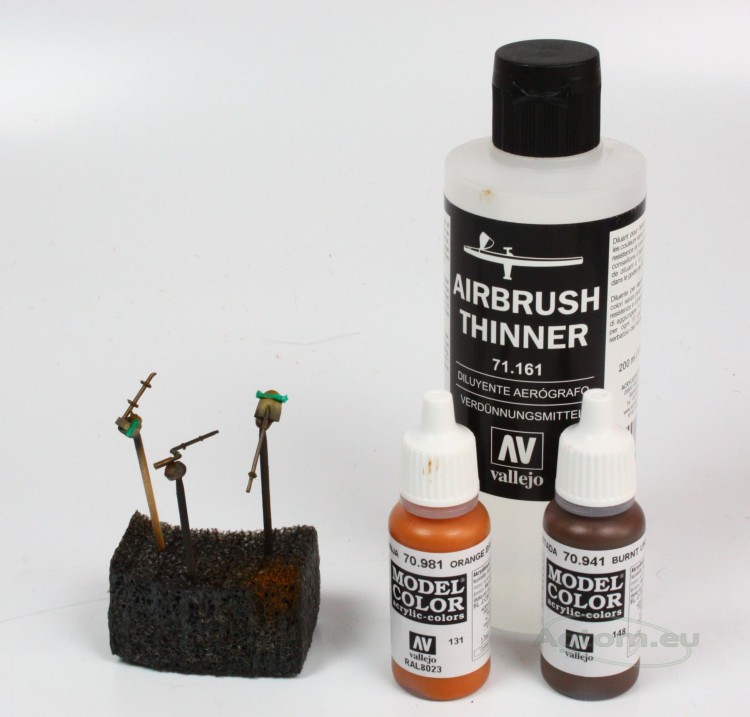
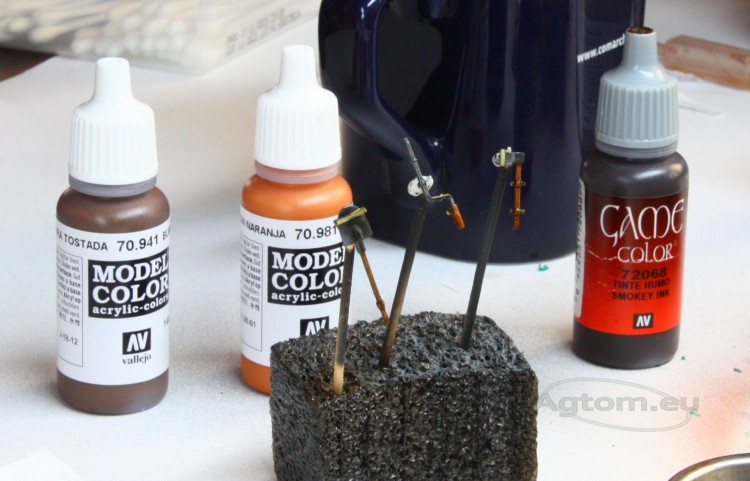
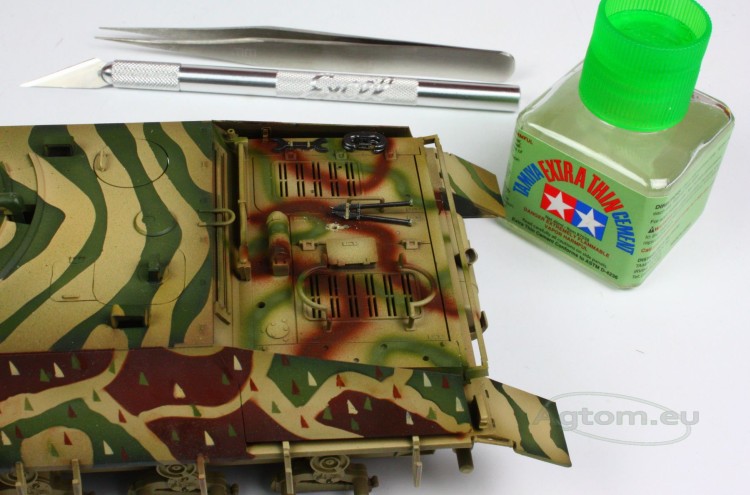
Now it's time for engineering equipment, tools spare parts and other elements. We will need to choose few new paints for this task. First – Metallic Grey. It is very popular, dark silver metallic paint, available in all producers paint charts. It will be the color of all metal parts of our equipment – shovel, ax, pincers and wrenches. Remember it's silver pigment will fade after using lacquers/varnishes, so don't worry about it. Secondly, the paint we need for our equipment is a brown color for wooden elements. Tamiya recommends their Red Brown color, but it may be any brown tone you will find suitable. Some vehicles equipped with additional weaponry such as machine guns may need another metallic color – Gunmetal. Again, it may be found in most of the color charts.
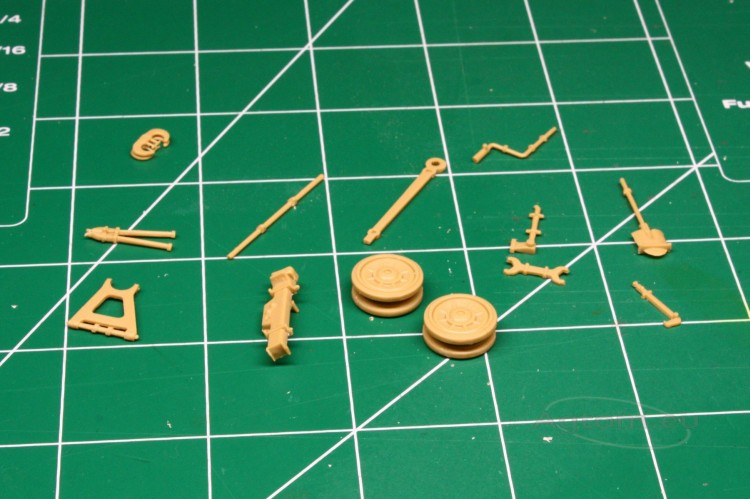
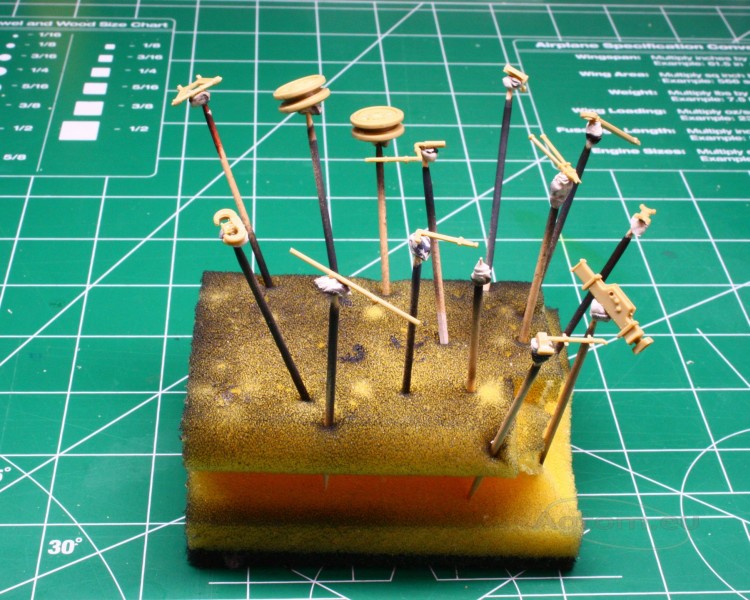
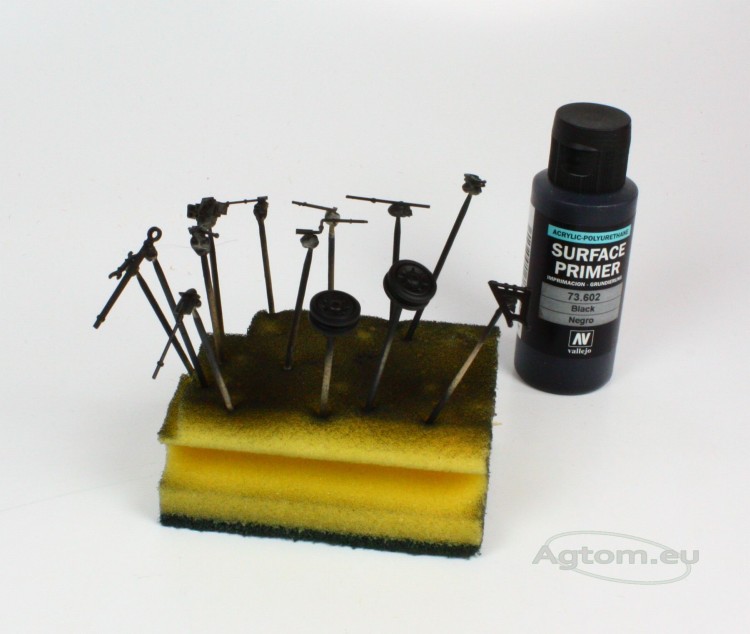
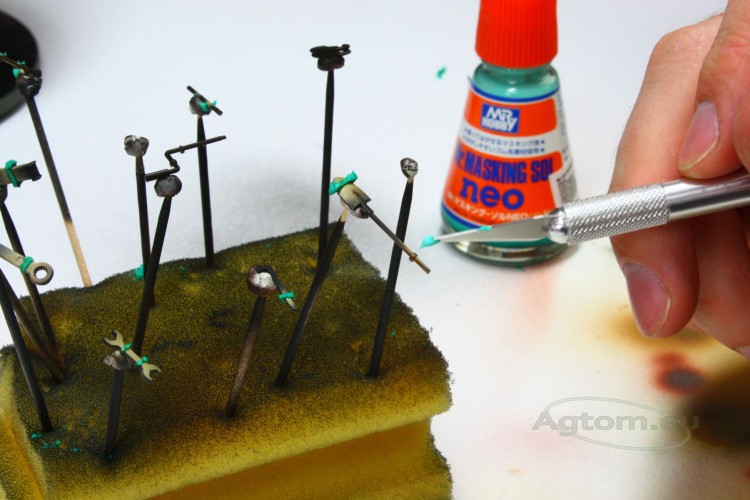
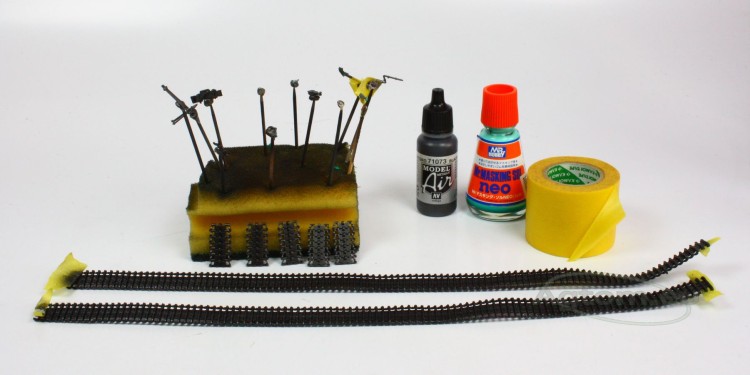
We can paint our elements with either brush or airbrush. We've chosen this second way, as we find it faster and easier than classic brush painting. After you've chosen your method, remember one crucial rule – all junction points of elements you paint must be left clean, so you can glue it later. You can either mask them or spray the elements only from upside. After we primed our spare parts, we have airbrushed all their mounts with Dunkelgelb. As mounts are parts of the hull, we wanted to stick to the same color. After drying, we have masked them with Mr. Masking Sol using a hobby knife, as we found it far more precise than silicone brush. You can also use toothpick or needle to mask very small parts, tools available in every household and very useful in your workshop.
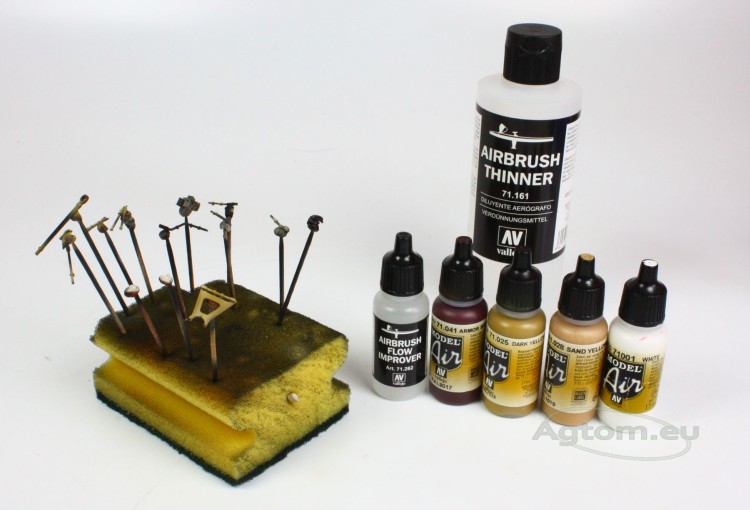
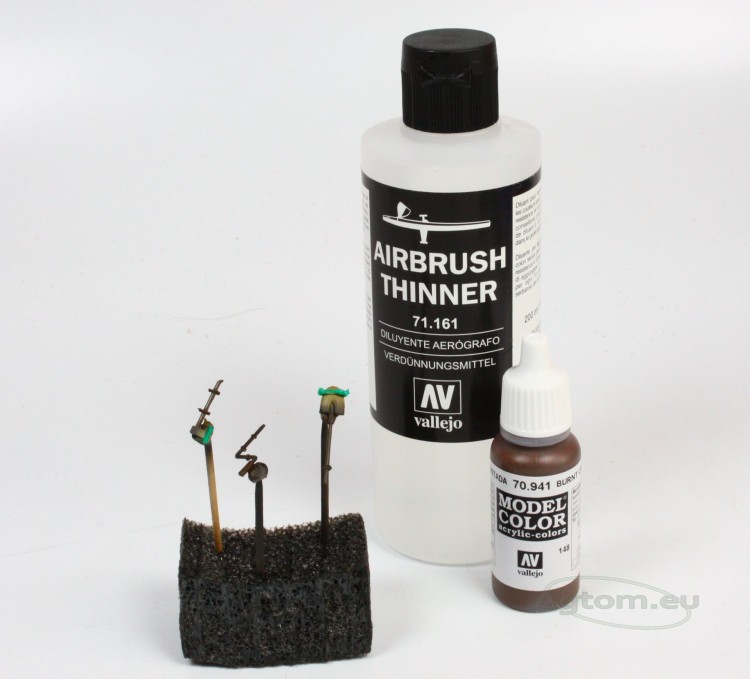
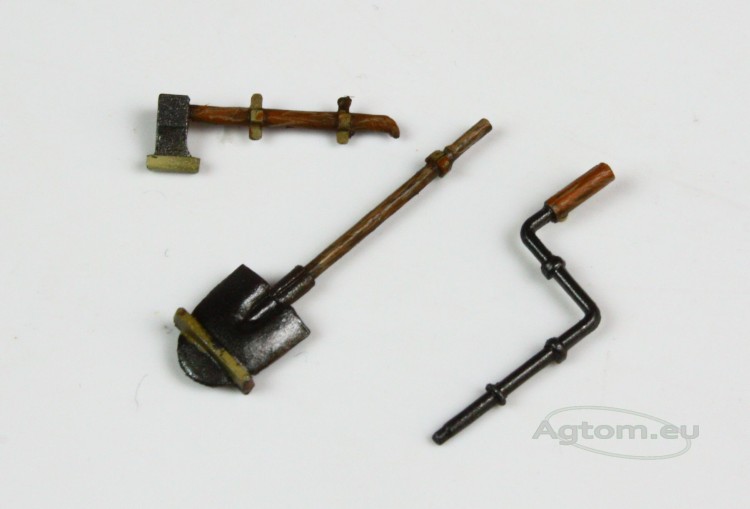
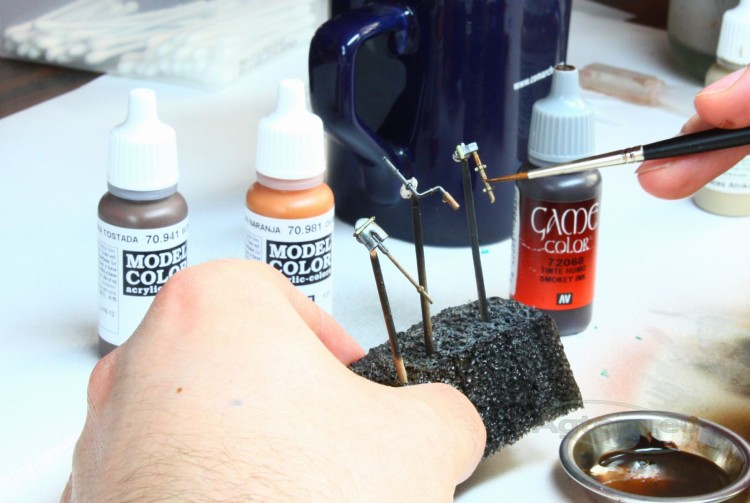
Some engineering tools has metallic blades or usable parts, and wooden grips. In our model, those tools will be shovel, ax and crank. You need to decide which color will you paint first – wooden brown, or metallic gray. We have chosen wooden parts for our first step, as they will be easier to mask later. For base color, we have chosen Burnt Umber (VMC 148), which we sprayed over wooden handles. Then, we highlighted our elements with a mix of Burnt Umber and Orange Brown (VMC 131), spraying only from one angle, to make it look as lit by natural light source. If you are painting with a brush, remember to make this second layer with much thinner paint. Next, wash handles with dark brown wash or ink (VGC Smokey Ink was our choice), to give the wood deeper look. For finishing touch you can simply paint edges with a single brush stroke, but we decided to make more of it.
If you want to achieve more realistic look of your model, you can focus on details such as growth rings on wood. This will, however, require some skill and practice. First of all, you will need a paintbrush with really sharp tip, as details you will paint are very very small. You will need to make single strokes along each handle with few coats of thin paint mix. We have used both previous brown paints (VMC 148, 131) and Afrika Korps Tank Crew for highlights (VPA 340). It is crucial for you, not to use white paint for highlights as it will cause lack of color intensity.
When our paint mixture is prepared (same proportions of 148 and 131, with more of 340 with each highlight), you can start painting very tiny straight lines on your wooden surface. Repeat the process until you are satisfied, using more VPA 340 each step. Remember two things: firstly - wooden surface ain't regular, so each line doesn't have to precisely highlight previous, secondly – remember to paint thinner lines with each step.
To finish our work, apply very thin and watered down layer of wash over the surface (again we have chosen VGC Smokey Ink).
When painting equipment remember where it's positioned on the hull. Take note if it's affected by light or hidden in shadow. Exposed elements should be brighter, while those hidden should remain darker and shaded.

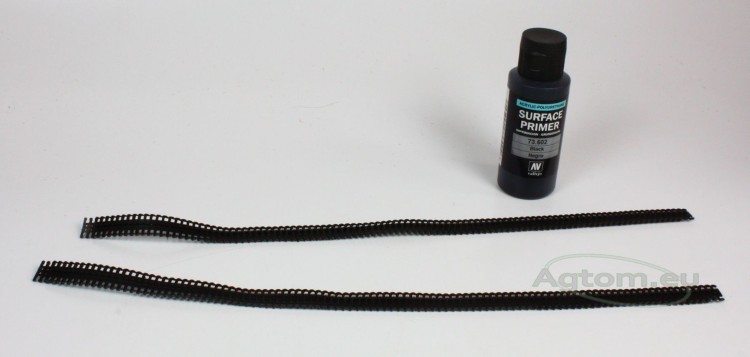
Paradoxically one of the most difficult parts while painting are tracks. Making realistic looking tracks is very hard, as they are most exposed to biological and mechanical damage. We will try to show you how to create nice effect within few steps, but first – you need to prime it and paint in base color. Remember to mask track junctions well – it's crucial, so you can glue them properly (as we said many times before – glue doesn't work well when applied on paints).
Primer for metal elements remained the same as on the whole model – Vallejo Surface Primer Black. Next, both tracks, links and tools were airbrushed with Black Metallic (VMA 073). It's very dark metallic paint, which perfectly imitates effect of metal surface, especially dark steel used in the military. Remember to mask your wooden elements before airbrushing these parts. This time, we have used masking tape for that purpose. Next steps on how to finish metallic elements, will come in upcoming article about weathering.
When you are done with painting, you have another difficult task to make – gluing all of those parts together. If you are satisfied with your model by now, you will have to glue everything in the right place and put your model into cabinet or on the shelf. But if you want to get more out of it – you have to plan next steps – decals, washes and weathering. You need to know which elements will make it harder, and which can be glued now. We have decided to skip spare tracks, as they will make applying decals uncomfortable, and wheels, as washing them will be easier when unassembled. When you sort it all out – off to gluing.
Now, remember one rule (if we haven't bored you to death by telling it every 5 minutes) – do not glue paint with paint as it will probably come off and ruin your hard work. Paint on the surface where you will glue your parts must be removed. First, apply elements in their right place, and check out adhesion space, then gently scratch the paint off. We used hobby knife, a precise file will suit for this job too. Some of the elements have small pins, so it will ease your job a lot.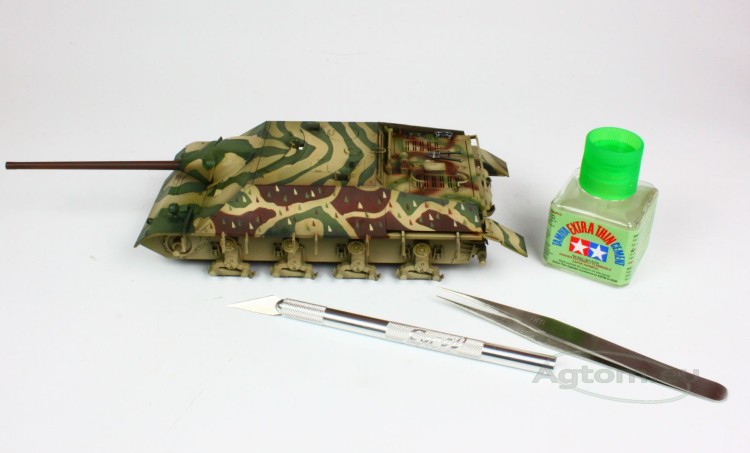
When both surfaces are neat and clean, gently apply glue to one of them and attach them. We recommend using glue with precise applicator. You can always use a pin, a needle or a toothpick – anything that will help you apply the glue without damaging the model.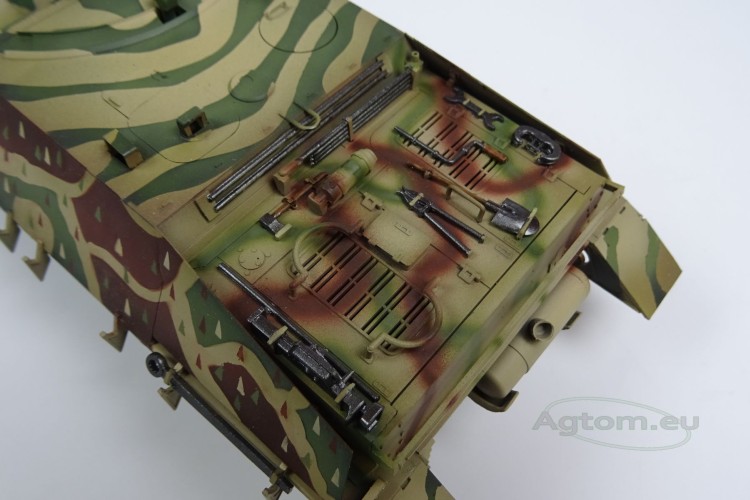
We have finally finished painting our model and glued it all together. Now, we can prepare for further work – decals, weathering and finishing touches, but that – in next article of the series.
Thanks for reading, and as always – any comments and suggestions are always appreciated. We hope you enjoyed this one. Happy painting, and stay tuned for next articles and tutorials about painting and modeling.