No products
To be determined Shipping
0,00 zł Total
 en
en  pl en
pl en
On this stage, we will show you how to use filters. But what are they? Why do we use them? The filter is an enamel based liquid, which distinct each color on your model and gives them that spatial effect. It smooths blends between colors and increases their depth.
Before we apply our filter, we need to prepare our model first. As filters are enamel base, for any corrections and removal of excessive fluid we will use White Spirit. To prevent our previous paint job and to protect decals, we will need a coat of varnish. The best choice is Satin varnish, as it's micro structure is a bit rugged, and our fluid won't drip from the surface but will have the effect on the whole model. For this task, we stick with a varnish from Vallejo Premium Airbrush Color range.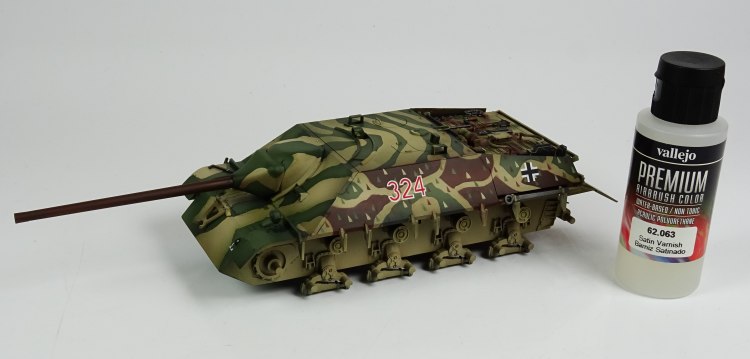
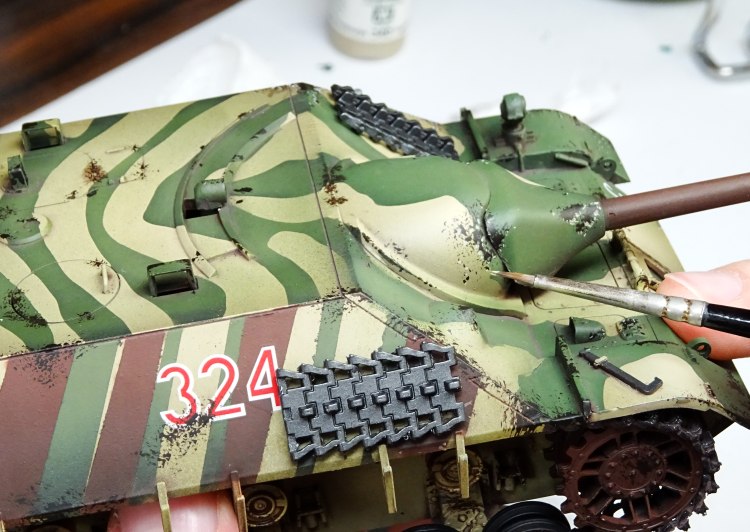
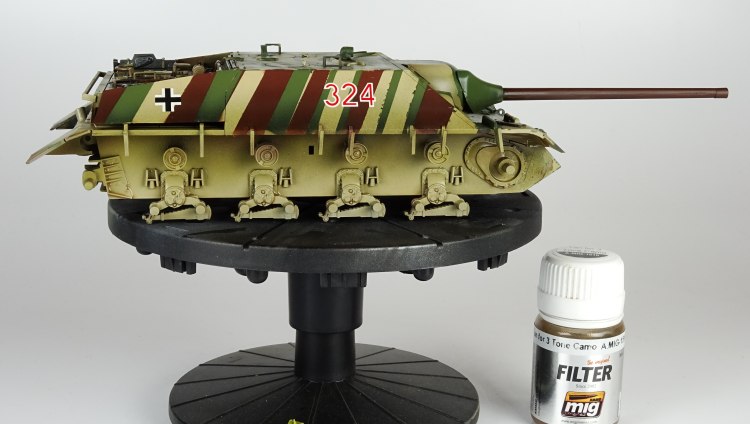
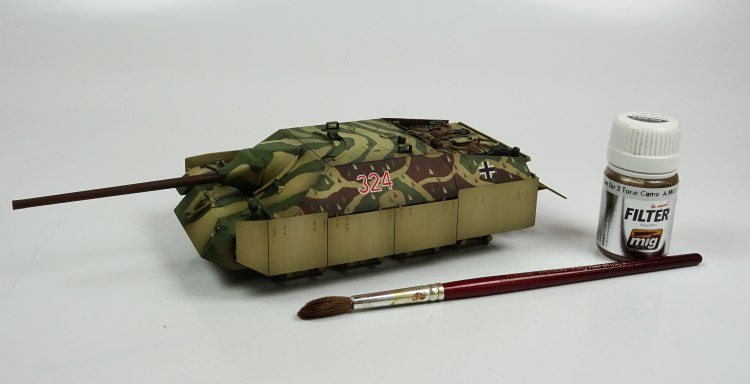
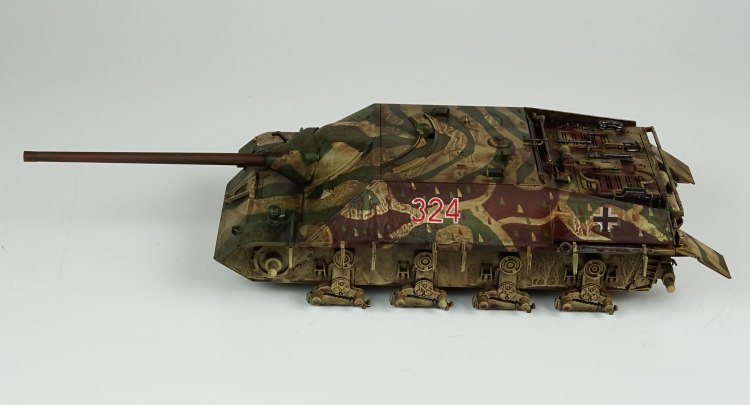
Applying your filter isn't that hard at all, but requires some extra care. First of all, remember to mix your fluid very well. Enamel based products need a lot of mixing or shaking to bind well. Our choice was Ammo for Mig Jimenez Tan 3 Tone Camo filter (A.MIG-1510). Choice of filter color is very important, as it will change color tones of your vehicle. When your filter is ready, you can start the application.
While applying filters (and most washes) on flat surfaces, a large flat brush will be best. You will also need a paper towel to wipe excess filter of your brush. It is crucial to apply your filter in very, very thin coats with single brush strokes upside to down of the vehicle. Your brush has to be only a little wet from the fluid to do so, as it prevents streaking and staining. Make sure each stroke applies the same level of filter on the model. If it occurs to you that you put too much of fluid on the model, remove it with White Spirit, be careful and don't rush – filter dries for a while. After you apply chosen filter all over your model – leave it to fully dry before any further work. It may take time, as enamel based products dry much longer than acrylic.
Enamel wash structure is very similar to the filter, but its purpose is quite different. It shades and darkens the whole model, especially in all recesses. In that terms, the application will be very similar too.
There are many enamel washes on the market, with top products from Ammo of Mig Jimenez and AK Interactive considered as the best. We, however, have decided to create our own enamel wash, to show you how easy and convenient it can be. All you need is enamel paint and White Spirit as thinner. You have a wide amount of enamel paints to choose from, so you can find a dark tone most suitable for you. We have decided to use Van Dyck bronze (Renesans Oil Art 47). While mixing your wash you will need a pot or palette, a pipette for measuring White Spirit and an old brush. The consistency of your wash must be as thin as it will run down the model surface, not leaving any clods and solid paint marks on it.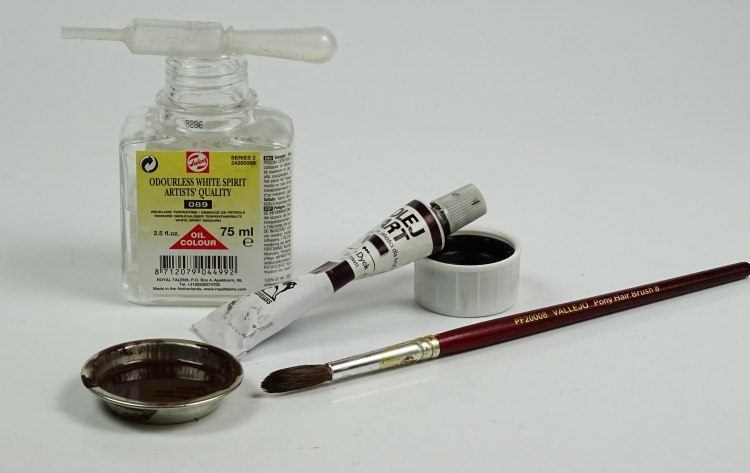
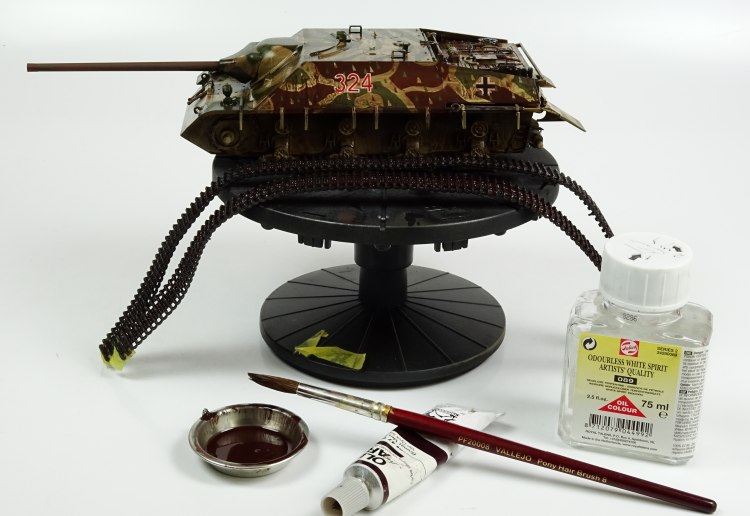
Once it is ready, we can apply our wash on the model. We don't need to coat it with any varnish before, as dried filter won't react with our wash. We implicate our wash on the model with single brush strokes, just the same as with the filter, but this time we put a lot of fluid on it. Thicker your wash and its coats are, darker your vehicle tone will get, so remember not to use too much of it either. Now coat whole your model, tracks, wheels and spare parts with your wash and wait few hours until it comes to all recesses and dries a bit.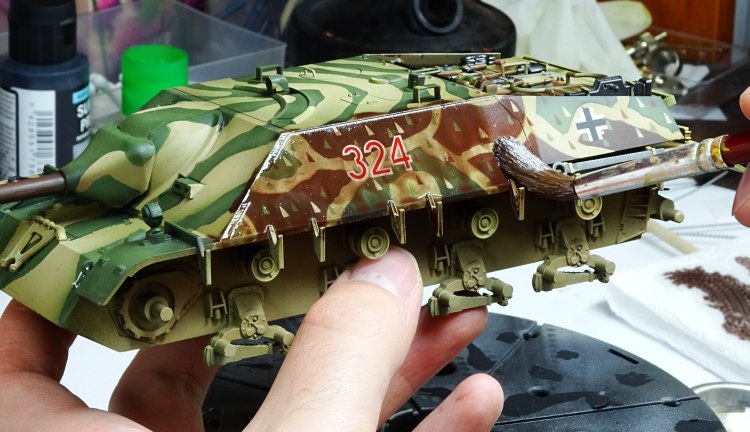
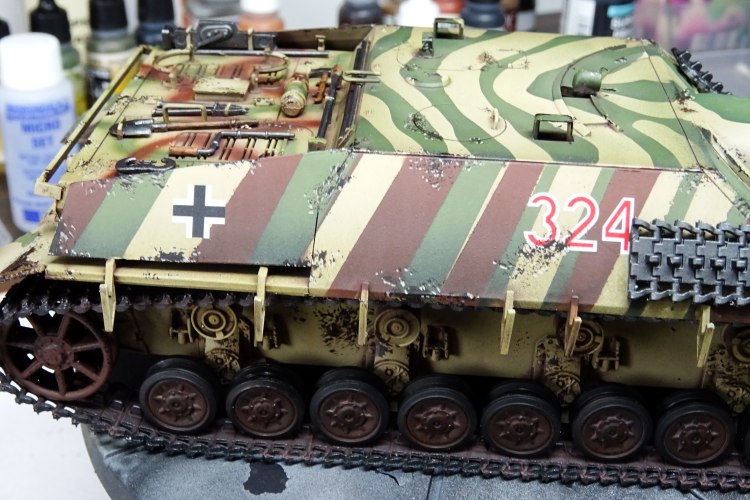
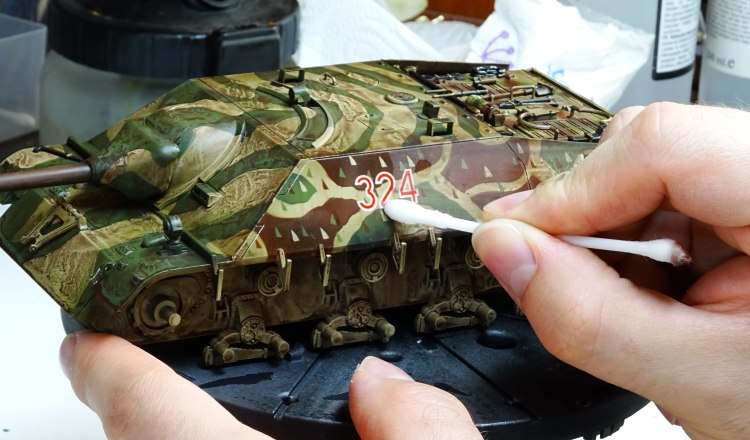
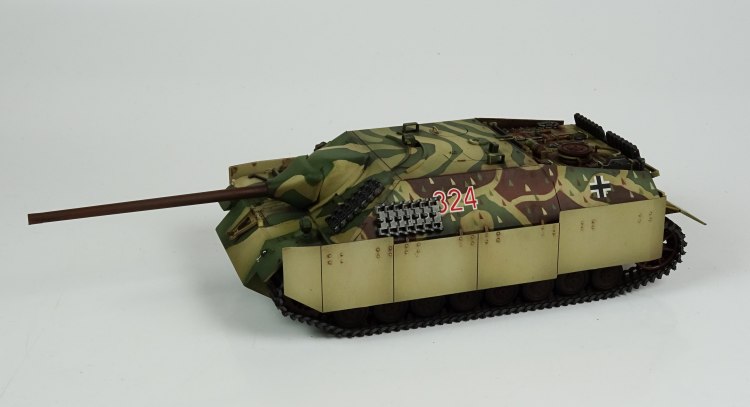
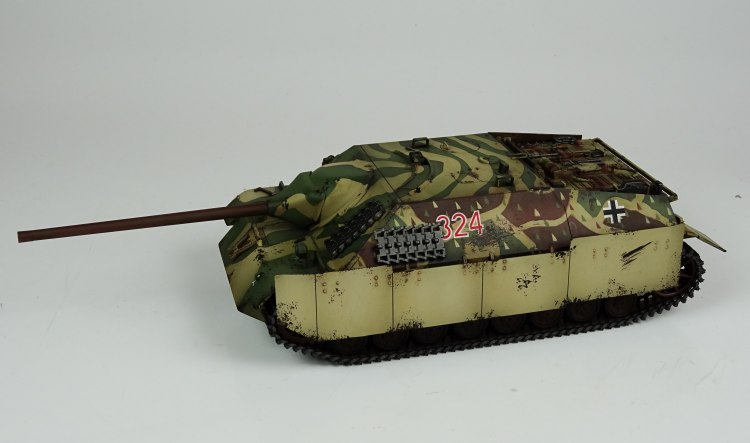
When our model dries, we can start removing excessive wash from it. It is most important that wash won't dry completely, as it will be very difficult to remove unnecessary enamel paint then. To remove your wash you can use either use a brush, piece cloth, cotton buds or pads slightly drenched with white spirit. Remember to remove any enamel stains in single strokes in one direction, not to smear paint all over the model. We repeat the action until the model is clean and shaded only on areas we wanted at the start. Now we must wait until the model is completely dry. Now, we can fully assemble the model, attaching wheels, tracks and gluing spare track links on the sides and on the front armor plate. We have glued them exactly as in third part of our guide – remember no gluing paint to paint!
One of exploitation effects you can create is scratches. We decided to show you the easiest way to create them in two steps. For more complicated effects such as chipping, salt chipping, and others, we are planning to introduce them in the future article.
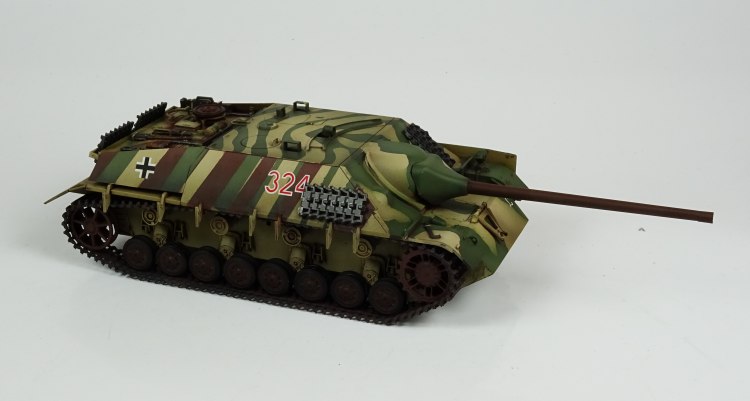
For making easy scratches you will need a sponge. We have used a sponge added to most blisters with metal models and elements. You need to cut sponge point or edge to about inch long piece (2-3 cm), for more precise work. Next, you need to prepare paint mix. We have chosen Vallejo Black (VMC 169) and Armour Brown (Vallejo VGA041). That colors will give us scratches in darker tones, but not pure black, which would be unnatural. Now, we need to choose elements or spots where scratches could occur, and which could be damaged while vehicles service. Most probably it would be sides, side skirts, edges, wheels and all movable elements that could be scratched while using.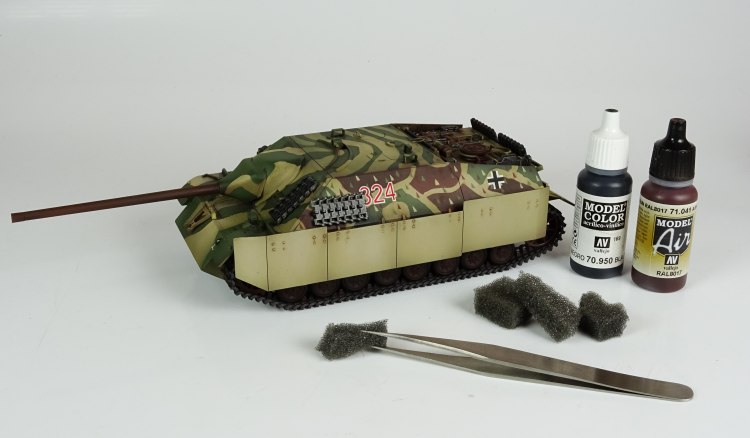
Painting process of scratches is fairly easy. Simply dip your sponge into the paint mix, dry it a little (just like during dry brush technique) and touch model surface at chosen place. Remember to move your hand only in one plane, not to splash our scratches. We recommend some practicing before you try this method out on your model, to learn how this new tool really works.

More advanced variant of this method requires more patience and accuracy. We can create realistic looking 3D effect with a brush. We will also need two paints, white (VMC 1), for dark yellow elements and yellowish (Afrika Korps Tank Crew VPA 340) for darker elements. For this task, you will need precision brush with sharp pointed tip. With single strokes, you will have to highlight all low edges of your scratches. This way, you will create realistic looking scratches.