No products
To be determined Shipping
0,00 zł Total
Catalog

Loading...
Viewed products
| modeling paints | acrylic...
Subcategories
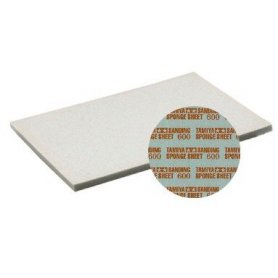
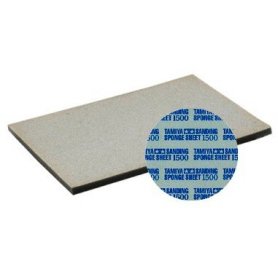
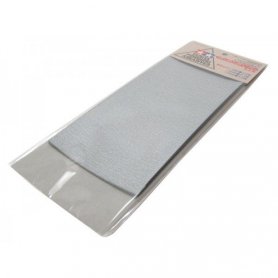
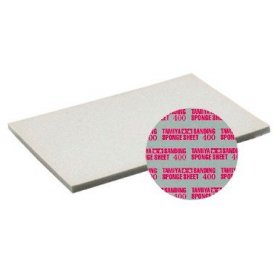
Sandpaper is a fundamental and essential tool in any modeler's workshop. It is used for the precise shaping and finishing of plastic, resin, and wooden models. It allows for the effective removal of flash, seam lines, and for smoothing surfaces after cutting or applying putty. Properly preparing the model's surface before painting is key to achieving a professional finish, and selecting the right sandpaper makes this process significantly easier and more efficient. Depending on the task, different grits of sandpaper are used, allowing you to control the level of abrasion and achieve a perfectly smooth surface.
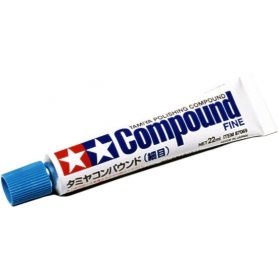
The key parameter of sandpaper is its grit, indicated by a number. The rule is simple: the lower the number, the coarser the grain and the more aggressive the sanding action. Grits from 180 to 400 are excellent for initial work, removing larger imperfections, and shaping parts. Grits in the 600-1200 range are ideal for smoothing surfaces and preparing them for primer. The finest papers, with grits of 1500 and higher (up to 12000), are used for final polishing, removing fine scratches, preparing surfaces for gloss coats, and polishing transparent parts such as aircraft canopies.
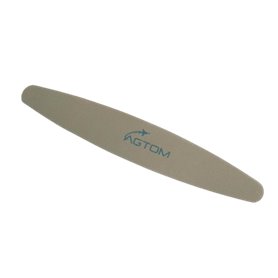
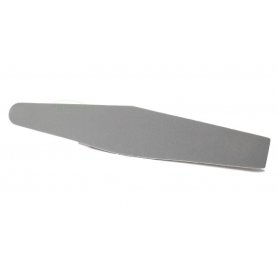
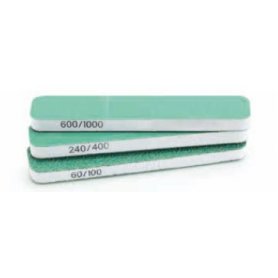
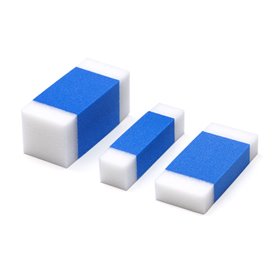
In addition to traditional sheets, sanding sponges and polishing sticks are also popular in model making. Sanding sponges conform perfectly to curved and irregular shapes, ensuring even pressure. Many sandpapers designed for modeling can be used both dry and wet. Wet sanding with water minimizes dust, prevents the paper from clogging, and results in a much smoother surface, which is crucial for finishing work. Choosing the right tool depends on the material and the project stage, so it's wise to have a set of sandpapers in various grits and forms.
Reference number: PIL02
Reference number: PIL01
Reference number: GSW0345
Reference number: 87069
Reference number: VALT04004
Reference number: 87010
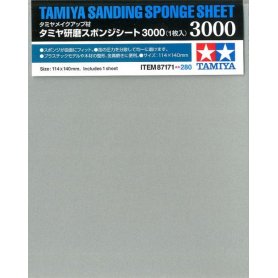
Reference number: 87171
Reference number: VALT04002
Reference number: 87149
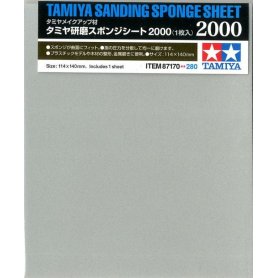
Reference number: 87170
Reference number: 87148
Reference number: 87068
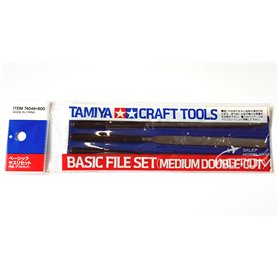
Reference number: 74046
Reference number: 87150
Reference number: T87192
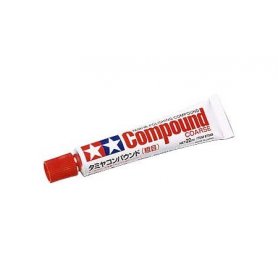
| modeling tools | polishing compound sponge |
Reference number: AMZ18574
Reference number: VALT04001
Reference number: 87009
Reference number: 87147